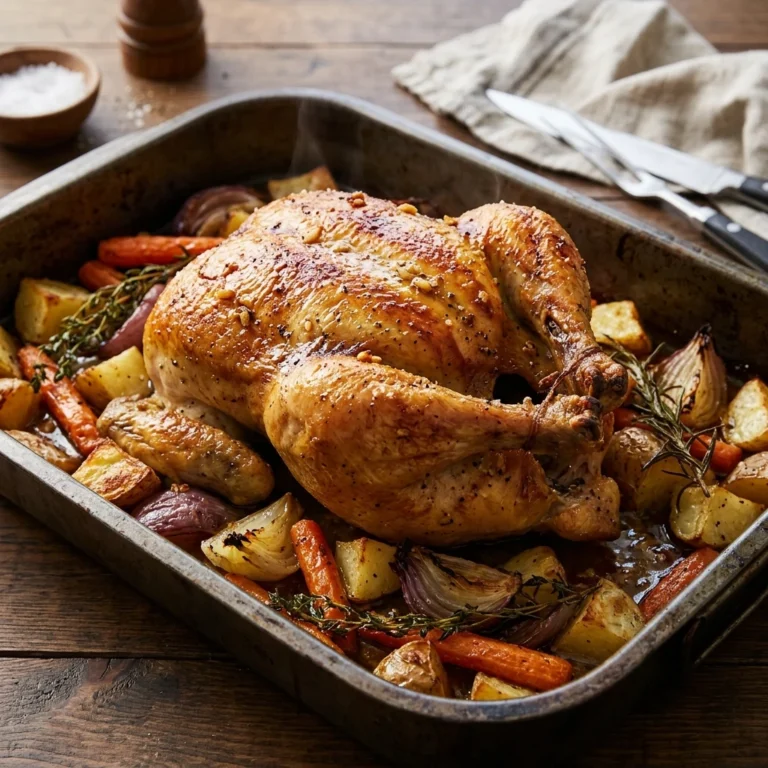
BBQ Chicken With Crispy Skin and Sticky Homemade Sauce
BBQ chicken should come out of the oven with skin that crackles and a sticky, glossy layer of sauce. Most oven versions miss on both. The skin turns soft, or the sauce scorches into black patches before the meat is done.
I tested this BBQ chicken recipe nine times over five weeks to fix those two problems. The answer is simple: bake the thighs with a dry rub first, then brush on the sauce in two thin coats near the end. A wire rack keeps hot air moving under the chicken, so the skin dries out and crisps while the meat stays juicy.
You get tender bone-in thighs, a tangy sweet homemade sauce, and no grill to light. Hands on time is about 25 minutes, and the sauce simmers in one small pot while the oven heats. The exact temperatures, times, and visual cues below make it work on a regular Tuesday night.
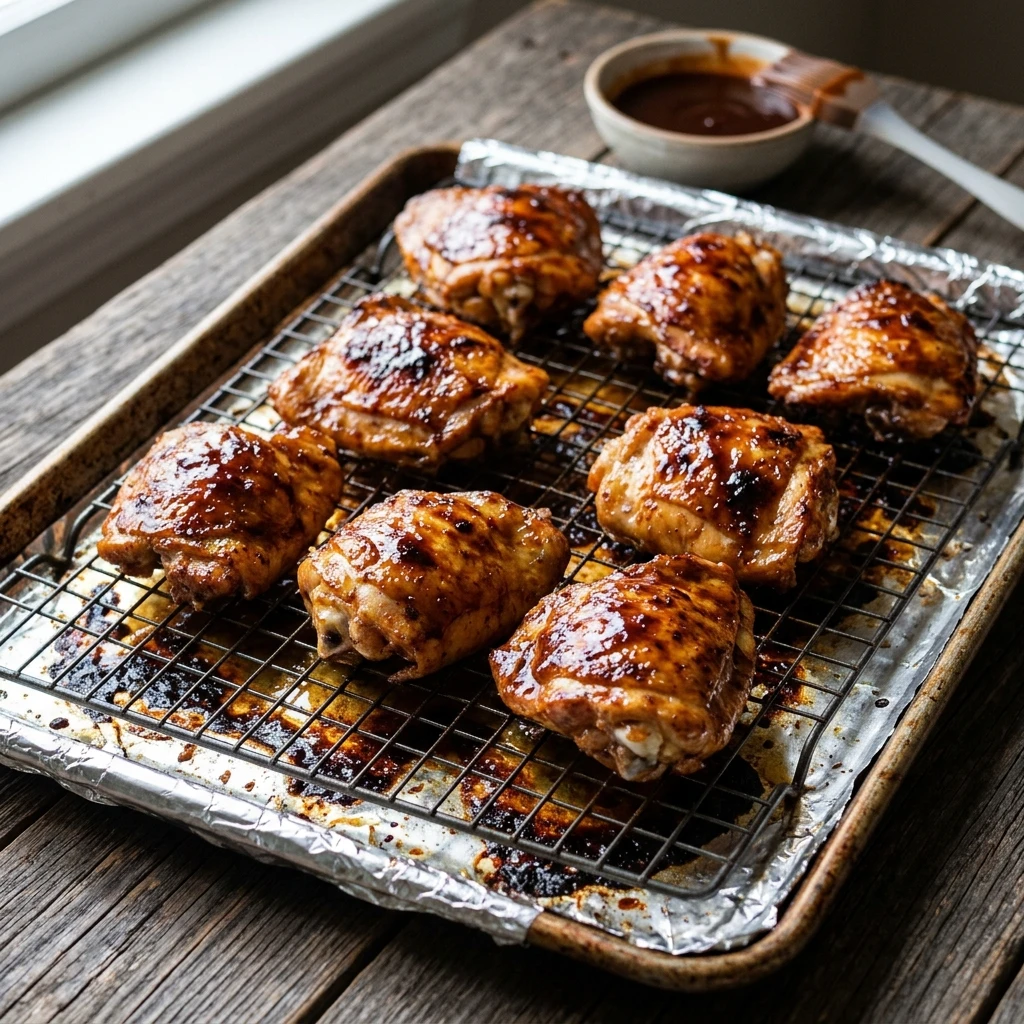
Table of Contents
Why You Will Love This BBQ Chicken
- Crisp skin and sticky sauce in the same bite, thanks to a rack and a two-coat glaze.
- Hands on work takes about 25 minutes, and the oven handles the rest while you make a side.
- Bone-in thighs stay juicy even if you leave them in the oven 5 minutes too long.
- One batch of sauce covers the chicken and leaves about 1/2 cup for dipping.
- Leftover BBQ chicken tastes good cold or reheated, so it doubles as a meal prep protein.
- The sauce is sweet and tangy, not spicy, which keeps kids at the table.
Recipe Snapshot
- Prep Time: 15 minutes
- Rest Time: 30 minutes
- Cook Time: 50 minutes
- Total Time: 1 hour 35 minutes
- Servings: 4 (2 thighs each)
- Difficulty: Easy
- Calories per serving: About 670
- Key Tool: Instant-read thermometer
- Best For: Weeknight dinners, game day, and cookouts without a grill
Nutrition Information
- Calories per Serving: About 670
- Protein: 53 g
- Carbs: 33 g
- Fat: 36 g
- Fiber: 1 g
- Sugar: 27 g
- Sodium: 1264 mg
- Serving Size: About 2 thighs with sauce
- Servings per Recipe: 4
Each serving of this BBQ chicken delivers over 50 grams of protein, all from the thighs. Nearly all of the sugar and about half of the sodium come from the sauce, so use less of it on your plate if you want a lighter meal.
Nutrition values are approximate and calculated per serving using standard ingredient amounts. Values may vary based on brands used and portion sizes.
Ingredients
For the chicken
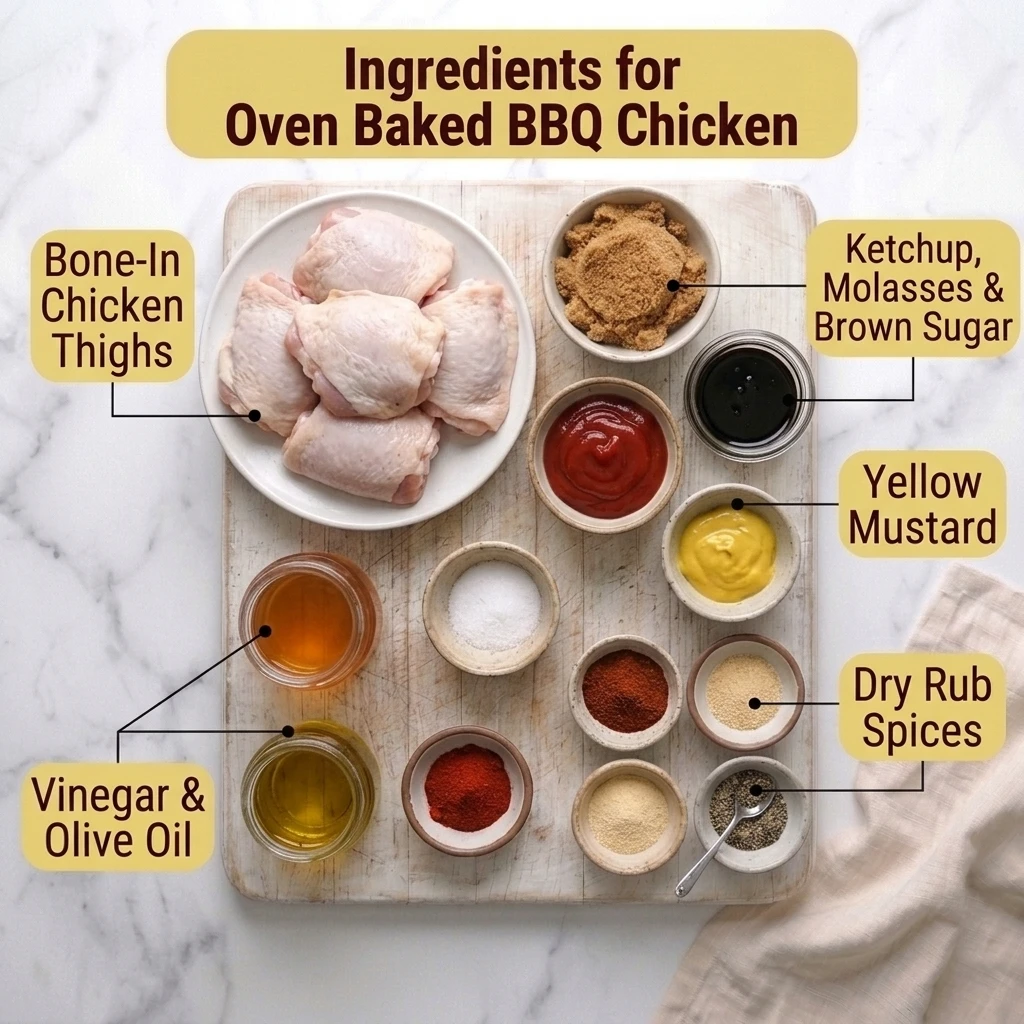
- 8 bone-in, skin-on chicken thighs (about 3 pounds), from a butcher you trust
- 1 tablespoon olive oil
For the dry rub
- 2 teaspoons smoked paprika
- 1 1/2 teaspoons Diamond Crystal kosher salt
- 1 teaspoon garlic powder
- 1 teaspoon onion powder
- 1/2 teaspoon chili powder
- 1/2 teaspoon black pepper
For the homemade BBQ sauce
- 1 cup ketchup
- 3 tablespoons apple cider vinegar
- 3 tablespoons packed light brown sugar
- 1 tablespoon unsulphured molasses
- 1 tablespoon yellow mustard
- 2 tablespoons water
- 1 teaspoon smoked paprika
- 1/2 teaspoon garlic powder
- 1/2 teaspoon onion powder
- 1/4 teaspoon black pepper
- 1/4 teaspoon kosher salt
- 1/2 teaspoon liquid smoke (optional)
Three ingredients decide how this BBQ chicken turns out. Skin-on thighs have enough fat to survive 45 minutes at 425°F, while breasts dry out before the skin crisps. Molasses gives the sauce its dark color and a slight bitterness that balances the ketchup. Diamond Crystal is lighter by volume than Morton, so if you only have Morton, use 1 teaspoon in the rub.
Swaps that work: drumsticks for thighs, white vinegar for cider vinegar, and 1 extra tablespoon of brown sugar plus 1 teaspoon of water if you have no molasses.
Equipment Needed
- Rimmed half sheet pan (18×13 inches): the rim catches rendered fat, and foil lining makes cleanup easy.
- Oven-safe wire rack: it lifts the chicken so the underside crisps, so coat it with nonstick spray first.
- Instant-read thermometer: push it into the thickest part of the thigh without touching bone.
- Small saucepan (2 quart): its wide base lets the sauce reduce without splattering.
- Silicone basting brush: it handles sticky sauce and rinses clean.
Preparation
- Pat the thighs completely dry with paper towels. Dry skin crisps, and wet skin steams.
- Move an oven rack to the upper third and heat the oven to 425°F.
- Line the sheet pan with foil, set the rack on top, and spray the rack with nonstick spray.
- Measure the rub spices into one small bowl and the sauce ingredients into the saucepan.
Pro Tip: If you have time, rub the thighs the night before and leave them uncovered on the rack on the lowest fridge shelf for up to 24 hours. The dry salt pulls moisture out of the skin, and it crisps faster in the oven.
Step-by-Step Instructions
- Coat the thighs with the olive oil, then press the dry rub onto both sides. Set them skin side up on the rack, 1 inch apart, for 30 minutes. Chef’s Note: Leave them uncovered, because open air dries the skin until it looks matte and slightly tacky.
- While the thighs rest, whisk the sauce ingredients in the saucepan and bring them to a bubble over medium heat. Lower the heat and simmer for 10 minutes, stirring often. The sauce is ready when it coats the back of a spoon and a finger line through it holds.
- Slide the pan into the oven and bake the thighs for 25 minutes with no sauce. Chef’s Note: In my tests, the brown sugar began to scorch after about 15 minutes at 425°F, so the sauce waits. The skin should look golden with small blisters, and fat should pool on the foil.
- Pour 2/3 cup of sauce into the small bowl and keep the rest in the pot. Chef’s Note: Throw out whatever is left in the bowl afterward, so raw chicken juices never reach the sauce you serve. Brush each thigh with about 2 teaspoons, then bake for 10 minutes until the glaze bubbles at the edges.
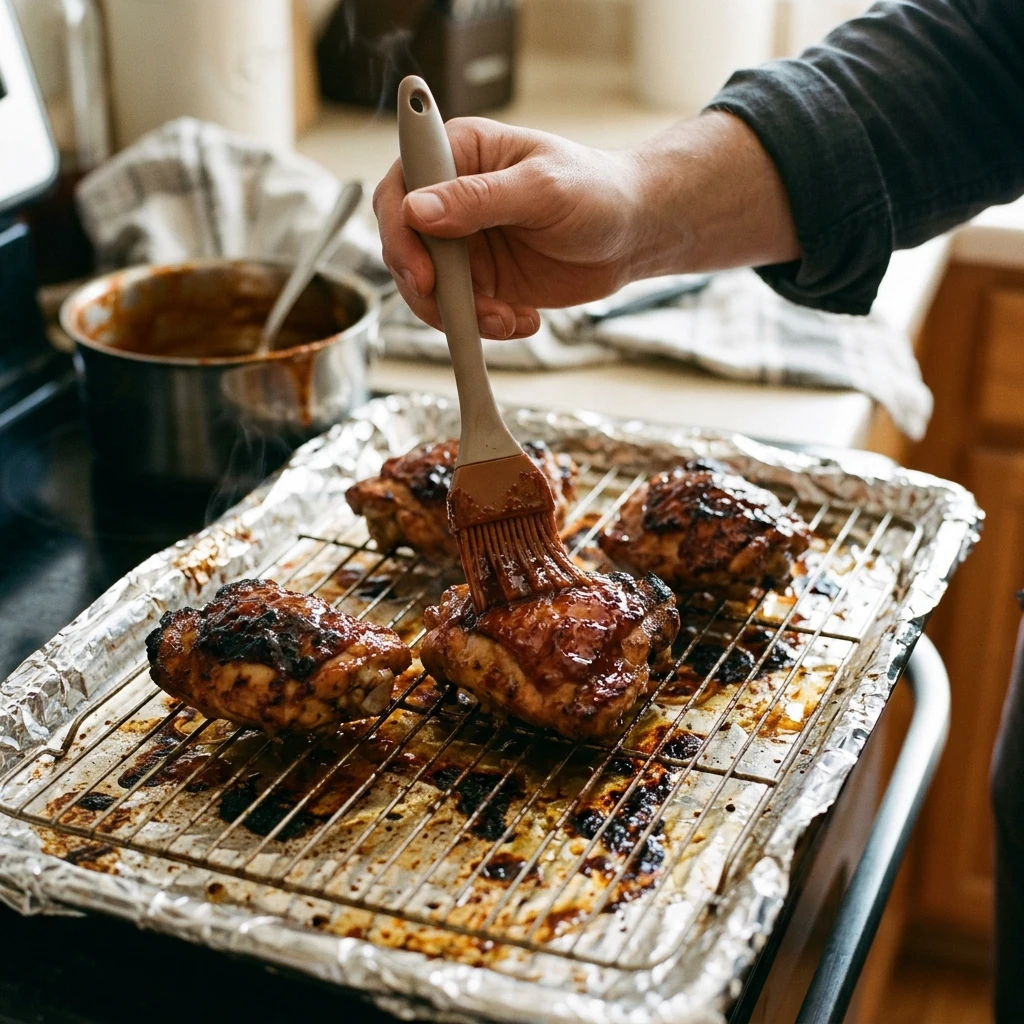
- Brush each thigh with a second coat from the bowl and bake for 10 more minutes. Chef’s Note: USDA lists 165°F as the safe minimum, but dark meat tastes best at 185°F, when the connective tissue has melted. The thickest thigh should read 185°F, and the meat should pull away easily from the bone.
- Switch the oven to broil on high and broil the pan for 2 to 3 minutes. Stay at the oven door the whole time. The glaze should bubble and show a few dark, charred edges.
- Move the pan to a trivet and let the BBQ chicken rest for 5 minutes. The juices settle during that time. The glaze tightens up and stops dripping when you lift a thigh.
- Warm the reserved sauce in the pot over low heat for 2 minutes. Serve it on the side for dipping. It should look glossy and steam gently.
Expert Tips and Tricks
- I once squeezed all 8 thighs onto a quarter sheet pan to save a dish. The skin steamed and stayed pale, so use a half sheet pan and leave 1 inch between pieces.
- Make the sauce for this BBQ chicken up to 3 days ahead and keep it in a jar in the fridge. Warm it for a minute before brushing.
- Pat the thighs dry twice, once when you unwrap them and again before the rub, because the surface gets damp again.
- Simmer the sauce while the oven heats and the rub rests, so the 30 minute wait is not idle time.
- Pour the leftover sauce into a clean jar the same night. It keeps in the fridge for 3 days.
Common Mistakes and Troubleshooting
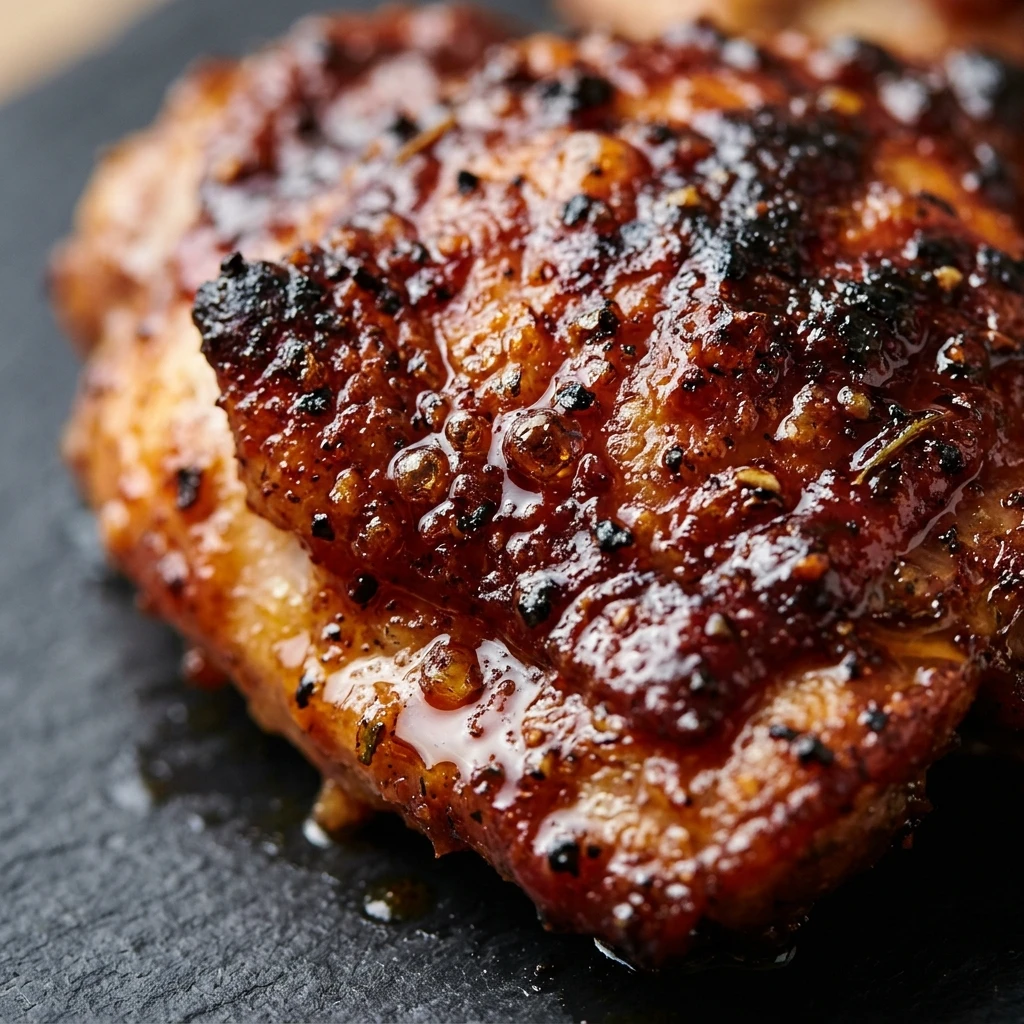
Burnt, bitter sauce. Black patches appear because the sugar scorches. Brush only after the 25 minute mark. If it already happened, scrape off the black spots, brush on fresh sauce, and bake 5 more minutes.
Pale, rubbery skin. Wet skin and crowded pans trap steam. Dry the thighs, use the rack, and leave space. To rescue a batch, broil skin side up for 2 minutes.
Tough meat near the bone. Dark meat pulled at 165°F is safe but stringy because the collagen has not melted. Cook to 185°F. If you already sliced one, return the rest for 5 to 8 minutes.
Thin, watery sauce. It slides off the chicken when the simmer is too short. Reduce it for the full 10 minutes. If it is still runny, simmer 5 more minutes.
Uneven doneness. Mixed sizes cook at different speeds, so some thighs finish while others lag. Group similar sizes on the rack, check each one with the thermometer, and move finished thighs to a plate.
Storage Instructions
- Room Temperature: Up to 2 hours, or 1 hour if your kitchen is above 90°F.
- Refrigerator: BBQ chicken keeps 3 to 4 days in a shallow airtight glass container, after cooling for 30 minutes.
- Freezer: Up to 3 months. Wrap each thigh in parchment, then seal them in a freezer-safe zip bag with the air pressed out.
- Reheating: Thaw overnight in the fridge. Bake at 375°F for 20 minutes, covered loosely with foil for the first 15, until the center reaches 165°F.
- Make-Ahead Notes: Store the sauce separately for up to 3 days, and rub the chicken up to 24 hours ahead.
Storage Trick: Freeze leftover sauce in an ice cube tray. Most trays hold about 2 tablespoons per cube, so two cubes give you a fresh glaze for reheated thighs.
I freeze individual thighs on a tray for 1 hour before bagging them. They never fuse together, and I can pull out exactly two without thawing the whole batch.
Variations and Substitutions
- Spicy BBQ Chicken: Add 1/2 teaspoon cayenne to the rub and 1 tablespoon hot sauce to the sauce. Taste the sauce before you brush.
- Mild and Kid-Friendly: Swap the chili powder for sweet paprika and use drumsticks that small hands can hold. They bake about 5 minutes faster.
- Vegetarian: Use thick cauliflower steaks or pressed extra-firm tofu slabs with the same rub and sauce. Bake at 425°F for 25 minutes, glaze, then bake 10 more.
- Gluten-Free: The recipe is naturally gluten-free as written, as long as your ketchup, mustard, and spices say gluten-free. It is also dairy-free.
- Grilled: Cook over indirect medium heat with the lid down for 35 to 45 minutes. Brush on sauce for the last 10 minutes until the thighs reach 185°F.
What to Serve With BBQ Chicken
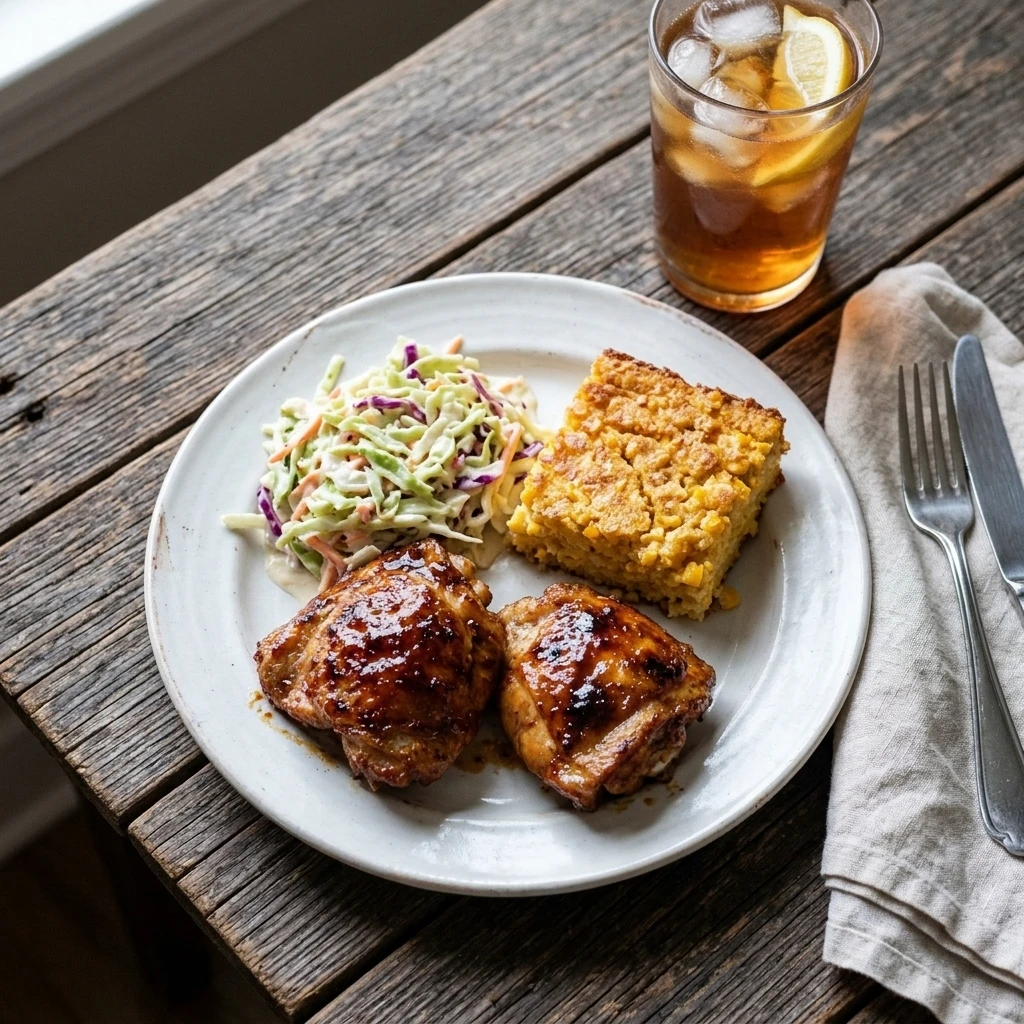
- Coleslaw: A pile of crisp, creamy coleslaw cuts through the sweet sauce.
- Pasta salad: Creamy macaroni salad is a cookout classic that you can make a day ahead.
- Corn: A scoop of corn casserole soaks up the extra sauce on the plate.
- Drinks: Iced tea or fresh lemonade keeps the meal light.
- Easy combo: Sliced watermelon and quick pickled onions round out the plate.
Frequently Asked Questions
Can you make bbq chicken ahead of time?
Yes. Rub the thighs up to 24 hours ahead and keep them uncovered in the fridge, then bake as directed. You can also bake the chicken fully, cool it, and refrigerate it for up to 4 days. Reheat at 375°F with a fresh brush of sauce so the glaze looks new. Cool it within 2 hours first. I make the sauce on Sunday and bake midweek.
Why is my bbq chicken burnt on the outside but raw inside?
The oven was too hot for the cut, or the sauce went on too early. Sugar burns long before bone-in meat cooks through. Hold the sauce until the thighs have baked 25 minutes, then glaze in two thin coats. Check the center with a thermometer instead of judging by color, since color can mislead. Dark thighs need 185°F inside for the best texture.
Can I use store bought bbq sauce instead of homemade?
You can, and it saves 10 minutes. Pick a thick sauce, since thin ones run off the skin and pool on the foil. Taste it first, since some brands are very sweet. Thin it with 1 tablespoon of water only if it feels like paste. Add the same two coats at the same times. Sweet store sauces burn faster on BBQ chicken, so watch the broil closely.
How long does bbq chicken take to bake at 425?
Bone-in BBQ chicken thighs need about 45 minutes at 425°F: 25 minutes plain, then two 10 minute glaze rounds. Add 2 to 3 minutes under the broiler for color. Time varies with thigh size, so trust the thermometer. They are safe at 165°F, but I pull them at 185°F because the meat turns tender and pulls cleanly from the bone. Rest them 5 minutes before serving.
Why is my oven bbq chicken skin always soggy?
Soggy skin is almost always trapped moisture. Skip the foil cover, pat the thighs dry, and bake them on a wire rack so air reaches the underside. Crowding also steams the skin, so leave 1 inch between thighs. If the skin is still soft at the end, finish it under the broiler for 2 minutes. I learned this after three limp batches in a row.
Final Thoughts on BBQ Chicken
The first time you make this, use the thermometer even if the chicken looks done. It teaches you how your own oven runs, and after one batch you will know whether your thighs need 40 minutes or 48. Write that number on a sticky note inside your cabinet door for next time.
My sister asks for this whenever she visits, so a jar of sauce now lives in my fridge for her. Double the sauce if you want extra for dipping fries later in the week.
If you loved this recipe, save it to your chicken dinner Pinterest board so you can find it easily later!
BBQ Chicken With Crispy Skin and Sticky Homemade Sauce
Ingredients
Equipment
Method
- Coat the thighs with the olive oil and press the dry rub onto both sides. Set them skin side up on the oiled rack, 1 inch apart, uncovered, for 30 minutes until the skin looks matte and slightly tacky. Heat the oven to 425°F during this rest.
- While the thighs rest, whisk the sauce ingredients in the saucepan and bring to a bubble over medium heat. Simmer on low for 10 minutes, stirring often, until the sauce coats the back of a spoon.
- Bake the thighs at 425°F for 25 minutes with no sauce, until the skin is golden with small blisters and fat pools on the foil.
- Pour 2/3 cup of sauce into a small bowl and keep the rest in the pot. Brush each thigh with about 2 teaspoons, then bake for 10 minutes until the glaze bubbles at the edges. Discard any sauce left in the bowl.
- Brush a second coat from the bowl and bake for 10 more minutes, until the thickest thigh reads 185°F and the meat pulls easily from the bone.
- Broil on high for 2 to 3 minutes, watching closely, until the glaze bubbles and shows a few dark, charred edges.
- Rest the thighs on a trivet for 5 minutes until the glaze tightens and stops dripping.
- Warm the reserved sauce over low heat for 2 minutes until glossy and steaming, and serve it on the side.
Notes
Storage: refrigerate 3 to 4 days in an airtight container, or freeze up to 3 months.
If you use Morton kosher salt instead of Diamond Crystal, use 1 teaspoon in the rub.