Easy Homemade Bread That Bakes Up Soft and Golden Every Time
A good loaf of bread needs only flour, water, and yeast, yet most first attempts come out dense and squat. Mine did. My first three loaves could have propped open a door. This homemade bread fixes the usual problems with warm (not hot) liquid, a measured knead, and a rise you judge by eye instead of the clock.
I baked this loaf eleven times over six weeks, chasing one goal: a sandwich slice that holds a thick layer of peanut butter without tearing. The crumb is soft, the crust is thin and golden, and the dough fits a standard 9×5-inch pan. A stand mixer handles the kneading, and a kitchen scale takes the guesswork out of the flour.
You need seven everyday ingredients and 2 hours 40 minutes, most of it hands off. After an hour of cooling it slices cleanly, and it stays soft for 3 days. Below you will find the full method, plus fixes for every problem I ran into.
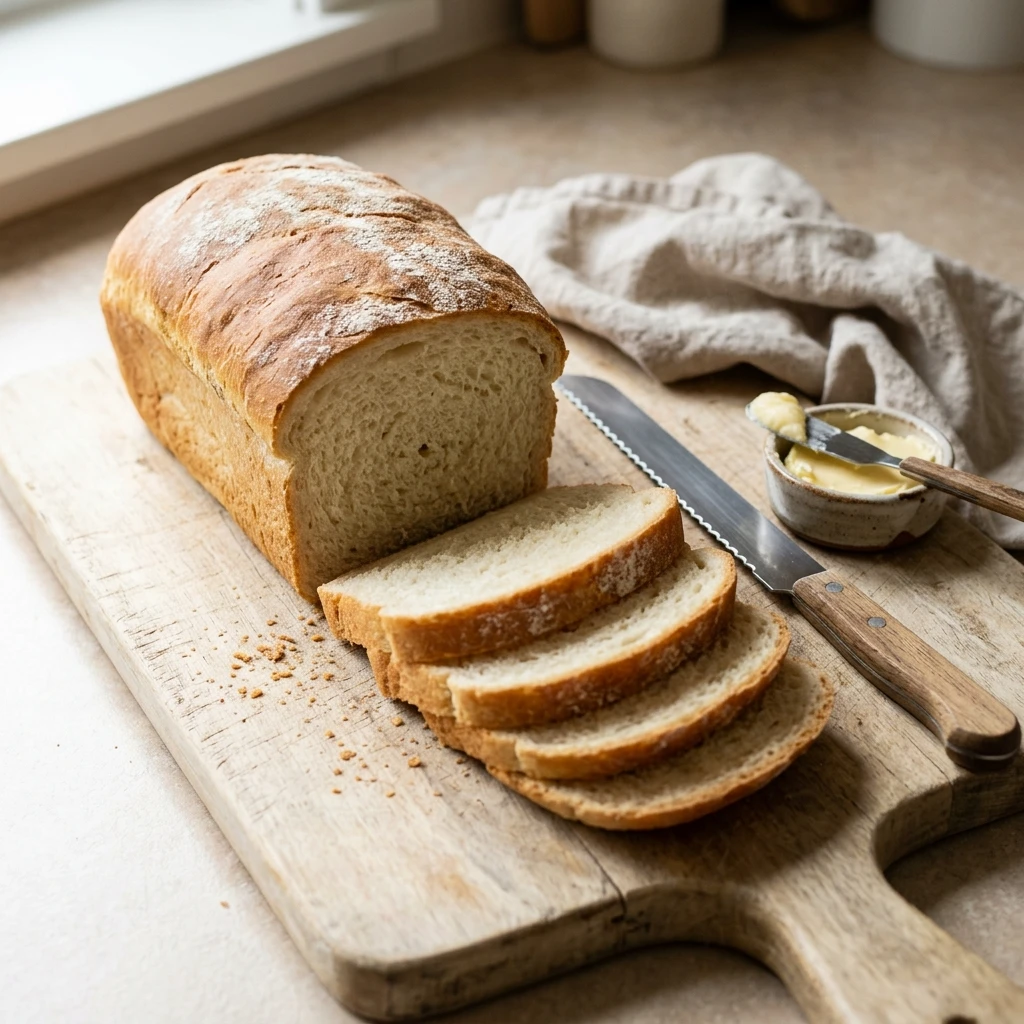
Table of Contents
Why You Will Love This Homemade Bread
- Only 20 minutes of hands-on work, so it fits around a Saturday afternoon.
- The slices stay soft for sandwiches and still hold up to the toaster.
- One bowl, one pan, and a mixer keep cleanup under 5 minutes.
- Twelve even slices cover lunch boxes for the first half of a school week.
- No sourdough starter and no special tools, just pantry staples.
Recipe Snapshot
- Prep Time: 20 minutes
- Rise Time: 1 hour 45 minutes
- Cook Time: 35 minutes
- Total Time: 2 hours 40 minutes (plus 1 hour cooling)
- Servings: 12 slices
- Difficulty: Medium
- Calories per Serving: About 185
- Key Tool: Stand mixer with dough hook
- Best For: Sandwiches, toast, and school lunches
Nutrition Information
- Calories per Serving: About 185
- Protein: 5 g
- Carbs: 29 g
- Fat: 5 g
- Fiber: 1 g
- Sugar: 3 g
- Sodium: 295 mg
- Serving Size: About 1 slice (3/4 inch thick)
- Servings per Recipe: 12
Most of the 5 g of protein in each slice comes from the flour. Fat stays low because 4 tablespoons of butter and 2 teaspoons of oil are spread across 12 slices, while the salt in the dough pushes sodium to 295 mg.
Nutrition values are approximate and calculated per serving using standard ingredient amounts. Values may vary based on brands used and portion sizes.
Ingredients
For the Dough
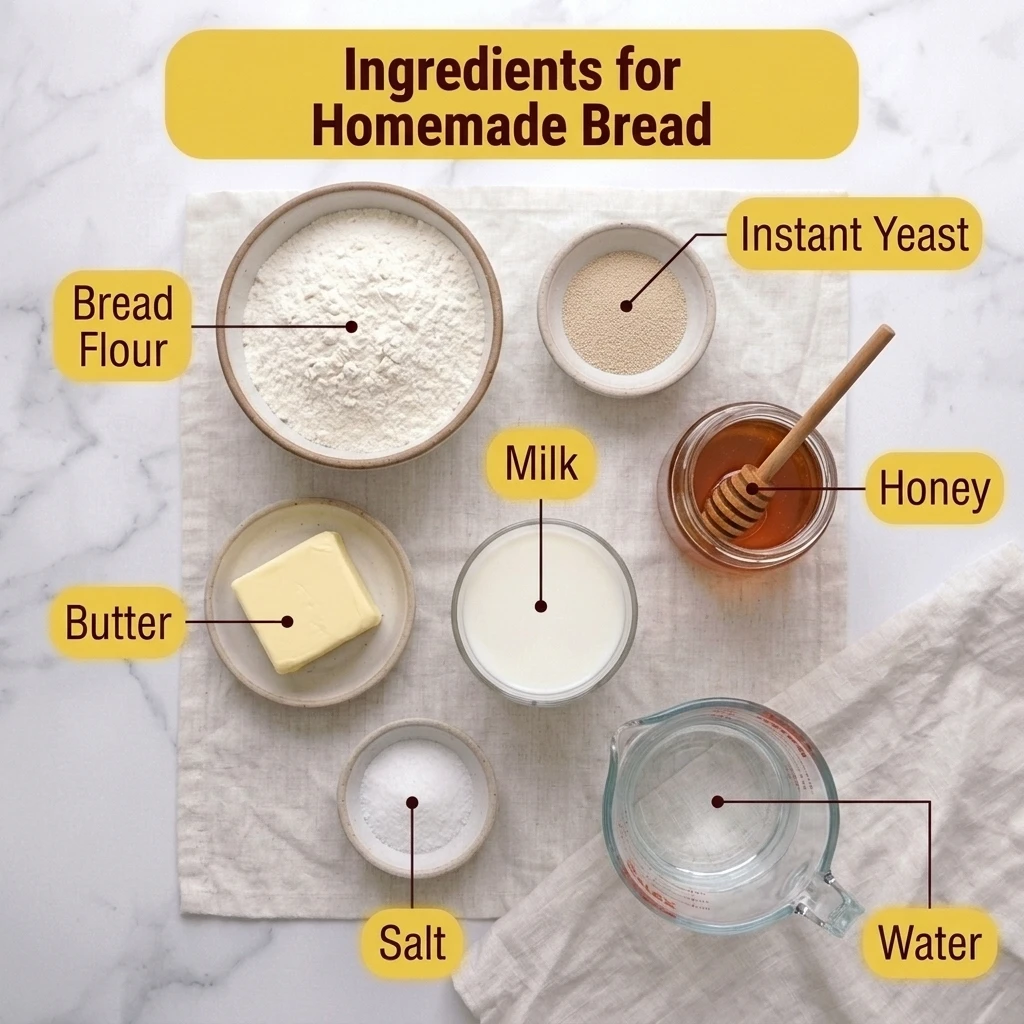
- 3 1/2 cups (420 g) bread flour, such as King Arthur (swap: all purpose flour, see the FAQ)
- 3/4 cup (180 g) warm water, 105 to 110°F
- 1/3 cup (80 g) warm whole milk, 105 to 110°F (swap: more warm water, or unsweetened oat milk)
- 2 1/4 teaspoons (7 g) instant yeast, one packet (swap: active dry yeast, same amount)
- 2 tablespoons (42 g) honey (swap: 2 tablespoons granulated sugar)
- 3 tablespoons (43 g) unsalted butter, softened (swap: 3 tablespoons olive oil)
- 1 1/2 teaspoons (9 g) fine table salt
For the Pan and Top
- 2 teaspoons (9 g) neutral oil, for the bowl and pan
- 1 tablespoon (14 g) unsalted butter, melted, for brushing
Bread flour matters most. King Arthur’s version has 12.7 percent protein, so it builds more gluten than all purpose flour and gives you a taller dome.
Liquid temperature comes second. Water and milk at 105 to 110°F wake the yeast gently, while anything hotter than about 120°F starts to damage it.
Butter and milk come third. They soften the crumb, so a slice still feels tender on day three.
Equipment Needed
- Digital kitchen scale: Weighing 420 g of flour beats scooping, since one scooped cup can weigh 140 g or more.
- Stand mixer with dough hook: Stay close on speed 2, because heavy dough can walk. Hand kneading takes about 12 minutes.
- 9×5-inch light metal loaf pan: A dark pan browns faster, so check 5 minutes early.
- Instant read thermometer: It checks liquid temperature and loaf doneness.
- Wire cooling rack: Air under the pan keeps the bottom crust crisp.
Preparation
- Weigh every ingredient and set it near the mixer.
- Warm the water and milk to 105 to 110°F and confirm with a thermometer.
- Soften the butter on the counter for 30 minutes.
- Brush a large bowl and the 9×5-inch pan with the neutral oil.
- Move the oven rack to the lower middle. Keep the oven off until step 5, when you will heat it to 350°F.
Pro Tip: In a kitchen cooler than 70°F, rise the dough in a turned off oven with only the light on and a mug of hot water beside the bowl. Aim for 75 to 80°F, and remove the bowl before preheating.
Step-by-Step Instructions
- Whisk the flour, yeast, and salt in the mixer bowl. Add the warm water, warm milk, honey, and butter, then mix on low with the dough hook for 2 minutes, until no dry flour remains.
- Knead on speed 2 for 8 minutes, until the dough pulls from the bowl and feels smooth and slightly tacky. Chef’s Note: Stretch a small piece between your fingers, and if it thins into a see-through sheet without tearing, the gluten is ready.
- Shape the dough into a ball and turn it once in the oiled bowl. Cover with a damp towel and rest at 75°F for 60 minutes, until the dough doubles and a floured fingertip leaves a dent that fills back in slowly.
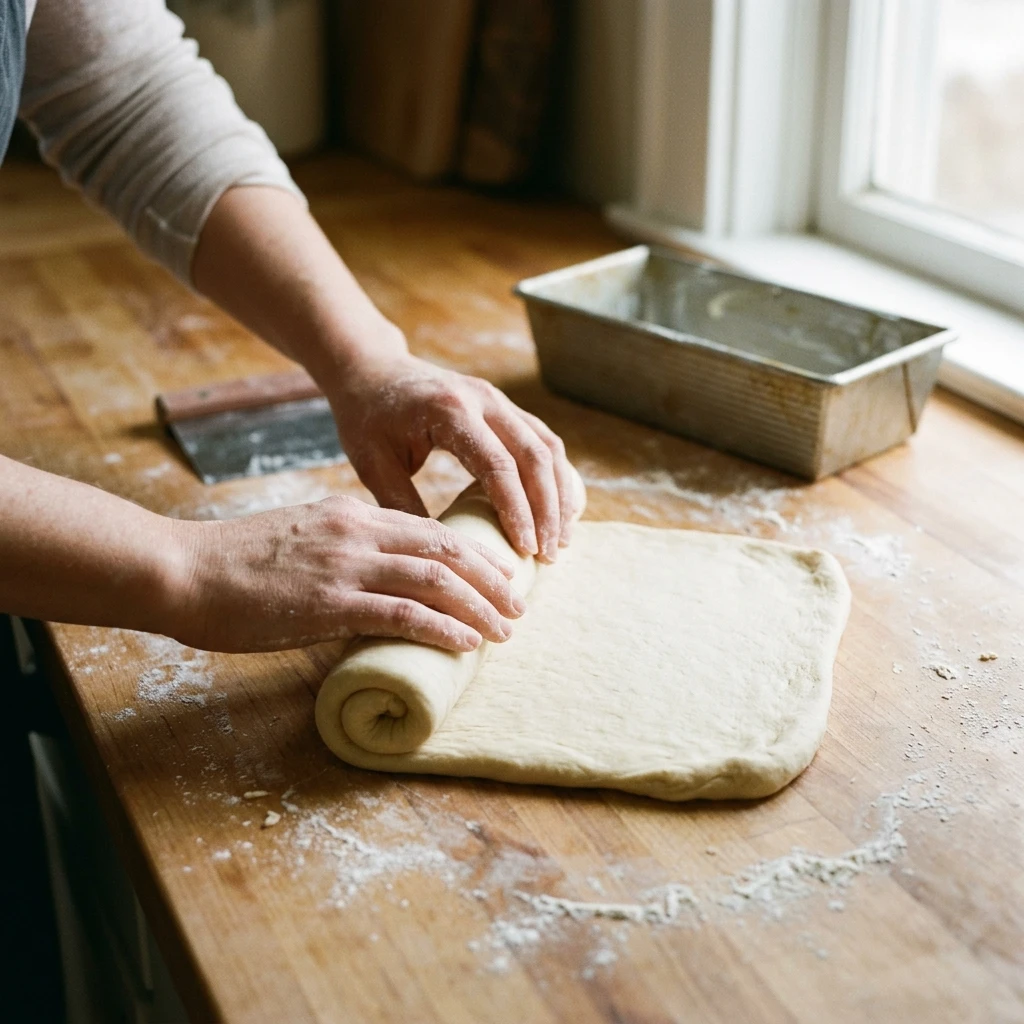
- Turn the dough onto a lightly floured counter and pat it into an 8 by 12 inch rectangle, pressing out large bubbles. Roll it up from the short side into a tight log and pinch the seam until it looks sealed. Chef’s Note: A tight roll builds surface tension for a taller dome.
- Set the log seam side down in the greased pan and cover it loosely. Let it rise 45 minutes until the dome sits 1 inch above the rim, heating the oven to 350°F after the first 30 minutes. Chef’s Note: If a gentle fingertip dent springs back slowly, the loaf is ready.
- Bake for 35 minutes, until the top is deep golden brown and a thermometer in the center reads 190°F. Tent the top with foil if it darkens before the 20 minute mark.
- Brush the hot loaf with the melted butter and leave it in the pan for 5 minutes. Turn it onto the wire rack and cool for 1 hour, until the bottom feels cool. Chef’s Note: Cutting early squashes the crumb and leaves a gummy line.
Expert Tips and Tricks
- Hold back 1 tablespoon of the flour, and add it only if the dough sticks to the bottom of the bowl. Humid days change how much water flour absorbs.
- I once microwaved the milk too long and skipped the thermometer. It hit 140°F, the dough sat dead for 2 hours, and the loaf baked up 2 inches tall.
- For a make-ahead loaf, let the covered dough rise in the fridge for 8 to 12 hours. Shape it straight from the fridge, and expect the second rise to take about 60 minutes.
- Wait 2 hours after baking before you bag the loaf. Trapped steam turns the crust damp.
- Rotate the pan 180 degrees at the 20 minute mark, since most home ovens run hotter in the back.
- Use instant yeast to skip the 10 minute foaming step.
Common Mistakes and Troubleshooting
Dense, heavy loaf. Packed flour or a short rise tightens the crumb. Weigh the flour and let the dough double. If it is already baked, slice it thin for toast.
Gummy center. Cutting a warm loaf or pulling it before 190°F leaves the crumb wet. Wait the full hour and check the temperature. Toast early slices to dry them.
Collapsed, wrinkled top. The loaf rose too long, and the gluten gave out in the oven. End the second rise when the dome is 1 inch above the rim. The baked loaf still makes croutons.
No rise at all. Old yeast or liquid hotter than 120°F is the usual cause. If nothing moves after 90 minutes, knead in 1 teaspoon of fresh yeast mixed with 2 tablespoons of warm water.
Large holes under the crust. A loose roll or open seam traps air. Roll tightly and pinch the seam closed. The holes are harmless, and butter fills them.
Storage Instructions
- Room Temperature: 3 days in a paper bag or bread box, away from sunlight.
- Refrigerator: 5 to 7 days in an airtight container, though the crumb firms faster, so use it only in a kitchen above 80°F.
- Freezer: 3 months. Slice the cooled loaf and seal the slices in a freezer-safe zip bag with the air pressed out.
- Reheating: Toast frozen slices for 2 to 3 minutes. Warm a thawed whole loaf, wrapped in foil, at 350°F for 10 minutes.
- Make-Ahead Notes: Bake up to 2 days ahead and keep the loaf whole. Slice just before serving.
I freeze 8 slices in a bag on baking day, which covers toast for a school week. Slices that dry out by day 4 become a batch of French toast, where the custard soaks them back to life.
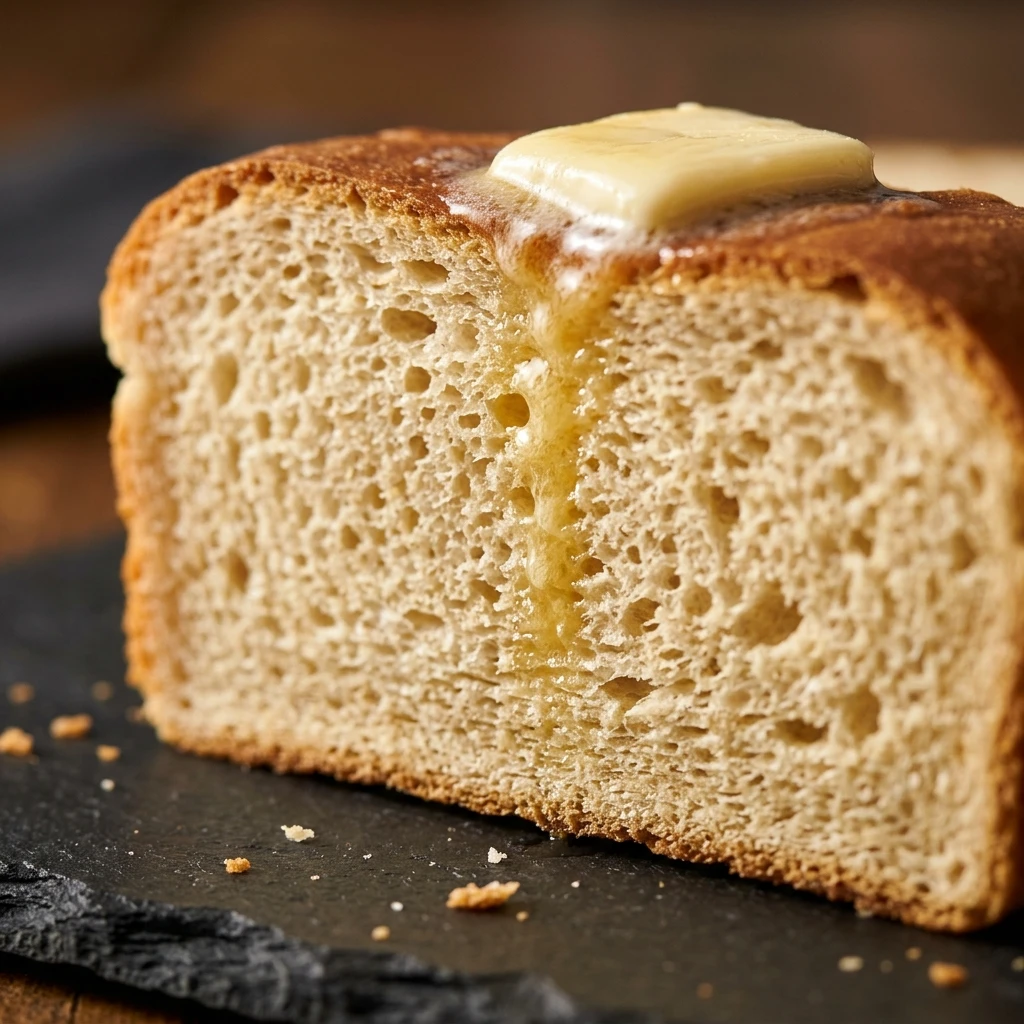
Storage Trick: Set the sliced loaf cut side down on a cutting board for the first day. The crust works like a lid, so the cut face stays soft without plastic.
Variations and Substitutions
Spicy Cheddar: Knead 1 1/2 teaspoons red pepper flakes and 1 cup shredded sharp cheddar into the dough during the last minute. Check the loaf at 30 minutes, since cheese browns fast.
Cinnamon Swirl (Kid-Friendly): Mix 1/4 cup sugar with 2 teaspoons cinnamon. Brush the dough rectangle with 1 tablespoon melted butter, sprinkle on the sugar, and roll as usual.
Vegetarian and Vegan: The base recipe is already vegetarian. For a vegan version, use oat milk, maple syrup, and olive oil in place of the milk, honey, and butter.
Gluten Free: Use a 1 to 1 gluten free blend that includes xanthan gum. The dough becomes a thick batter, so skip kneading, beat it for 3 minutes, and follow the blend’s rise and bake times.
Whole Wheat: Replace 1 cup (120 g) of the flour with whole wheat flour and add 1 tablespoon of warm water. Expect a denser, nuttier loaf.
What to Serve With This Bread
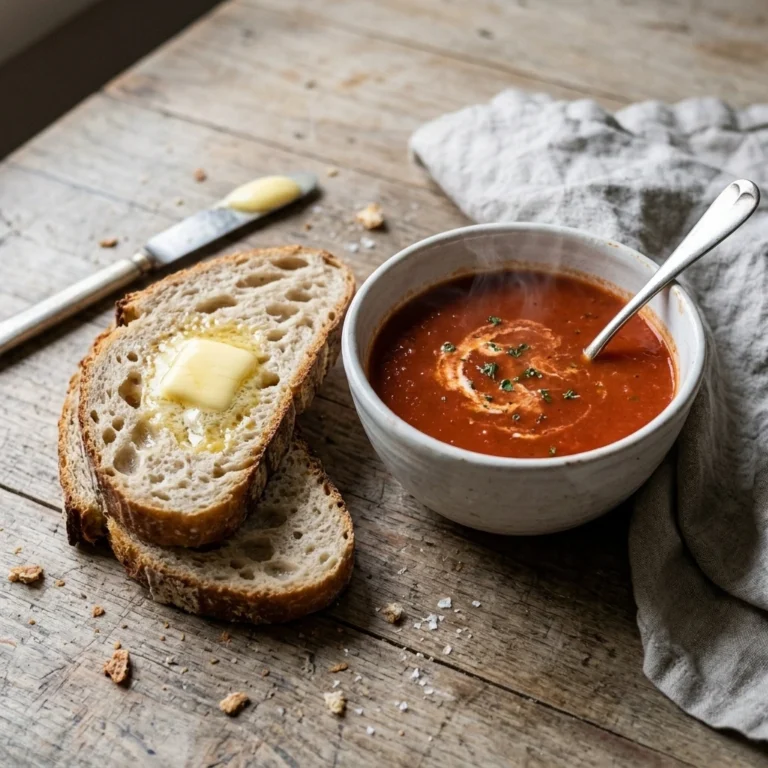
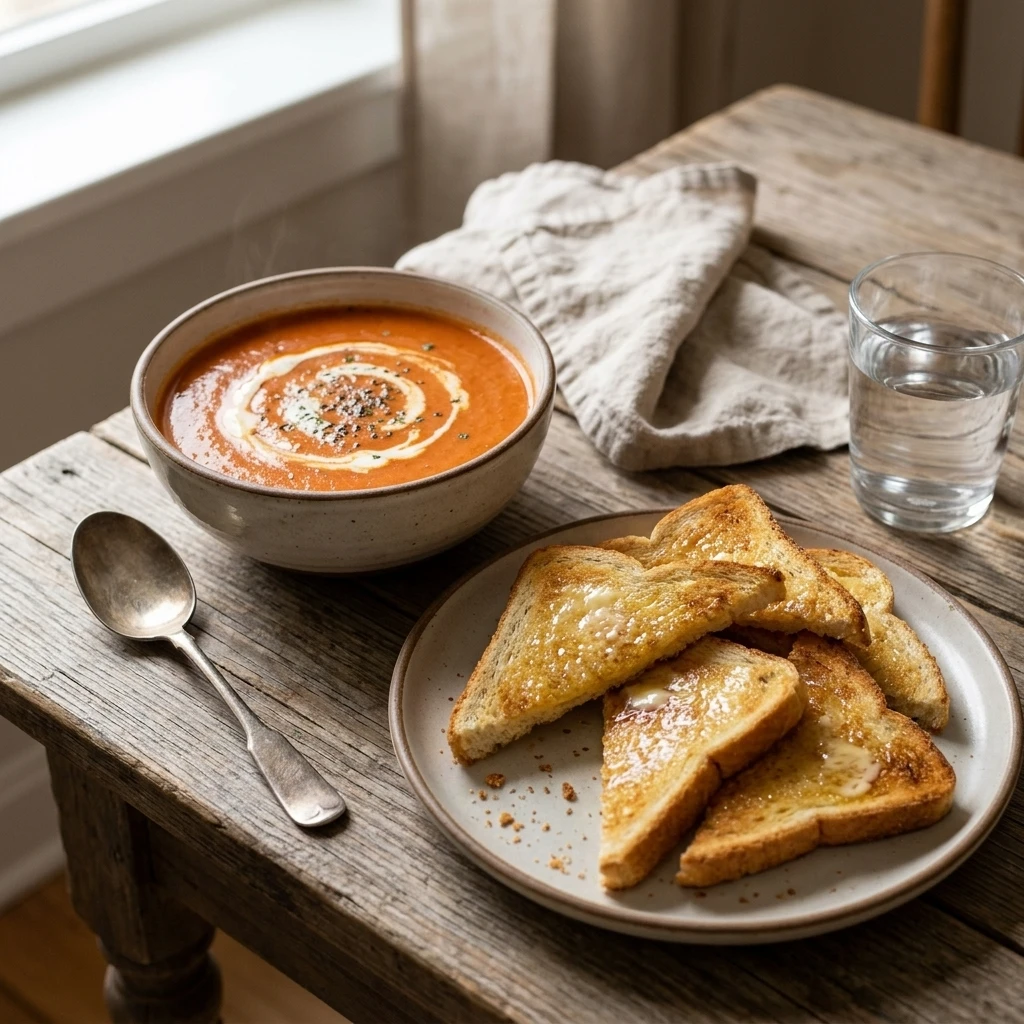
- Creamy tomato soup: Dip buttered toast triangles into homemade tomato soup, and add a green salad for a full weeknight dinner.
- Chicken salad sandwiches: The sturdy slice holds a scoop of creamy chicken salad with grapes and pecans in a packed lunch.
- Whipped honey butter: Beat 1/2 cup softened butter with 2 tablespoons honey until fluffy, then spread it on warm slices.
- Scrambled eggs and fruit: A buttered slice turns a plain breakfast into a full plate.
- Hot tea or cold milk: Both suit toast in the morning or a thick sandwich at noon.
Frequently Asked Questions
Can you freeze homemade bread dough?
Yes. Bread dough freezes well when you shape the loaf after the first rise, set it in the greased pan, wrap it tightly, and freeze it. Add an extra 1/4 teaspoon of yeast, since some dies in the freezer, and bake within 2 weeks for the best rise. Thaw the pan overnight in the fridge, then let the dough rise until the dome sits 1 inch above the rim.
Why is my homemade bread crust so hard?
A hard crust usually means the loaf baked too long, the oven ran hot, or the dough lacked fat. Check your oven with a thermometer, and pull the loaf at 190°F instead of waiting for a dark top. Brush the hot crust with melted butter, as in the last step, and the crust softens as it cools. Toasting also rescues a loaf that already turned tough.
Can I use all purpose flour instead of bread flour for bread?
Yes. Swap 3 1/2 cups (420 g) of all purpose flour for the bread flour and hold back 1 tablespoon of the water, since lower protein flour absorbs less liquid. The loaf rises a little shorter, and the crumb turns softer and less chewy, which many people like in a sandwich. Knead for the same 8 minutes and look for the same smooth, tacky dough.
How long should bread dough rise?
At 75°F, the first rise takes about 60 minutes and the second takes about 45. A 68°F kitchen can stretch each rise by 30 minutes or more, so watch the dough instead of the clock. The first rise is done when the dough doubles, and the second is done when the dome sits 1 inch above the rim. Dough that smells sharp and sour has gone too far.
Why is homemade bread never as soft as store bought bread?
Store bought bread relies on emulsifiers, enzymes, and other dough conditioners that keep the crumb pillowy for a week. At home, the softest results come from milk, butter, and honey, which this loaf uses, plus an accurate flour weight. Brush the top with butter right out of the oven and bag the loaf only after it cools. Expect a slightly chewier slice that tastes fresher.
Final Thoughts on Baking Homemade Bread
My daughter asked for toast from this loaf three mornings in a row, which is how I knew the recipe was finished. Nobody asked me to make it fancier. One loaf, one pan, and a Saturday afternoon change what lunch looks like for the whole week.
Bake it once with the exact numbers above. After that, change only one thing at a time, like swapping 1 cup of flour for whole wheat, so you always know what caused a better or worse loaf.
If you loved this recipe, save it to your homemade bread Pinterest board so you can find it easily later!
Easy Homemade Bread That Bakes Up Soft and Golden Every Time
Ingredients
Equipment
Method
- Weigh every ingredient. Warm the water and milk to 105 to 110°F, soften the butter for 30 minutes, brush a large bowl and the pan with the oil, and move the oven rack to the lower middle. Keep the oven off.
- Whisk the flour, yeast, and salt in the mixer bowl. Add the water, milk, honey, and softened butter, then mix on low with the dough hook for 2 minutes, until no dry flour remains.
- Knead on speed 2 for 8 minutes, until the dough pulls from the bowl and feels smooth and slightly tacky. A small piece should stretch into a see-through sheet without tearing.
- Shape into a ball, turn once in the oiled bowl, cover with a damp towel, and rest at 75°F for 60 minutes, until doubled and a floured fingertip dent fills back in slowly.
- Pat the dough into an 8 by 12 inch rectangle on a lightly floured counter, pressing out large bubbles. Roll up from the short side into a tight log and pinch the seam until sealed.
- Set the log seam side down in the greased pan, cover loosely, and rise 45 minutes, until the dome sits 1 inch above the rim. Heat the oven to 350°F after the first 30 minutes.
- Bake 35 minutes, until deep golden brown and a thermometer in the center reads 190°F. Tent with foil if the top darkens before the 20 minute mark.
- Brush the hot loaf with the melted butter and leave it in the pan for 5 minutes. Turn it onto the wire rack and cool for 1 hour, until the bottom feels cool, before slicing.
Notes
One cup of bread flour weighs 120 g, so weigh the flour for a soft crumb.
All purpose flour works. Hold back 1 tablespoon of the water.