Butter: Everything You Need to Know Before You Bake or Cook With It
A stick of butter is at least 80 percent milkfat, about 16 percent water, and a little milk protein. Almost everything it does in a kitchen comes from that mix. The water turns to steam and lifts pie dough into layers. The milk protein browns in a hot pan and smells like toasted nuts. The fat carries flavor and keeps crumbs tender.
I use close to two pounds a week, and I still got the basics wrong for years. I softened sticks in the microwave until they pooled. I swapped salted for unsalted and never touched the salt in the recipe. Both mistakes cost me a batch of cookies.
So I tested it properly. I ran the temperature steps below eleven times over six weeks and checked every storage window against USDA FoodKeeper data. You will see how to choose the right butter for each job, how warm or cold it should be, how long it keeps, and where most cooks slip. All you need is an instant-read thermometer and a stick or two.
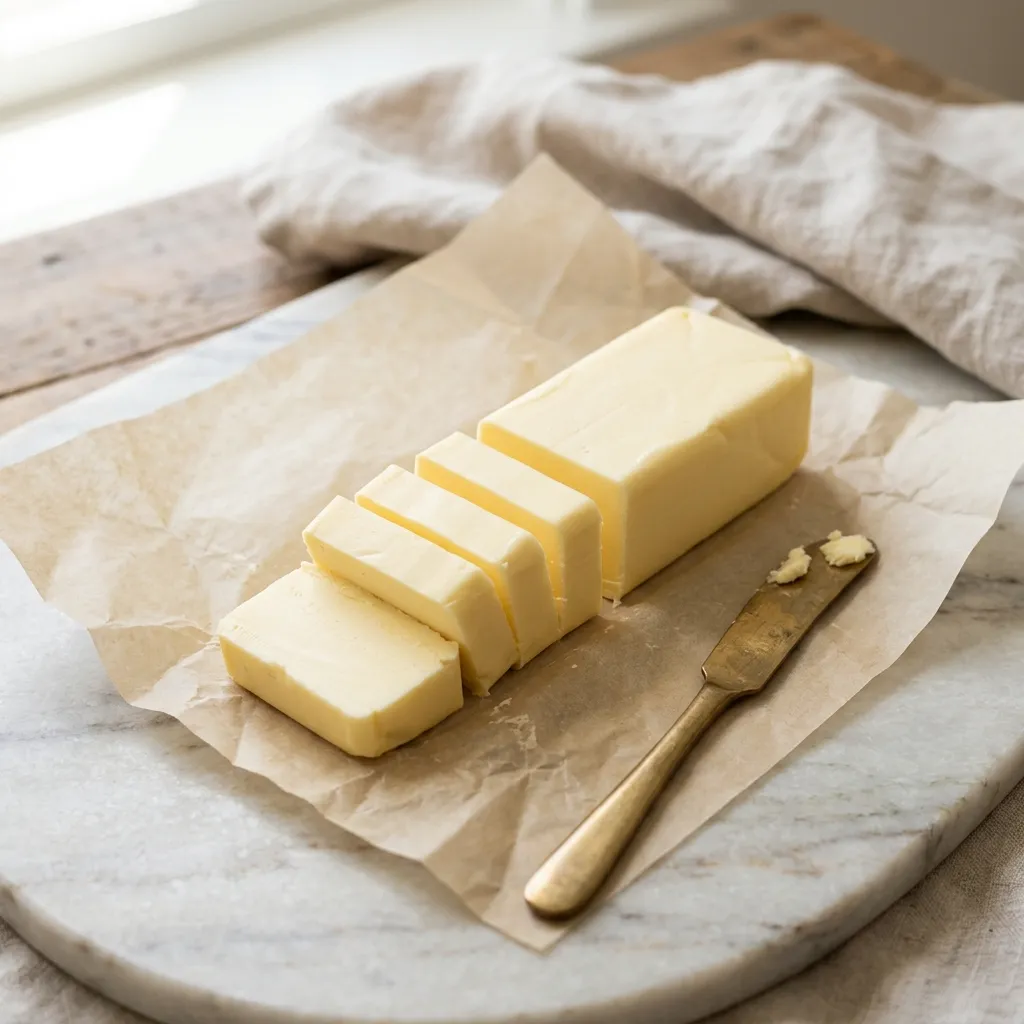
Table of Contents
Quick Reference at a Glance
At a Glance:
- Time Required: 30 to 60 minutes to soften a cold stick on the counter
- Skill Level: Beginner
- Key Ingredient or Tool: Unsalted sweet cream sticks and an instant-read thermometer
- Most Common Mistake: Using the stick too warm, which flattens cookies and ruins flaky dough
- Best Used For: Baking, pan sauces, roasted vegetables, and finishing steak or fish
- Shelf Life or Storage: 1 to 2 months in the fridge, 6 to 9 months in the freezer
What Butter Is and How It Behaves in Cooking
Every stick starts as cream that gets churned until the fat clumps together and the liquid drains off. U.S. law sets the floor at 80 percent milkfat. The rest is mostly water, plus 1 to 2 percent milk solids, which are the proteins and milk sugars that brown when heated.
Why the Water and Milk Solids Matter
Think about pie crust. Cold pieces of fat sit between sheets of dough. In the oven, the water in each piece turns to steam and pushes the layers apart, while the milk solids brown at the edges. That is where the flake and the golden color come from. Shortening has no water and no milk solids, so a crust made with it bakes up paler and tastes flat.
The same milk solids set the limit on the stove. They start to scorch somewhere between 300 and 350°F, so a regular stick smokes long before most oils do.
Salted vs Unsalted Sticks
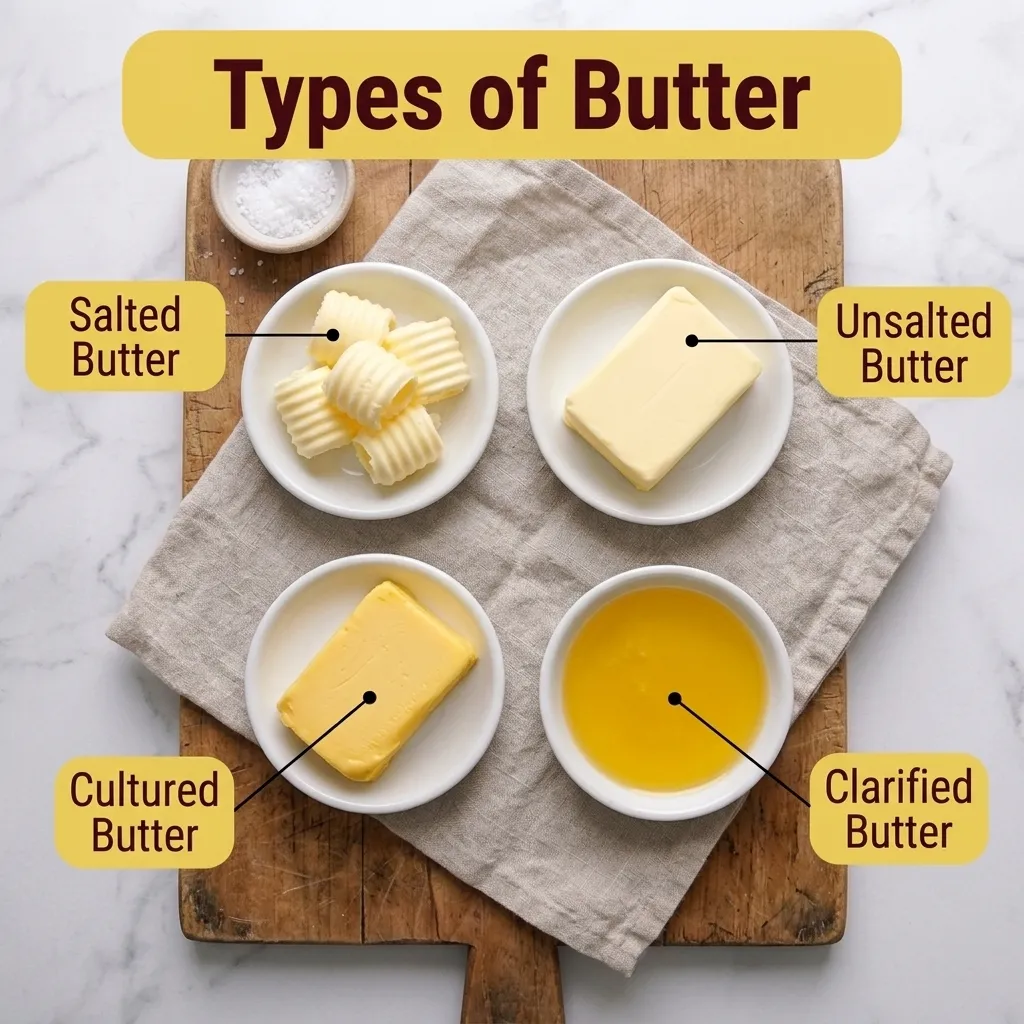
Salted sticks have salt added, and the amount changes from brand to brand. Unsalted sticks have none. I bake with unsalted butter because it lets me set the salt myself, and I keep salted for toast and for finishing steak. If a recipe calls for unsalted and you only have salted, cut about 1/4 teaspoon of fine salt per stick, then taste the sauce or frosting before you add more.
European Style and Cultured Sticks
European style sticks carry a little more fat and less water. Most start at 82 percent milkfat, and Kerrygold and Plugrá both list 82 percent. Cultured butter goes one step further: the cream is fermented with live bacteria before churning, which adds a mild tang like plain yogurt.
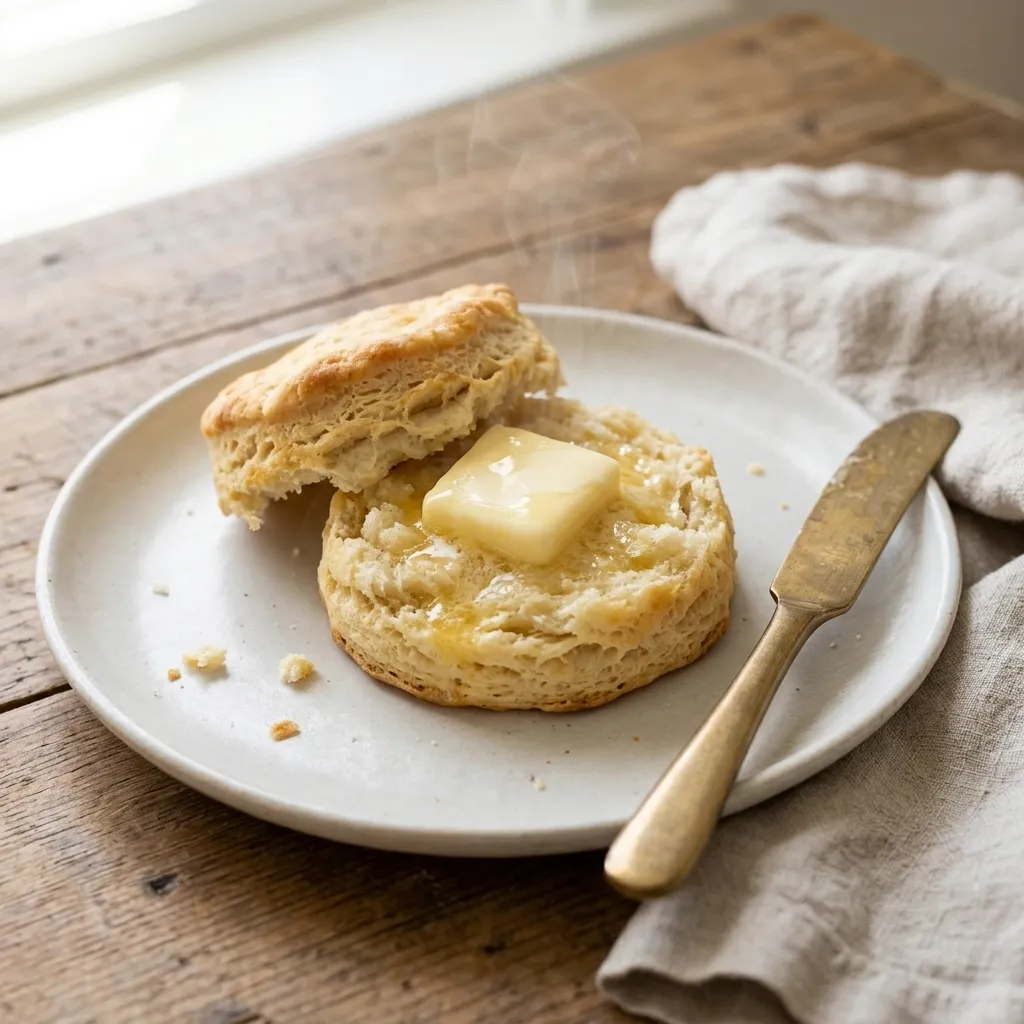
I reach for Kerrygold when I make biscuits and pie dough, since less water means a crisper flake. For everyday cookies and cakes, a standard U.S. stick works fine and costs less.
How Temperature Changes the Result
When a recipe names a temperature for the fat, treat it as an instruction. Each stage behaves differently.
- Cold, 35 to 40°F: Straight from the fridge, for pie dough, biscuits, and scones. The pieces stay solid until the oven melts them and leaves air pockets behind.
- Softened, 65 to 67°F: Cool to the touch. A finger press leaves a dent but does not sink through. This is the stage for cakes, creamed cookies, and frosting, because beating sugar into it traps tiny air bubbles.
- Melted and cooled, 85 to 90°F: Brownies, chewy cookies, and quick breads. Melted fat coats the flour, which gives denser, chewier results.
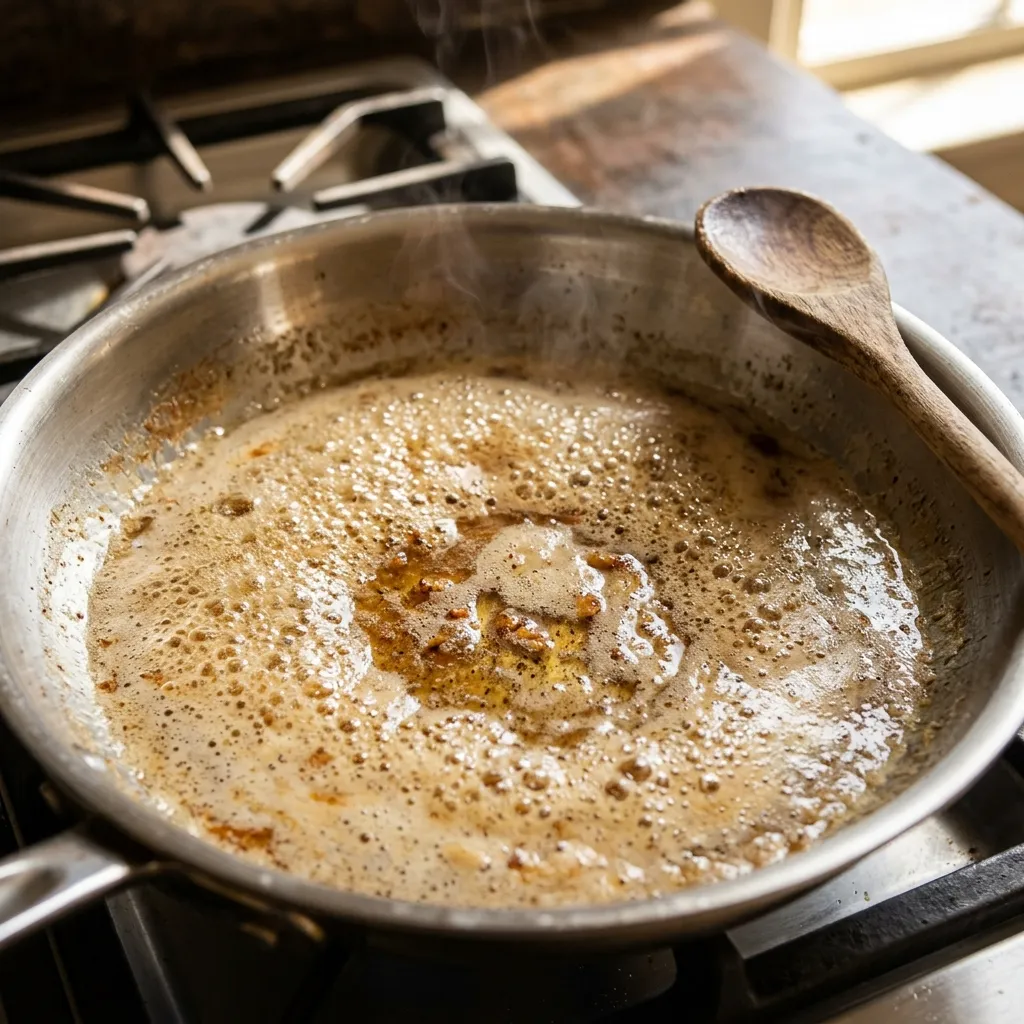
- Browned: Melt a stick over medium heat for 5 to 8 minutes. The foam clears, the solids turn amber, and the smell goes nutty. Pour it out right away.
- Clarified: Skim off the water and milk solids and you are left with pure fat that smokes near 450°F, so it handles searing. Ghee is the same idea, cooked a bit longer so the solids brown first.
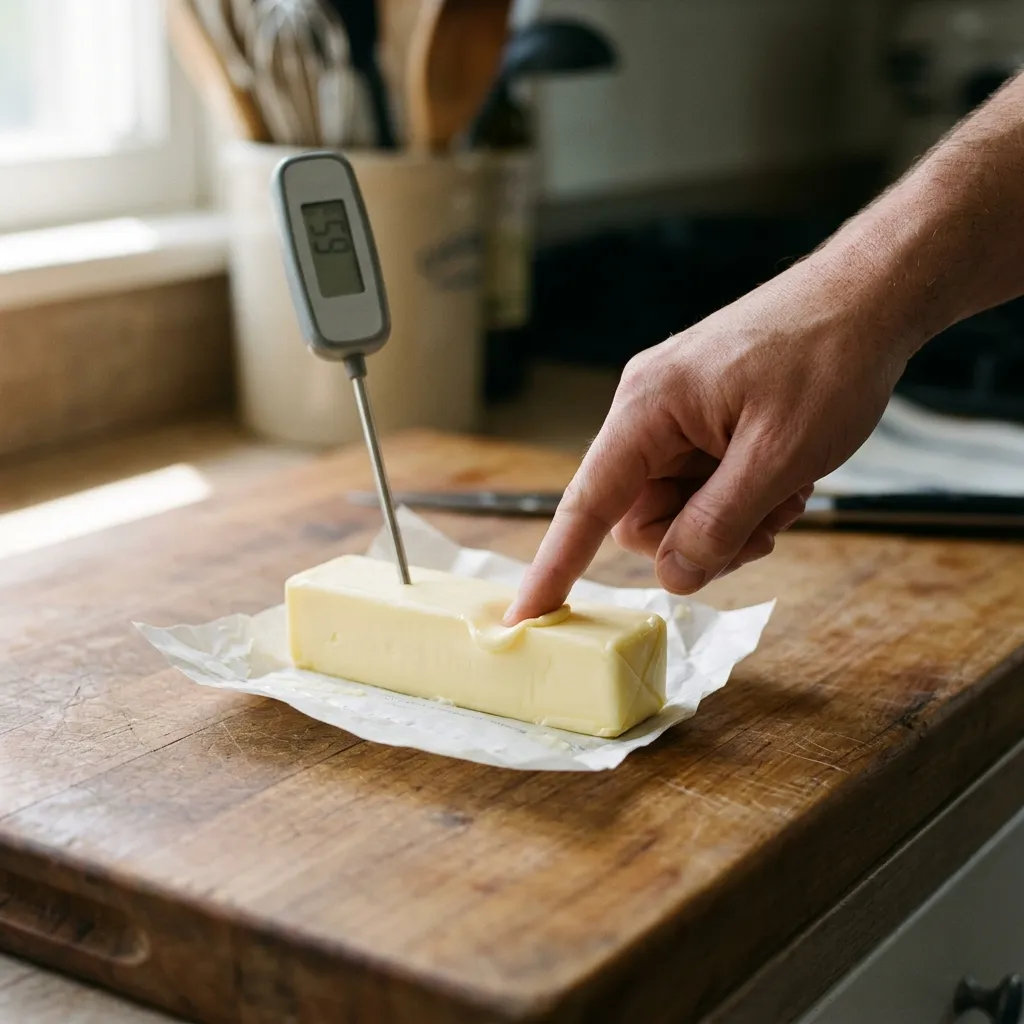
Pro Tip: Poke an instant-read thermometer into the side of a stick once or twice this week. Seeing 66°F on the display teaches your fingers what softened feels like, and after that you can skip the thermometer.
Same Dough, Three Temperatures
I baked one chocolate chip dough three ways in a single afternoon. Softened sticks gave thick cookies with soft centers. Melted and cooled gave flat, chewy ones with crisp edges. Browned and cooled gave the deepest toffee flavor and a slightly flatter shape.
Using It in Pan Sauces
For sauces, add the fat last. Take the pan off the heat and swirl in cold cubes, one tablespoon at a time, until the sauce turns glossy and slightly thick. If the pan is too hot, the sauce breaks and turns greasy. Whisk in a spoonful of cold water or cream to bring it back.
Sticks, Tablespoons, and Grams
One U.S. stick is 8 tablespoons, 1/2 cup, or 4 ounces (113 grams). The wrapper prints tablespoon lines, so you can cut exactly what you need without a measuring cup. A scale beats cutting by eye, which drifts by a tablespoon or two.
Nutrition in Plain Language
One tablespoon of salted butter has about 100 calories, and nearly all of them come from fat: 11.5 grams, with about 7 grams of that saturated fat, according to USDA FoodData Central. It has no meaningful protein or carbs. Olive oil carries a smaller share of saturated fat per tablespoon, so I use oil for everyday sautéing and keep the stick for dishes where flavor matters. Browning it first gives you more flavor per tablespoon, so I use less. Salted sticks add sodium that varies by brand, so check the label if you watch your salt.
Storage: Counter, Fridge, and Freezer
Room Temperature: Salted sticks can sit in a covered dish for 1 to 2 days, according to USDA FoodKeeper. Keep the dish away from the stove and direct sun.
Refrigerator: Butter keeps 1 to 2 months from the purchase date at 40°F or below. Leave it in the wrapper, then set it in an airtight container or covered dish, because fat soaks up smells from onions, garlic, and leftovers.
Freezer: Sticks hold their best quality for 6 to 9 months at 0°F. Keep the wrapper on, slide the stick into a freezer bag, and press out the air. Thaw it overnight in the fridge.
Reheating and Melting: It does not need reheating, but you can melt it gently. Microwave cut pieces at 50 percent power in 10 second bursts, stirring between each, or melt them in a small saucepan over low heat.
Signs It Has Gone Bad: A sharp, sour, or cheesy smell, a smell like old oil, or a bitter taste means it is rancid. Any fuzzy or colored spots of mold mean you should throw it out.
Storage Trick: Slice a stick into 8 tablespoon pats, freeze them on a parchment lined plate for 1 hour, then drop them into a freezer bag. You can pull out exactly 3 tablespoons for a pan sauce without thawing a whole stick.
I buy 4 pounds when it goes on sale and freeze most of it. A week before I need a new stick, I move one to the fridge.
Common Mistakes to Avoid
- Microwaving the stick until it turns shiny. I did this for years. Melted fat cannot hold air, so cookies spread and cakes sink. If it is already glossy, chill the pieces for 20 minutes and stir until they look like soft paste again.
- Swapping salted for unsalted without trimming the salt. Salted sticks carry about 1/4 teaspoon of salt or a little more each, so sauces and frostings taste harsh. For frosting, a spoonful of powdered sugar and a splash of cream mellows it.
- Cranking the heat under butter. The milk solids scorch above 300°F, which leaves black specks and a bitter taste. Cook on medium. If specks have already formed, wipe the pan and start with a fresh stick, because the bitterness stays in the fat.
- Storing it unwrapped next to onions. Fat soaks up smells, so your toast ends up tasting like last night’s dinner. Keep sticks in the wrapper inside a covered dish.
- Baking with whipped sticks or tub spreads. Whipped has air folded in, about 67 calories a tablespoon against 102 for a regular stick, and spreads add water. Doughs turn wet and cookies spread. If the front of the box says spread, it is not a one to one swap.
Practical Tips and Tricks
- Save time: Slice a cold stick into 1/2 inch pieces and spread them on a plate. They soften in 15 to 20 minutes instead of an hour.
- Beginner shortcut: Trust the wrapper. Each printed line marks 1 tablespoon, so you can slice off 3 tablespoons without a measuring spoon.
- Freeze a stick for 30 minutes, then grate it on a box grater for biscuits and scones. The shreds stay cold and blend in fast.
- Storage: Write the freezer date on the wrapper and use the oldest stick first, always inside 9 months.
- Pull the pan off the heat the second the foam clears and you smell toast. Brown butter keeps cooking in a hot pan, so pour it into a cool bowl.
Related Recipes to Try
These three put the stages above to work:
- Homemade apple pie with a flaky crust: Cold pieces of fat are the whole story here, so keep them chilled until the dough goes into the oven.
- Chocolate chip cookies: A good place to compare softened and browned sticks side by side, using the temperatures above.
- Shrimp scampi: A pan sauce built on melted fat, where medium heat keeps the garlic and milk solids from scorching.
Frequently Asked Questions
Is butter dairy, and can you eat it if you are lactose intolerant?
Yes, butter is a dairy product, so it is not safe for anyone with a milk allergy. Lactose is another matter. USDA lists only 0.01 grams of carbohydrate in a tablespoon, so the lactose is a trace amount, and many people with lactose intolerance handle small servings. Ghee removes most of the milk solids and is gentler still. If you notice symptoms, ask your doctor what amount is right for you.
Why is my pie crust tough and not flaky even though I used cold butter?
Warm butter melts into the flour instead of staying in pieces, and that kills the flake. Cut cold sticks into 1/2 inch cubes, then work them in until the largest pieces are about the size of peas. Add ice water a tablespoon at a time, stop mixing while streaks of fat are still visible, and chill the dough for 30 minutes before rolling. Overworking builds gluten, and gluten makes crust tough.
Why is some butter darker yellow than others?
Color comes mostly from what the cows eat. Fresh grass is rich in beta carotene, so milk from cows on pasture makes deeper yellow sticks, and Irish sticks are a well known example. Paler sticks usually come from cows eating less grass. Color alone does not tell you the milkfat or the flavor, so check the label for the numbers that matter when you compare brands.
Is butter still safe to use after the date on the package?
Go by smell and storage, not the date alone. USDA FoodKeeper counts 1 to 2 months in the fridge from the day you bought it, and 6 to 9 months in the freezer. A stick kept at 40°F or below in its wrapper that still smells like cream is usually fine to bake with. When you are unsure, cut a small piece, smell it, and taste a crumb. Rancid fat is obvious.
Can I use oil instead of butter in baking?
Sometimes. Oil works in muffins, quick breads, and many cakes, since they get their lift from baking soda or baking powder. Use about three quarters of the amount, because a stick is only about 80 percent fat. Skip it for flaky pastry, biscuits, and cookies that rely on creaming, where solid fat builds the structure. For a closer flavor, brown a little and stir it into the oil.
Final Thoughts on Butter
Most of what goes wrong with butter comes down to temperature. Cold for flaky dough, 65 to 67°F for creaming, melted and cooled for chewy bars. Match the stage to the recipe and the rest is detail. On baking days I now set out the sticks and a thermometer before I open the flour, and I have not flattened a batch since. My daughter noticed before I did: she asked why the chocolate chip cookies stayed thick all month. Next time you open the fridge, check the date on your current stick and decide which job it is about to do. Found this helpful? Save it to your baking basics Pinterest board so you can refer back to it anytime!