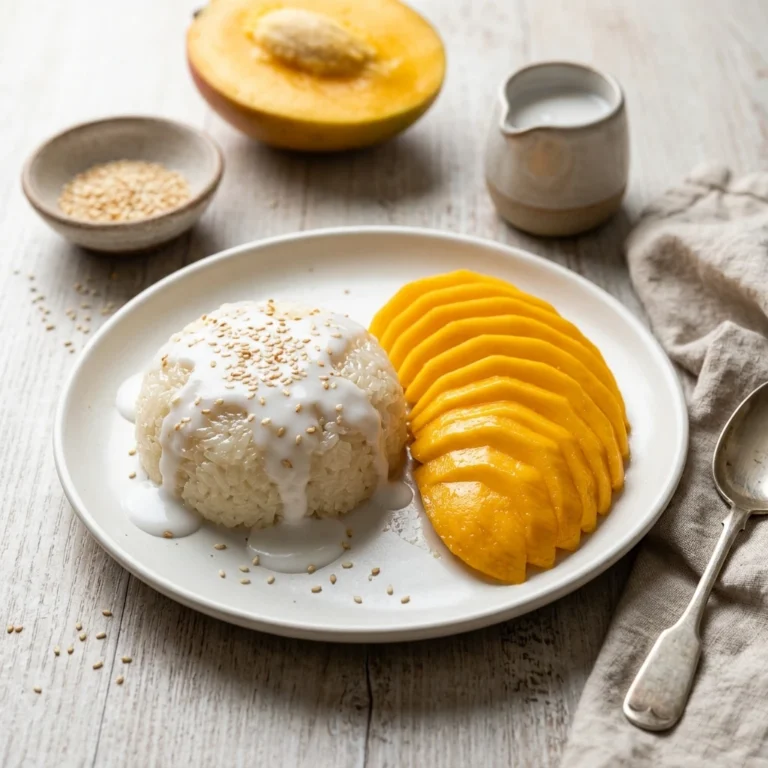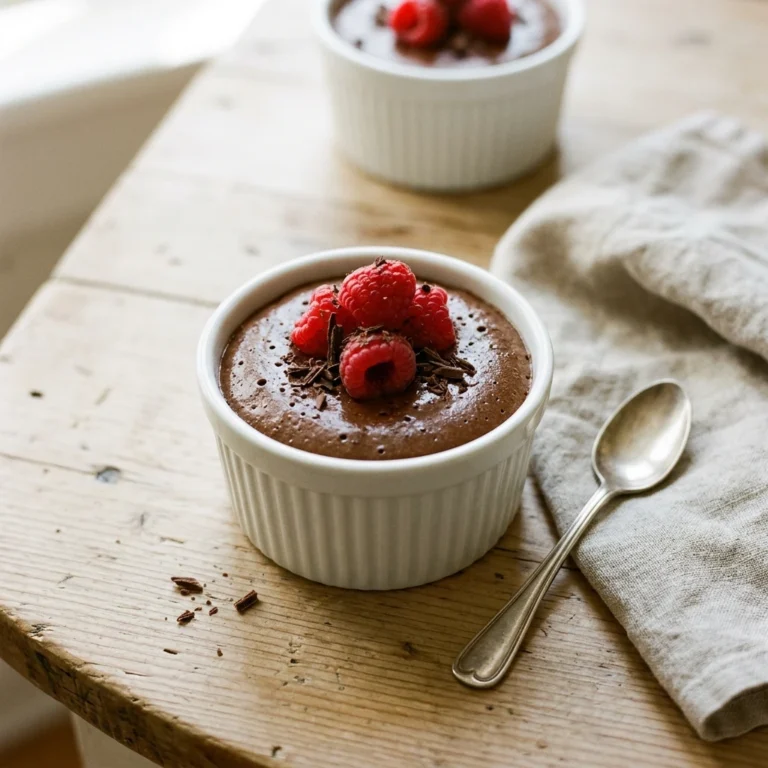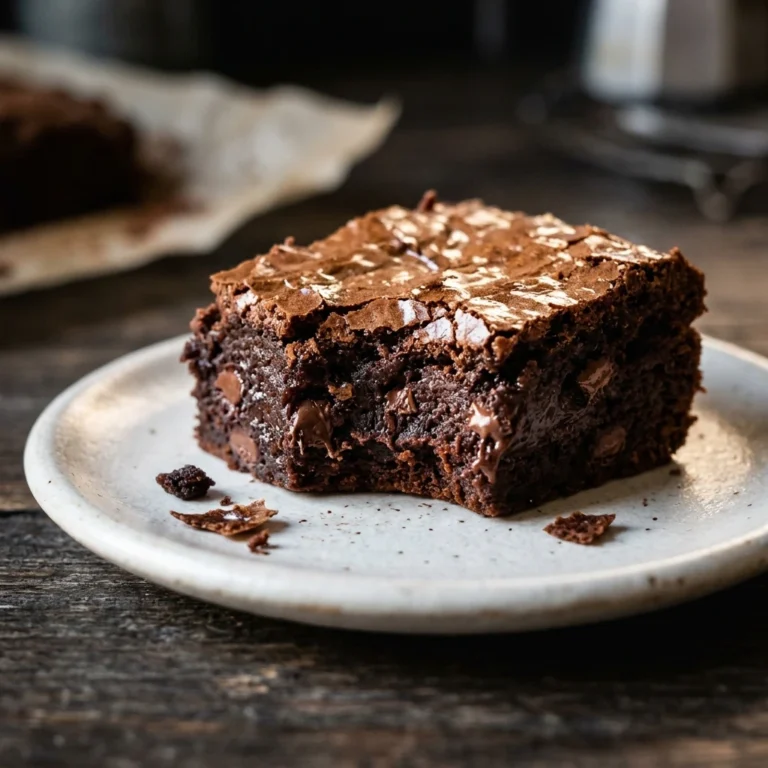
Easy Birthday Cake From Scratch That Stays Moist for Days
A birthday cake has to do two things: look good on the table and still taste good on day two. Most homemade versions manage the first and miss the second. The layers dry out overnight, or the frosting is so sweet that nobody finishes a slice.
This birthday cake is a soft vanilla butter cake baked in two 9-inch layers and covered in fudgy chocolate buttercream. It slices cleanly, stacks without sliding, and stays moist for a full two days. I baked it eleven times over six weeks, changing one thing per round: the butter temperature, the milk, the bake time, and the cocoa.
I started testing because my niece asked for a bakery-style cake for her ninth birthday and I refused to pay forty dollars for one. The recipe below is the version she requested again for her tenth. Read the preparation section first, because soft butter and room temperature eggs matter most.
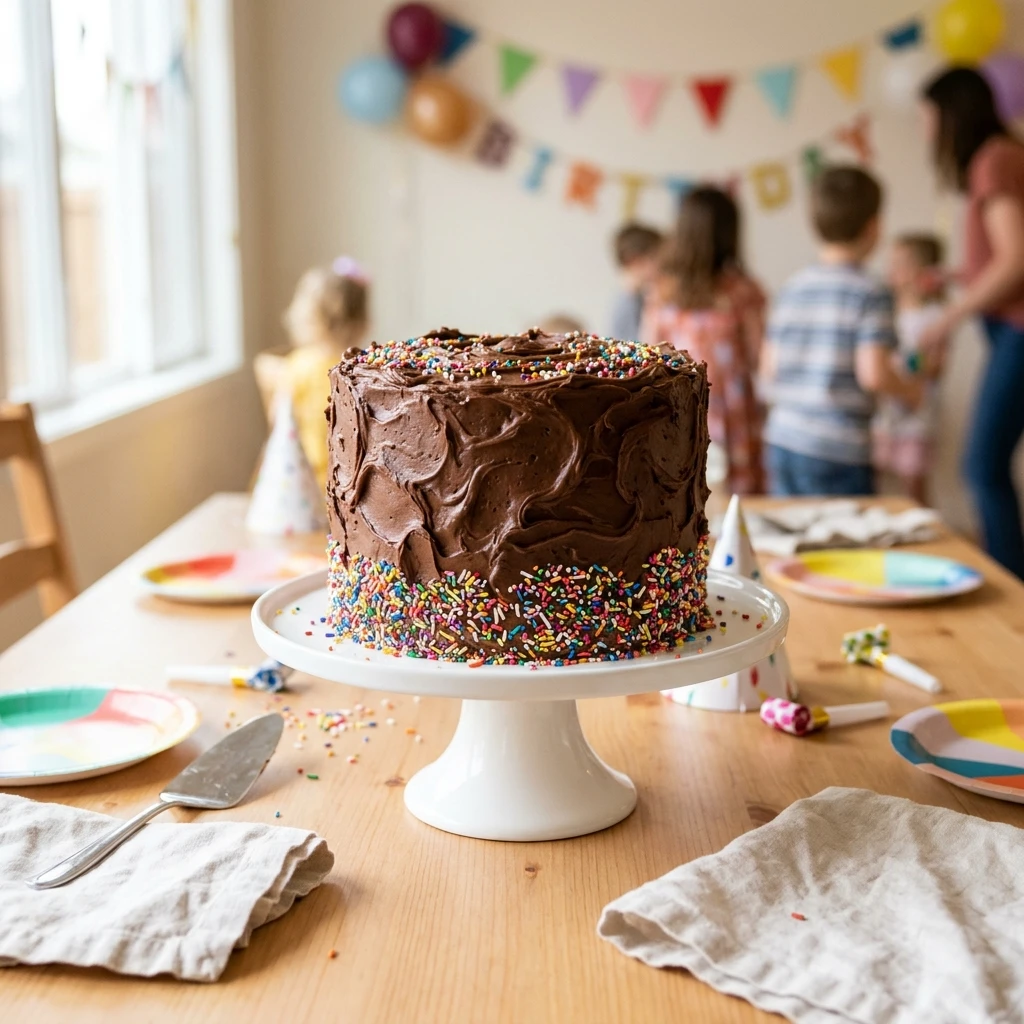
Table of Contents
Why You Will Love This Birthday Cake Recipe
- This birthday cake bakes two layers from one bowl of batter, and you only need two 9-inch round pans.
- Whole milk and real butter keep the crumb soft for two days.
- The frosting gets mixed while the layers cool, so decorating starts the minute the cake is cold.
- Unfrosted layers freeze well, so you can bake two weeks before the party.
Recipe Snapshot
- Prep Time: 30 minutes
- Cook Time: 30 minutes
- Cooling and Decorating Time: 1 hour 35 minutes
- Total Time: 2 hours 35 minutes
- Servings: 16 slices
- Difficulty: Medium
- Calories per Serving: About 590
- Key Tool: Kitchen scale
- Best For: A kids’ birthday cake, family dinners, and weekend baking
Nutrition Information
- Calories per Serving: About 590
- Protein: 5 g
- Carbs: 71 g
- Fat: 34 g
- Fiber: 2 g
- Sugar: 53 g
- Sodium: 217 mg
- Serving Size: About 1 slice (5 ounces)
- Servings per Recipe: 16
Most of the fat comes from the butter in the layers and the frosting, and the cocoa supplies the 2 g of fiber. Cutting 20 slices instead brings each one to about 475 calories.
Nutrition values are approximate and calculated per serving using standard ingredient amounts. Values may vary based on brands used and portion sizes.
Ingredients
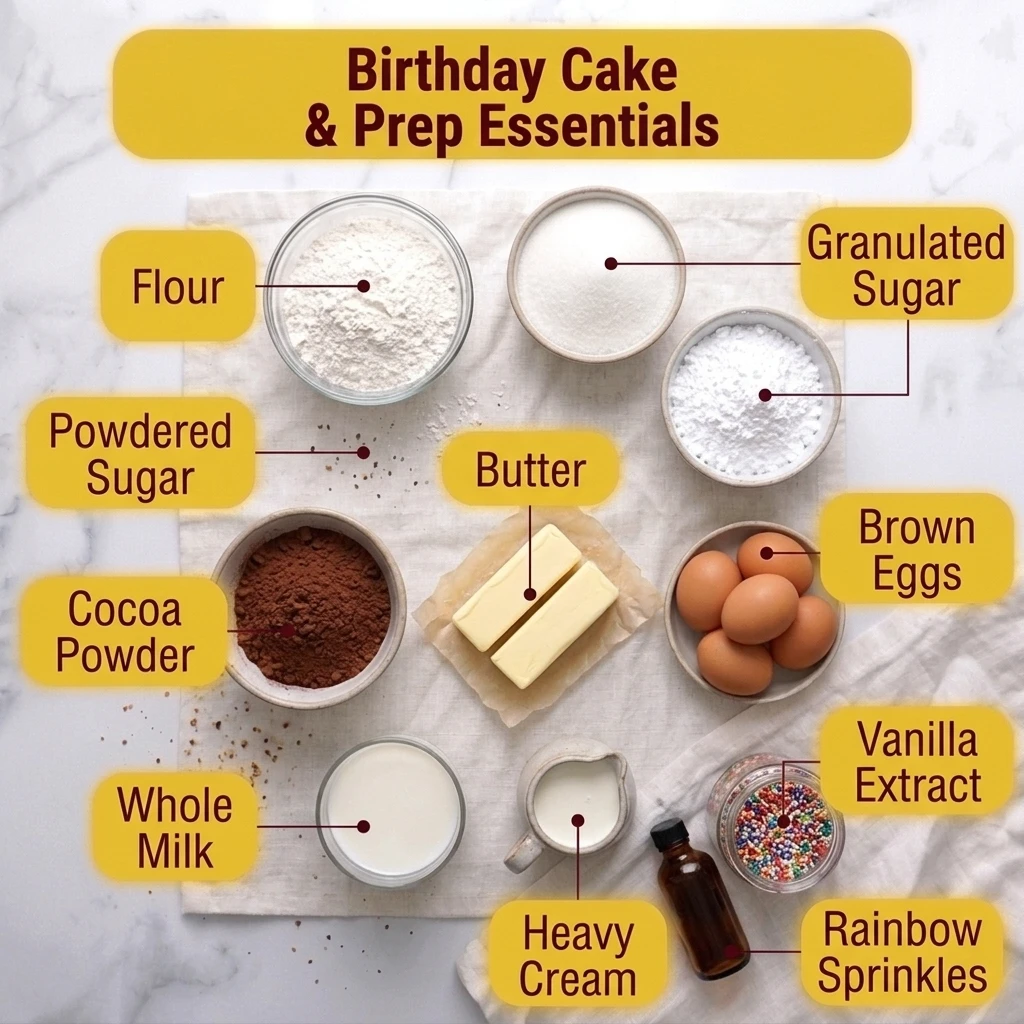
For the Vanilla Butter Cake
- 2 3/4 cups (330 g) King Arthur all-purpose flour
- 2 1/2 teaspoons baking powder
- 1/2 teaspoon fine salt
- 1 cup (226 g) unsalted butter, softened
- 1 1/2 cups (300 g) granulated sugar
- 4 large eggs, room temperature
- 1 tablespoon alcohol-free vanilla extract
- 1 cup (240 ml) whole milk, room temperature
- 1 tablespoon (14 g) unsalted butter, for greasing the pans
For the Chocolate Buttercream
- 1 1/2 cups (340 g) unsalted butter, softened
- 4 cups (480 g) powdered sugar, sifted
- 3/4 cup (64 g) Hershey’s Special Dark cocoa powder, sifted
- 1/3 cup (80 ml) heavy cream
- 2 teaspoons alcohol-free vanilla extract
- 1/4 teaspoon fine salt
For Decorating
- 1/3 cup (50 g) rainbow sprinkles, gelatin-free
Ingredient Check: Choose sprinkles that list no gelatin and no alcohol-based flavoring.
Three ingredients decide how this birthday cake turns out. Butter at about 65°F traps air when creamed with sugar, and that air lifts the layers. A scooped cup of flour can weigh 20 g more than a spooned one, so weigh it. Room temperature eggs and milk blend in without splitting the batter. I use King Arthur because every bag behaves the same.
Substitutions: Buttermilk replaces the milk for a slight tang. Cake flour works at the same weight, though the layers turn more fragile. Whole milk replaces the cream in the frosting, added 1 tablespoon at a time.
Equipment Needed
- Two 9-inch round cake pans, 2 inches deep: Light-colored metal bakes more evenly than dark pans.
- Parchment paper: Trace the pan bottoms and cut two circles.
- Electric mixer: A hand mixer works, but add 1 minute to the creaming time.
- Kitchen scale: It keeps both layers the same thickness.
- Wire cooling rack: Airflow keeps the bottoms from turning soggy.
- Offset spatula: It smooths the sides without smearing crumbs.
Preparation
- Ingredients: Set out the butter, eggs, and milk 1 hour before baking. The butter should dent when pressed but never look shiny or greasy.
- Oven: Heat the oven to 350°F with a rack in the center.
- Pans: Grease the sides of both pans with the 1 tablespoon of butter. Press a parchment circle into each bottom.
- Sifting: Sift the powdered sugar and cocoa together so the frosting stays lump free.
- Mise en place: Measure everything into small bowls and weigh the flour first.
Step-by-Step Instructions
- Whisk the flour, baking powder, and 1/2 teaspoon salt for 30 seconds. No pockets of baking powder remain.
- Beat 1 cup butter and the sugar on medium speed for 4 minutes. The mixture turns pale yellow and looks like whipped frosting.
- Beat in the eggs one at a time, 30 seconds each, then the vanilla. Chef’s Note: Scrape the bowl after the third egg, where unmixed butter hides. The batter looks glossy, with no yolk streaks.
- Add the flour in three parts and the milk in two, starting and ending with flour, on low speed. Chef’s Note: Stop as soon as the last flour streak disappears. The batter is thick and falls in a slow ribbon.
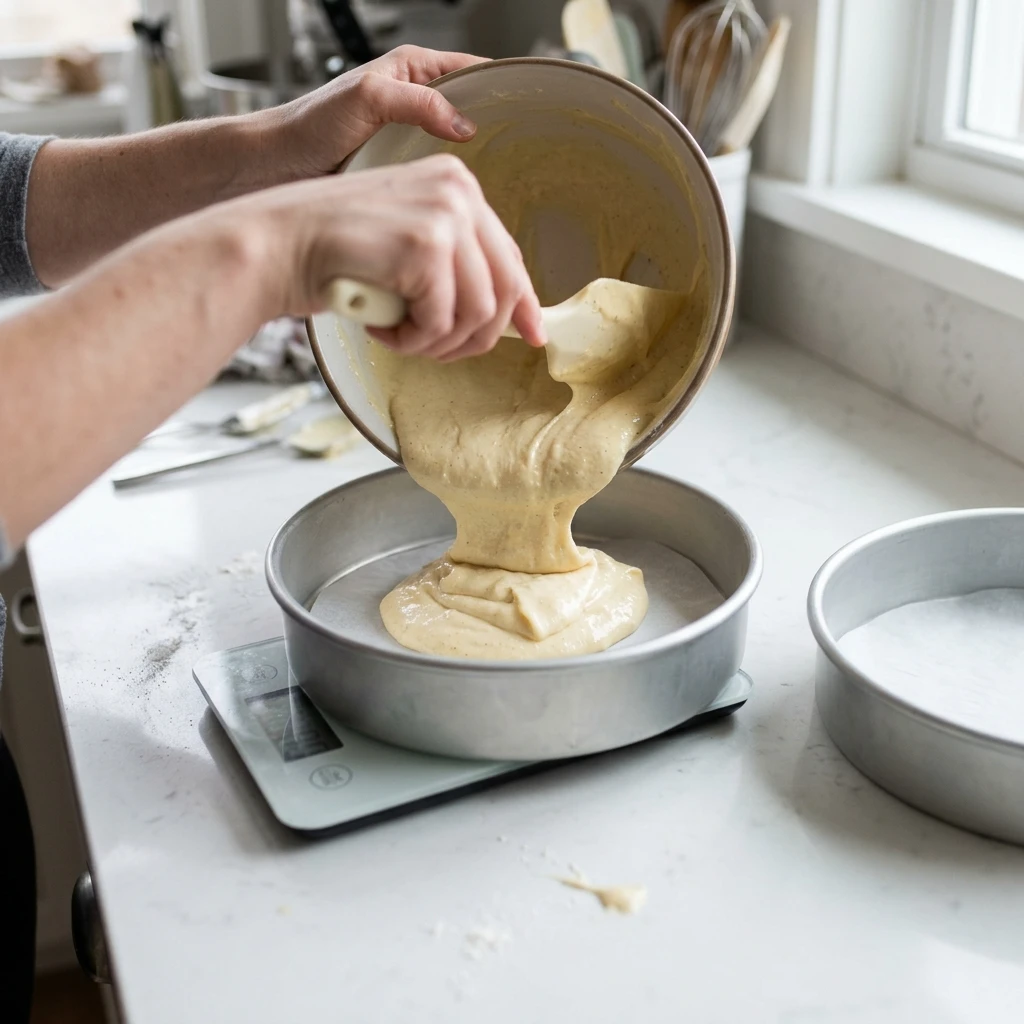
- Spoon about 665 g (23 1/2 ounces) of batter into each pan on the scale and smooth the tops. The surfaces are level with no large bubbles.
- Bake at 350°F for 28 to 32 minutes, keeping the door closed until minute 22. Chef’s Note: Leave 2 inches between the pans and the oven walls so heat moves evenly. The tops are golden, spring back when touched, and a toothpick shows a few moist crumbs.
- Cool in the pans for 10 minutes, run a knife around the edges, flip onto the rack, and peel off the parchment. After 1 hour, the bottoms feel cool to your palm.
- While the layers cool, beat 1 1/2 cups butter for 3 minutes, then add the sifted sugar and cocoa in three batches on low speed. Beat in the cream, vanilla, and salt for 2 minutes. The frosting is smooth, dark brown, and holds a soft peak.
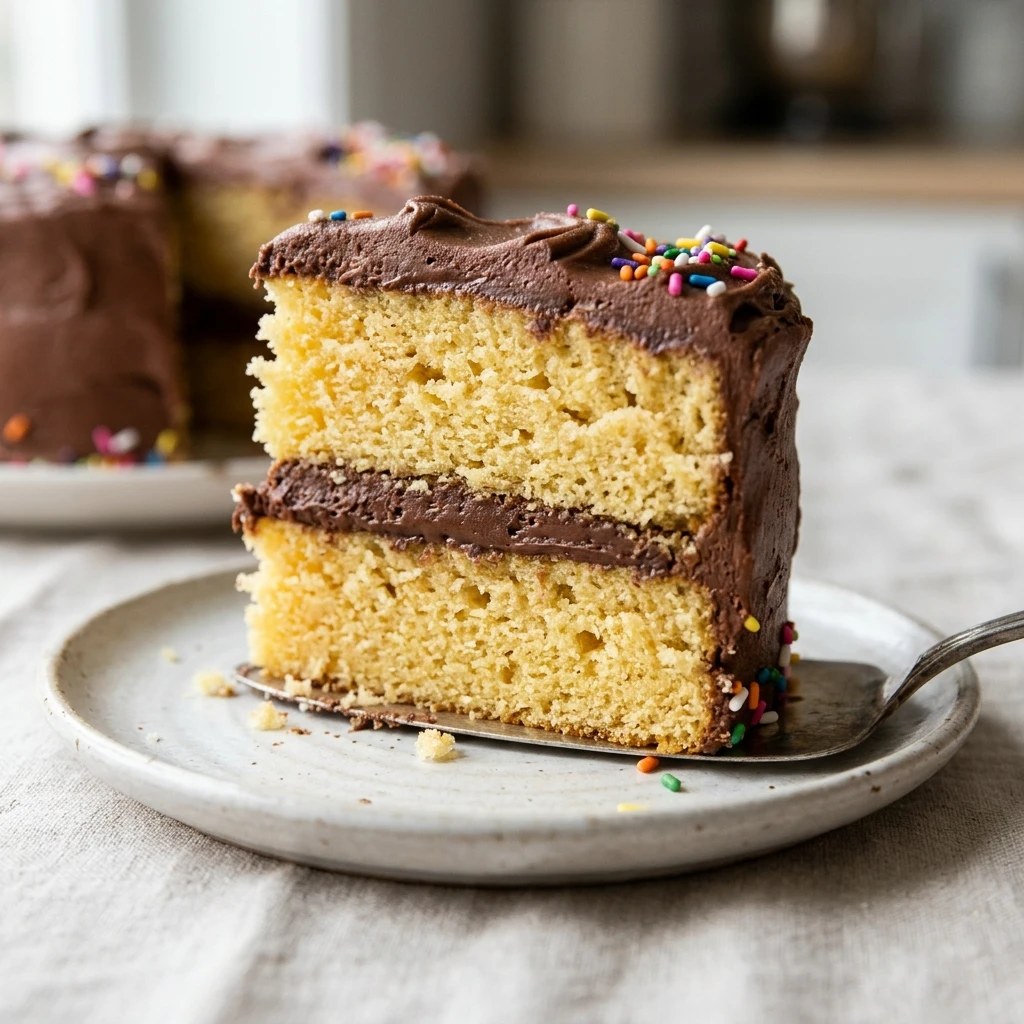
- Trim any dome with a serrated knife, then spread 1 cup of frosting on one layer and top with the second, flat side up. The stack looks level from the side.
- Coat the top and sides with a thin layer of frosting, then chill for 15 minutes. Chef’s Note: This crumb coat uses about 1 cup, so cover the rest. The surface feels firm and no longer sticks to a fingertip.
- Frost with the remaining buttercream, smooth the sides with the offset spatula, and press on the sprinkles. The frosting looks glossy and even, with the sprinkles stuck in place.
Expert Tips and Tricks
- My mistake: I once creamed butter straight from the fridge, and the cake baked with a coarse, greasy crumb. Now I cube cold butter and wait 30 minutes.
- Make-ahead: Bake the layers 2 days before the party and frost on party day. Cold layers cut level and shed fewer crumbs.
- Technique: Cream the butter and sugar for the full 4 minutes. The sugar crystals cut tiny air pockets that give the crumb its lift.
- Texture: An oven running 25°F hot dries the edges before the center sets, so I keep a $10 oven thermometer on the center rack.
- Storage: Freeze the trimmed dome scraps in a zip bag for up to 1 month and fold them into a trifle.
Common Mistakes and Troubleshooting
Sunken center. This birthday cake collapses when the oven door opens before it sets, or when it is underbaked. Check at minute 22, not before. If a dip already formed, fill it with extra frosting.
Dry, crumbly layers. Too much flour or too much oven time does it. Weigh the flour and set a timer for 28 minutes. To rescue dry layers, brush each with 2 tablespoons of cooled simple syrup (equal parts sugar and water, simmered until clear).
Curdled-looking batter. Cold eggs or milk firm up the butter and split the batter. If it splits, add 1 tablespoon of the flour and keep mixing.
Crumbs in the frosting. A bare cake drags crumbs into the frosting. A crumb coat and 15 minutes of chilling lock them down. If crumbs already show, chill the cake and scrape off the top layer of frosting.
Sliding layers. Warm layers melt the buttercream and slip. Cool them for a full hour. If the cake already slid, chill it for 30 minutes, then nudge the layers back.
Storage Instructions
- Room Temperature: A frosted birthday cake keeps up to 2 days under a cake dome, away from sun and the stove. Use the refrigerator if your kitchen runs warm.
- Refrigerator: Up to 4 days in an airtight glass container or cake carrier. Let slices sit out for 30 minutes before eating.
- Freezer: Up to 2 months. Wrap unfrosted layers in two sheets of plastic wrap, or freeze slices on a tray for 1 hour, then bag them in freezer-safe zip bags. Thaw overnight in the refrigerator.
- Reheating: Not needed. For a just-baked feel, microwave one slice for 8 seconds.
- Make-Ahead Notes: Wrap cooled layers and keep them at room temperature up to 2 days. Refrigerate the frosting in a covered bowl up to 3 days, then rewhip it for 1 minute.
I freeze single slices on a parchment lined tray, then bag them. A slice thawed on the counter for 45 minutes tastes freshly baked.
Storage Trick: Press parchment against the cut side of the cake before covering it. It keeps the crumb from drying out.
Variations and Substitutions
Funfetti (Kid-Friendly): Fold 1/3 cup rainbow jimmies into the batter at the end of step 4. Jimmies hold their color, unlike nonpareils, which bleed.
Mexican Chocolate (Spicy): Stir 1/2 teaspoon cinnamon and 1/8 teaspoon cayenne into the cocoa before sifting. The cayenne adds slow warmth, not real heat.
Cream Cheese Frosting (Mild and Tangy): Frost the birthday cake with cream cheese frosting for a tangier finish. Refrigerate it after 2 hours.
Gluten-Free: Use a 1 to 1 gluten-free flour blend with xanthan gum at the same 330 g. Check at 28 minutes, and expect a more delicate crumb.
Vegetarian and Dairy-Free: The base recipe is already vegetarian. For dairy-free, use plant-based butter, unsweetened oat milk, and coconut milk instead of cream.
What to Serve With This Birthday Cake
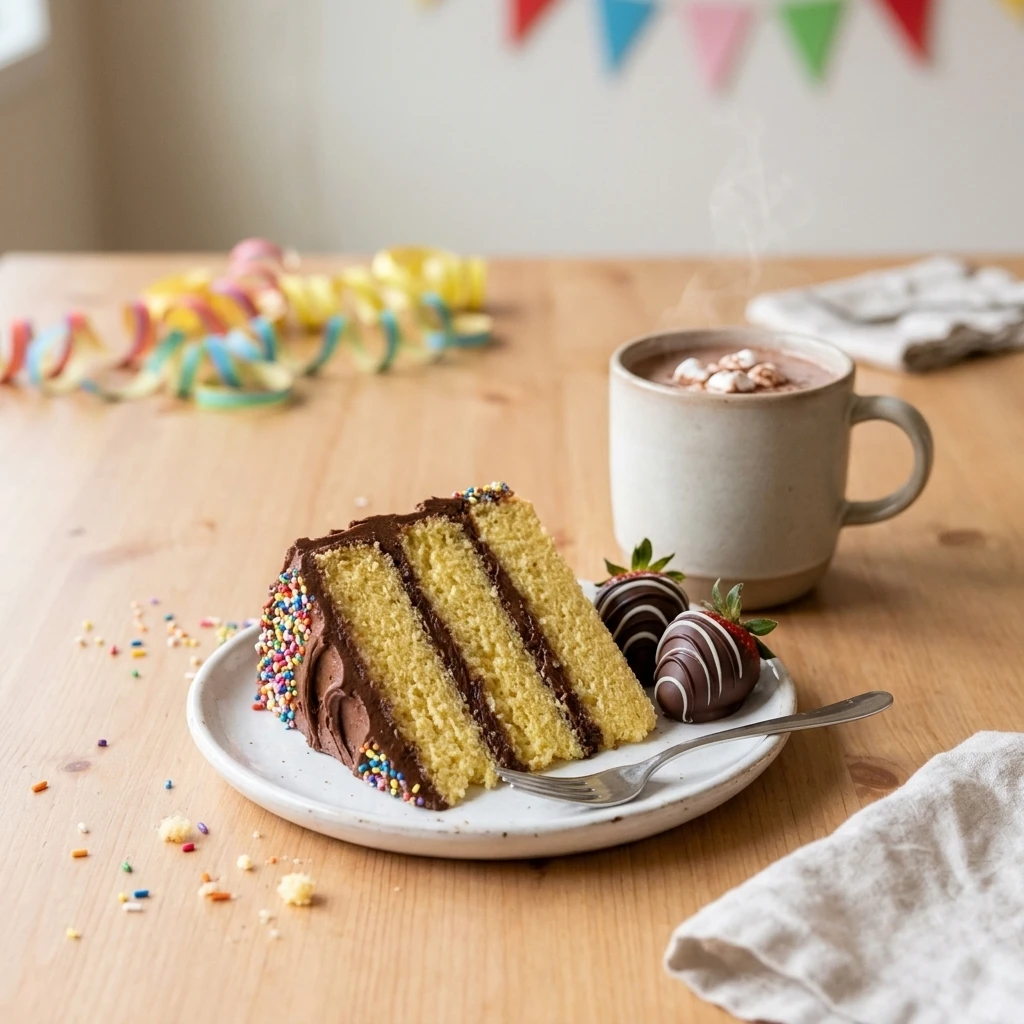
- Chocolate covered strawberries: Tart berries cut through the rich frosting, and chocolate covered strawberries look great fanned around the cake stand.
- Hot chocolate: A mug of homemade hot chocolate turns a winter party into a full dessert spread.
- Vanilla ice cream: A scoop melts into the slice and softens the cocoa.
- Sparkling white grape juice: Adults get a festive, alcohol-free toast in a tall glass.
Frequently Asked Questions
can i make a birthday cake the day before
Yes. Bake and cool the layers up to 2 days ahead, wrap each one in plastic wrap, and keep them at room temperature. Frost the cake the day before or the morning of the party. A frosted cake holds up well under a dome for 2 days, and the crumb tastes softer after one night. If you chilled it, give it 30 minutes on the counter before serving.
why is my homemade birthday cake dry
Most dry cakes come from too much flour or too much oven time. Weigh 330 g of flour instead of scooping, and start checking at 28 minutes, not 35. Serving the cake straight from the refrigerator also makes it taste dry, because the butter firms up. If the layers are already baked, brush them with cooled simple syrup before frosting.
can i use cake flour instead of all purpose flour in a birthday cake
Yes, swap it at the same weight, 330 g. Cake flour has less protein, so the crumb comes out finer and softer. The layers also turn more fragile, so flip them out of the pans gently. Measure it by weight, because cake flour packs differently in a cup. I still prefer all-purpose flour because the layers stack and carry the frosting better.
how do i know when my birthday cake is done baking
Look for four signs at 28 to 32 minutes in a 350°F oven. The top is golden, it springs back when pressed, the edges pull slightly from the pan, and a toothpick comes out with a few moist crumbs. A completely clean toothpick usually means the cake baked a minute too long. If your oven runs hot, start testing at 25 minutes.
what is the difference between birthday cake and vanilla cake
There is no strict rule, because a birthday cake is any cake served at a birthday. Most are yellow butter cakes, which use whole eggs and give a golden color and rich flavor. White vanilla cake uses egg whites and looks paler. This recipe is a yellow-style vanilla cake, and the sprinkles and the chocolate buttercream make it feel like a party cake.
Final Thoughts on Your Homemade Birthday Cake
The best thing you can do for this cake is give it time. Let the layers cool a full hour, chill the crumb coat for 15 minutes, and slice after the frosting sets. Those pauses cost 75 minutes, and they are why the cake looks like it came from a shop window.
At my niece’s tenth party, she told her friends I had bought it. I let her believe that for about a minute. The recipe card sits right below, so you can print it or double it.
If you loved this recipe, save it to your cake recipes Pinterest board so you can find it easily later!
Easy Birthday Cake From Scratch That Stays Moist for Days
Ingredients
Equipment
Method
- Set out the butter, eggs, and milk 1 hour ahead. Heat the oven to 350°F, grease the sides of two 9-inch pans with the 1 tablespoon butter, press a parchment circle into each bottom, and sift the powdered sugar and cocoa together.
- Whisk the flour, baking powder, and 1/2 teaspoon salt for 30 seconds, until no pockets of baking powder remain.
- Beat 1 cup butter and the granulated sugar on medium speed for 4 minutes, until pale yellow and like whipped frosting.
- Beat in the eggs one at a time, 30 seconds each, then the vanilla, until the batter is glossy with no yolk streaks. Scrape the bowl after the third egg.
- On low speed, add the flour mixture in three parts and the milk in two, starting and ending with flour. Stop as soon as the last flour streak disappears, when the batter is thick and falls in a slow ribbon.
- Spoon about 665 g (23 1/2 ounces) of batter into each pan on the scale and smooth the tops, until level with no large bubbles.
- Bake at 350°F for 28 to 32 minutes, keeping the door closed until minute 22, until the tops are golden, spring back when touched, and a toothpick shows a few moist crumbs. Leave 2 inches between the pans and the oven walls.
- Cool in the pans for 10 minutes, run a knife around the edges, flip onto the rack, and peel off the parchment. Cool for 1 hour, until the bottoms feel cool to your palm.
- While the layers cool, beat 1 1/2 cups butter for 3 minutes, then add the sifted sugar and cocoa in three batches on low speed. Beat in the cream, 2 teaspoons vanilla, and 1/4 teaspoon salt for 2 minutes, until smooth, dark brown, and holding a soft peak.
- Trim any dome with a serrated knife, spread 1 cup of frosting on one layer, and top with the second layer, flat side up, until the stack looks level from the side.
- Coat the top and sides with a thin crumb coat (about 1 cup of frosting), then chill for 15 minutes, until firm and no longer sticky to a fingertip.
- Frost with the remaining buttercream, smooth the sides with the offset spatula, and press on the sprinkles, until the frosting looks glossy and even.
Notes
- Weigh the flour. A scooped cup can run 20 g heavy and dry out the layers.
- Choose sprinkles with no gelatin and no alcohol-based flavoring.
- Storage: keep covered at room temperature up to 2 days, refrigerate up to 4 days, or freeze up to 2 months.