Easy Hot Chocolate Ready in 15 Minutes
Most hot chocolate lands in one of two camps: thin chocolate milk that got a minute in the microwave, or a gritty mug with a layer of dry powder sitting at the bottom. This recipe avoids both. You whisk cocoa into a small splash of milk first, then melt real chopped chocolate into the hot milk off the heat. The cocoa brings deep flavor and the chocolate brings body. The result tastes like a melted chocolate bar, only warm and drinkable.
I tested this stovetop hot chocolate nine times over three weeks, changing one thing per round: the cocoa amount, the sugar, the heat level, the chocolate. Round six was the first cup my daughter finished without asking for extra sugar. Round nine is the version below.
It takes 15 minutes, uses one saucepan, and makes four full mugs. There is no powdered milk, no cornstarch, and no packet involved. Every ingredient is certified, toppings included, so the whole table can share the pot.
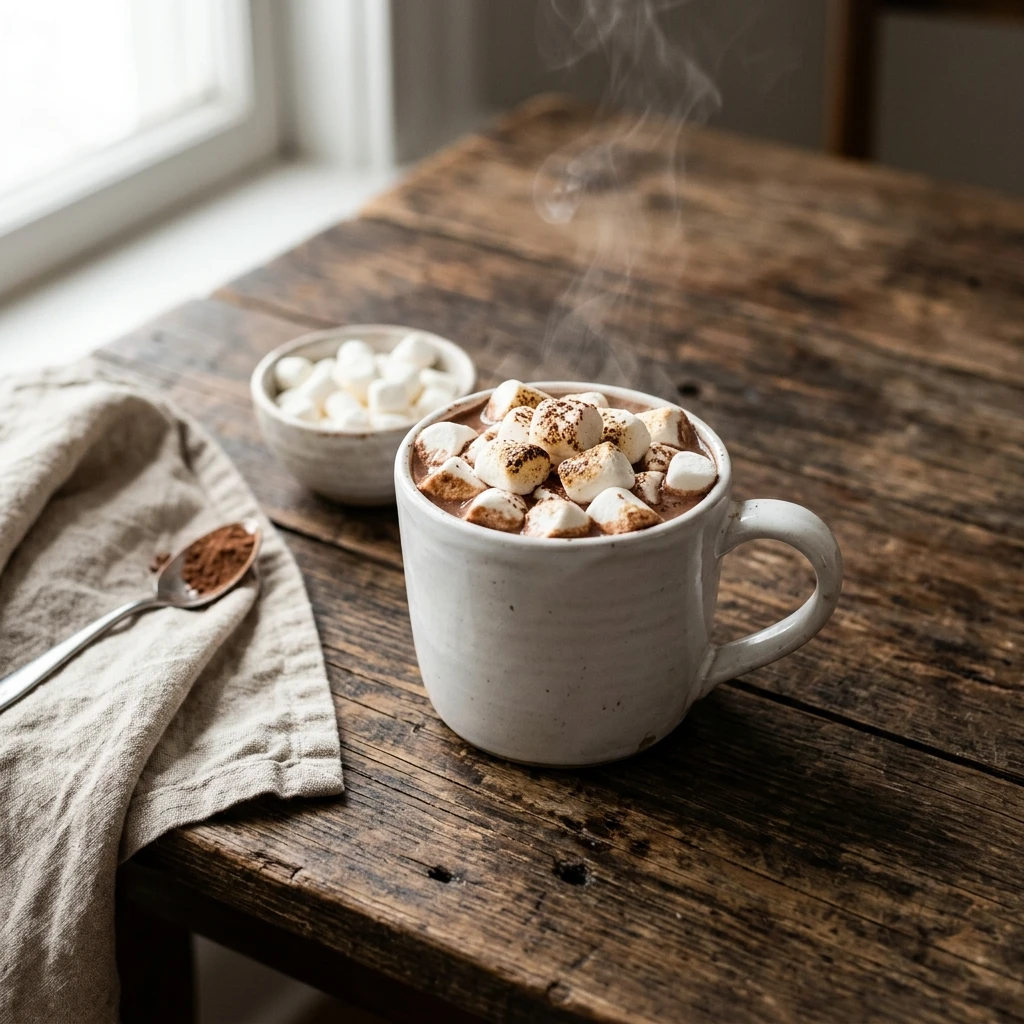
Table of Contents
Why You Will Love This Hot Chocolate Recipe
- It is ready in 15 minutes, which makes a school night treat realistic.
- You need one saucepan and six ingredients from a normal grocery run.
- The cup tastes rich and creamy without any cream, because real chocolate carries the body.
- No lumps, thanks to the cocoa paste step.
- Leftovers reheat well, so a double batch covers tomorrow morning too.
- Kids like it because it is warm, not scalding, and sweet without tasting like syrup.
Hot Chocolate Recipe Snapshot
- Prep Time: 5 minutes
- Cook Time: 10 minutes
- Total Time: 15 minutes
- Servings: 4
- Difficulty: Easy
- Calories per serving: About 345
- Key Tool: Medium saucepan and a whisk
- Best For: Cold mornings, after school, cozy weekends
Hot Chocolate Nutrition Information
- Calories per Serving: About 345
- Protein: 10 g
- Carbs: 45 g
- Fat: 17 g
- Fiber: 3 g
- Sugar: 39 g
- Sodium: 254 mg
- Serving Size: About 1 cup
- Servings per Recipe: 4
Each cup gives you about 10 grams of protein, mostly from the milk, plus 3 grams of fiber from the cocoa and chocolate. Sugar is the number to watch. About 27 of those grams come from the added sugar and the chocolate, and about 12 are natural milk sugar. For a lighter cup, cut the sugar to 2 tablespoons and let the chocolate carry the sweetness.
Nutrition values are approximate and calculated per serving using standard ingredient amounts. Values may vary based on brands used and portion sizes.
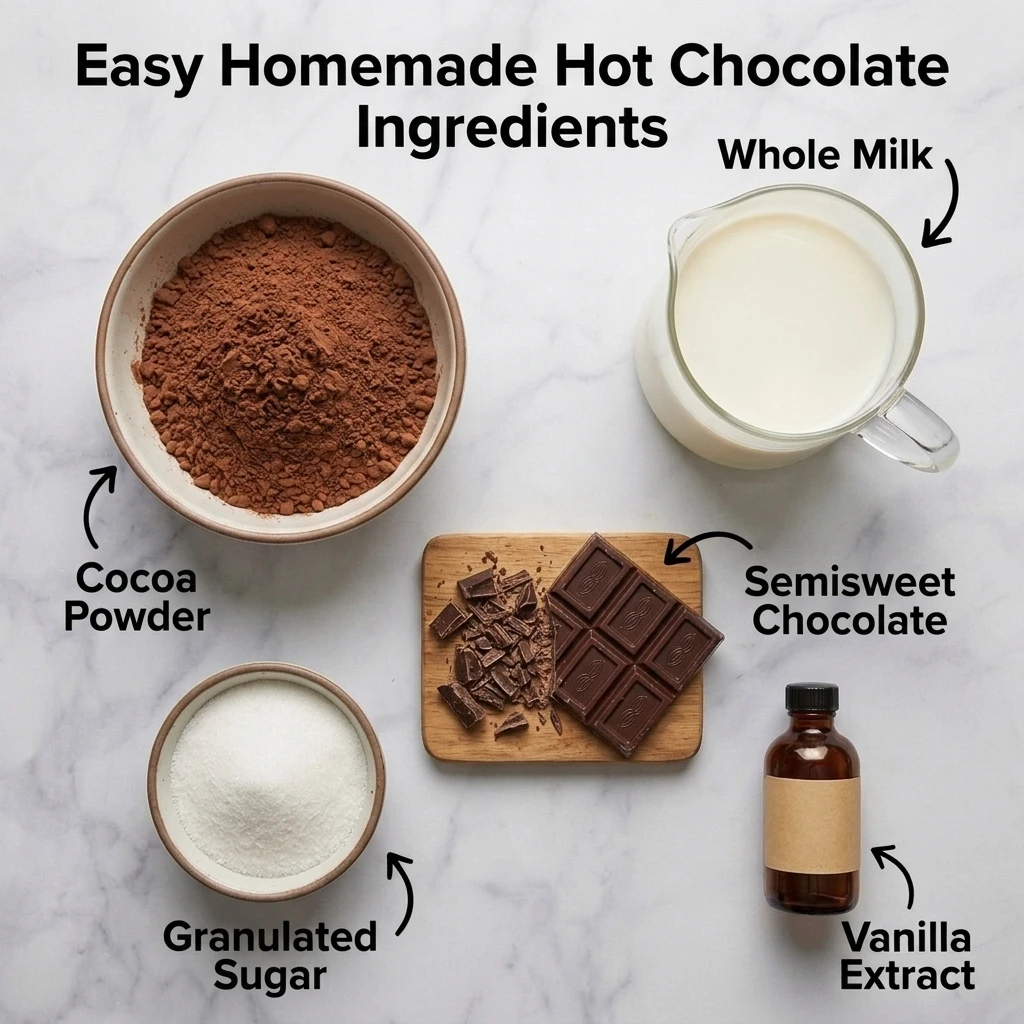
Ingredients for Homemade Hot Chocolate
For the drink:
- 4 cups whole milk
- 1/4 cup unsweetened Dutch-process cocoa powder
- 1/4 cup granulated sugar
- 1/4 teaspoon fine salt
- 4 ounces semisweet chocolate bar, finely chopped (about 2/3 cup)
- 1 teaspoon alcohol-free vanilla extract
For topping (optional):
- Certified or gelatin-free marshmallows
- Whipped cream
Swaps that work:
- Milk: barista-style oat milk in the same amount.
- Cocoa: natural unsweetened cocoa, which tastes a little sharper.
- Sugar: light brown sugar, which adds a faint caramel note.
- Chocolate: bittersweet chocolate at 60 percent cacao, plus 1 extra tablespoon of sugar.
- Vanilla: leave it out if you cannot find an alcohol-free bottle.
Three ingredients decide how this cup turns out. Whole milk has the fat that gives the drink body, while 2 percent tastes thinner and skim tastes watery. A chopped bar melts faster than chips, since chips carry stabilizers that help them hold their shape in cookies. I used a Ghirardelli semisweet baking bar, and it melted in under a minute. Regular vanilla extract contains alcohol, so choose an alcohol-free one. Marshmallow gelatin can come from many sources, so check for a certification on the label.
Equipment Needed
- 3-quart saucepan: a wide base heats the milk evenly and leaves room to whisk.
- Balloon whisk: it breaks up cocoa faster than a spoon.
- Serrated knife and cutting board: the teeth grip the bar and chop it fine.
- Liquid measuring cup: measure the paste milk exactly, then pour the rest.
- Ladle: it fills mugs without drips down the side.
- Instant-read thermometer (optional): you are aiming for about 150°F.
Preparation
- Measure everything before the burner goes on. Keep the cocoa, sugar, and salt together in one small bowl, and pour 1/4 cup of the milk into a measuring cup.
- Chop the chocolate bar into pieces no bigger than 1/4 inch.
- Fill your mugs with hot tap water so they stay warm while you cook.
- No oven or preheating is needed. Set the burner to medium-low.
- Set out the marshmallows or whipped cream so you can top the mugs quickly.
Pro Tip: Chop from one corner of the bar inward until the pile looks like coarse sand mixed with small flakes. Pieces that small melt in about a minute with no extra heat.
Step-by-Step Instructions
- Pour the cocoa, sugar, and salt into the saucepan, then add the 1/4 cup of milk. Whisk over medium-low heat for 1 minute, until you have a thick, glossy paste with no dry specks. Chef’s Note: Wetting the cocoa first keeps it from floating in clumps once the rest of the milk arrives.
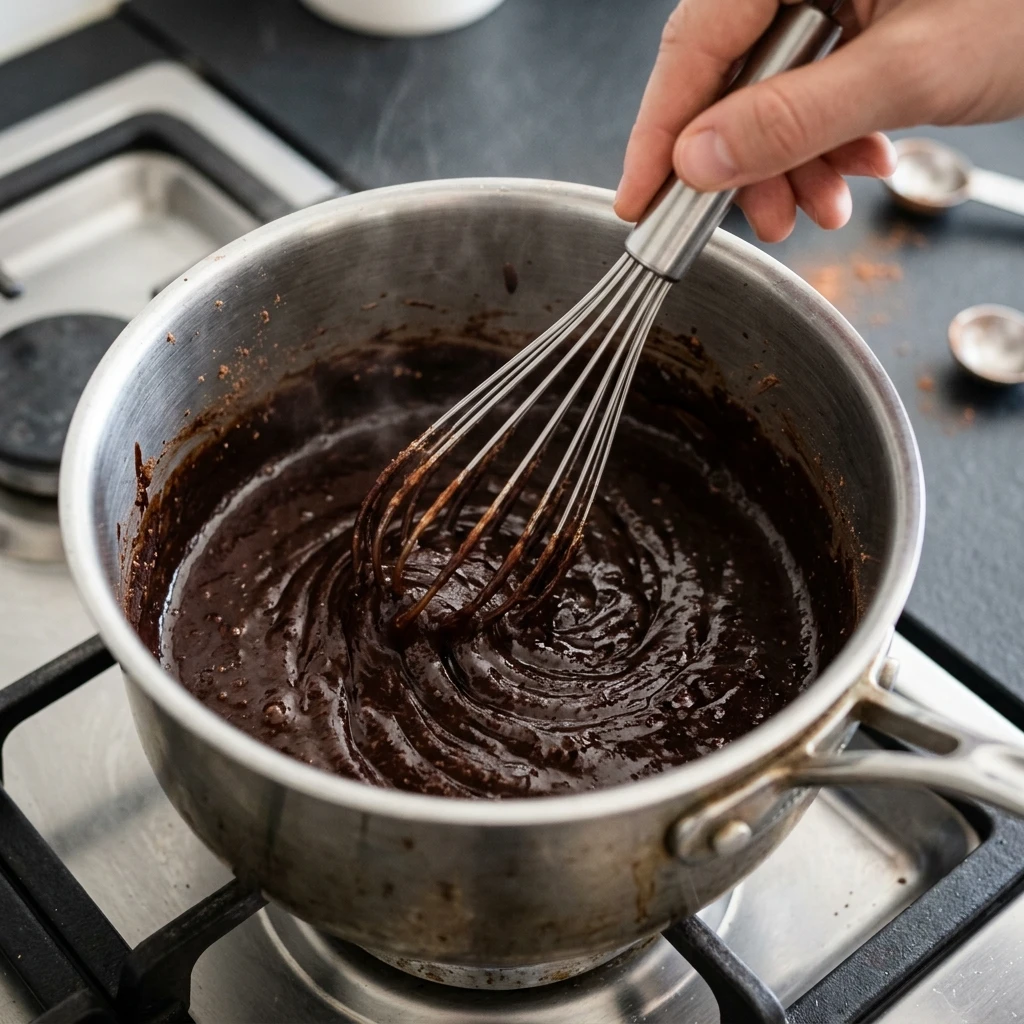
- Pour in the remaining 3 3/4 cups of milk in a slow stream while whisking. The liquid should turn an even, light brown with no streaks.
- Raise the heat to medium and warm the milk for 5 to 7 minutes, whisking every minute. Stop when steam rises steadily and tiny bubbles ring the edge of the pan, about 150°F. Chef’s Note: Never let it boil, because boiling milk scorches on the bottom and grows a skin on top.
- Pull the pan off the burner and add the chopped chocolate. Let it sit for 30 seconds, then whisk for 1 minute, until no flecks remain and the surface looks glossy. Chef’s Note: Leftover heat melts chocolate gently, while direct heat can turn it grainy.
- Stir in the vanilla and taste a spoonful. It should taste like dark chocolate first and sweetness second. Chef’s Note: If the cup tastes flat, add one more small pinch of salt before reaching for more sugar.
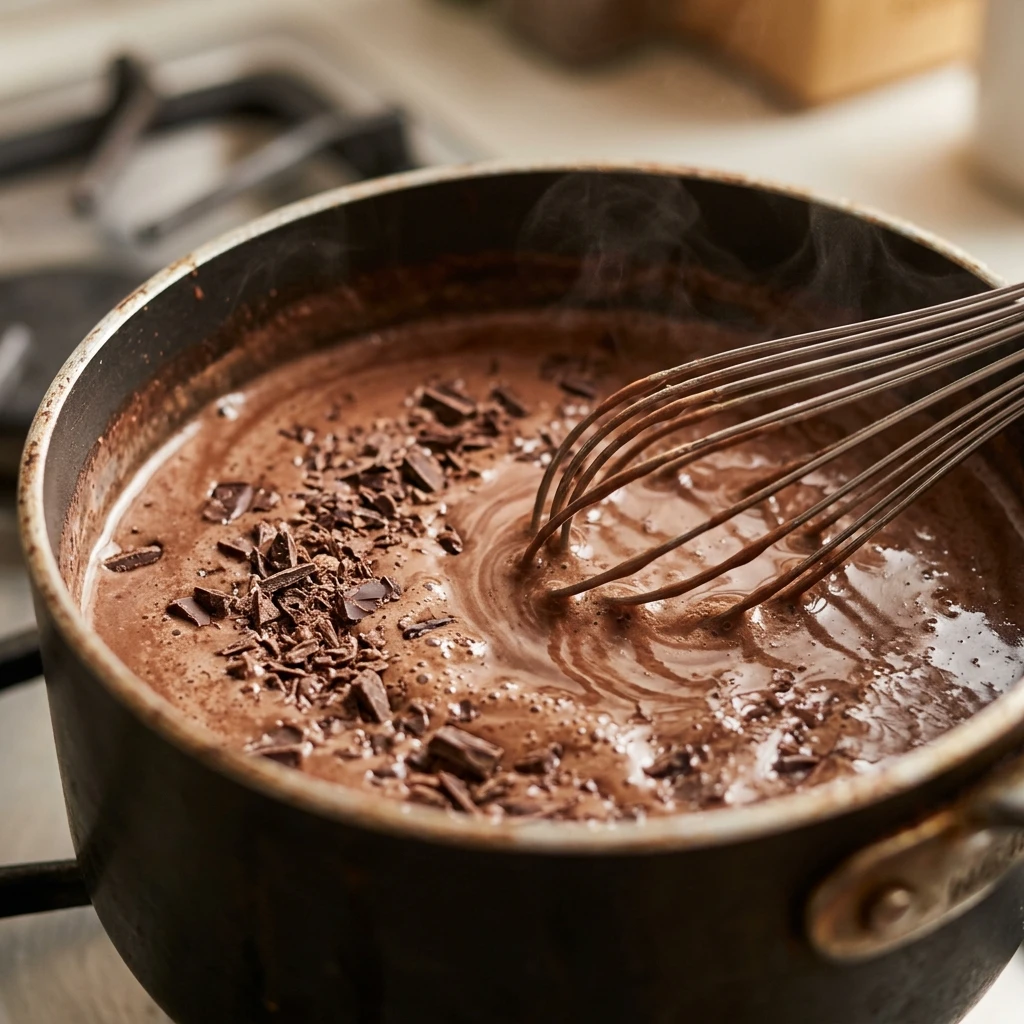
- Empty the warm water from the mugs. Ladle in about 1 cup per mug, filling each one about three quarters full.
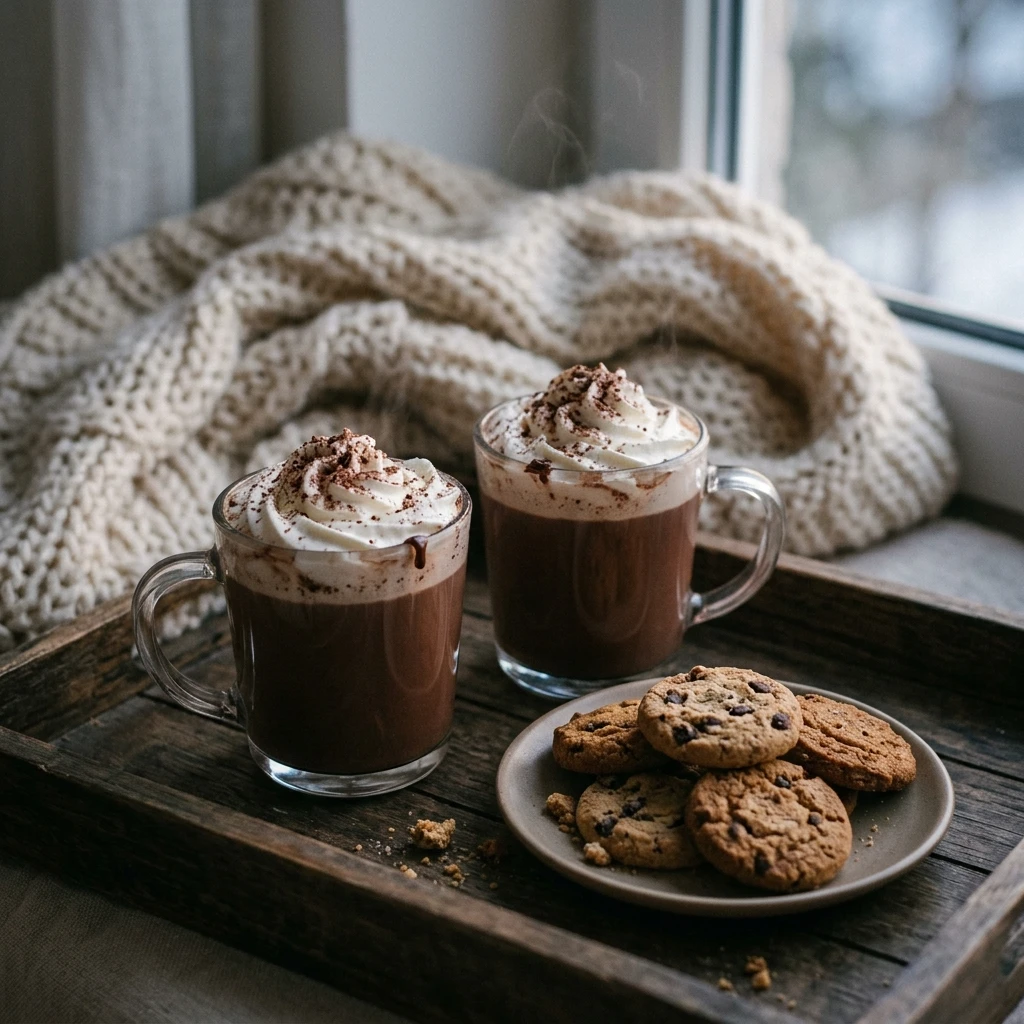
- Top with marshmallows or whipped cream and serve right away. The marshmallows should start to soften and slump into the surface within a minute.
Expert Tips and Tricks
- My mistake: on test two I walked away for three minutes with the burner on medium-high. I scraped a brown layer off the pan, and the whole batch tasted like burnt toast. Stay at the stove and keep the heat at medium.
- Make it ahead: chop the chocolate and measure the dry ingredients into a jar the night before, so the morning cup takes about 10 minutes.
- Storage: pour leftovers into a clean glass jar with a tight lid and refrigerate for up to 4 days.
- Technique: whisk in wide figure eights so you sweep the corners of the pan, where milk sticks first.
- Texture: for a frothy top, whisk the finished pot hard for 15 seconds right before ladling.
- Time saver: chop two bars at once and keep the extra in a zip bag for the next batch.
Make-Ahead Shortcut: Mix 1 cup cocoa, 1 cup sugar, and 1 teaspoon salt in a jar for four batches. Shake it first, since cocoa settles, then scoop 1/2 cup into the pan for each pot.
Common Mistakes and Troubleshooting
- Gritty texture. Dry cocoa never dissolved because it hit the milk all at once. Make the paste first. If the cup is already gritty, blend it for 15 seconds with an immersion blender.
- Burnt taste. Milk proteins stick and scorch over high heat. Keep the burner at medium and whisk every minute. If you smell scorching, pour the milk into a clean pan without scraping the bottom.
- Thin, watery cup. Low-fat milk or short-measured cocoa is usually the cause. Use whole milk and level your spoons. To rescue a thin batch, melt 1 more ounce of chopped chocolate into it off the heat.
- Split, greasy chocolate. It happens when chocolate goes into boiling milk and the cocoa butter separates. Add chocolate off the heat. To fix a split cup, whisk in 2 tablespoons of cold milk.
- Skin on top. Milk proteins dry out as the pot sits uncovered. Serve right away, or whisk the surface once before pouring. If a skin forms, lift it off with a spoon.
Storage Instructions
- Room Temperature: Not recommended. Do not leave it out for more than 2 hours, or 1 hour if the room is above 90°F.
- Refrigerator: Up to 4 days in an airtight glass jar. Let it cool for 20 minutes before you seal it.
- Freezer: Up to 2 months. Freeze it in an ice cube tray, then move the cubes to a freezer-safe zip bag.
- Reheating: Warm it in a saucepan over medium-low heat for 3 to 5 minutes, whisking, until it steams and reaches 165°F. Add 2 tablespoons of milk if it thickened in the fridge.
- Make-Ahead Notes: Chop the chocolate up to 2 days ahead and keep it in an airtight container. Add toppings only when you serve.
I freeze leftovers in a silicone ice cube tray, then melt about 8 cubes with a splash of milk for one mug. They turn smooth in around 5 minutes over low heat. Whisk the whole time, since thawed milk can look split until it warms up.
Variations and Substitutions
- Spicy: Whisk 1/4 teaspoon ground cinnamon and a small pinch of cayenne pepper into the cocoa and sugar in step 1. The heat shows up at the back of your throat after the first sip.
- Mild and Kid-Friendly: Use 3 ounces of chocolate instead of 4, then let the mugs sit for 3 minutes before serving. Extra marshmallows never hurt.
- Vegetarian: The recipe is already vegetarian. For a vegan cup, use barista-style oat milk and a dairy-free semisweet chocolate.
- Gluten-Free: The recipe is already gluten-free as written. Read the labels on your cocoa and chocolate to be sure.
- Mint: Stir in 1/4 teaspoon alcohol-free peppermint extract with the vanilla. It tastes like a candy cane dipped in chocolate.
What to Serve With Hot Chocolate
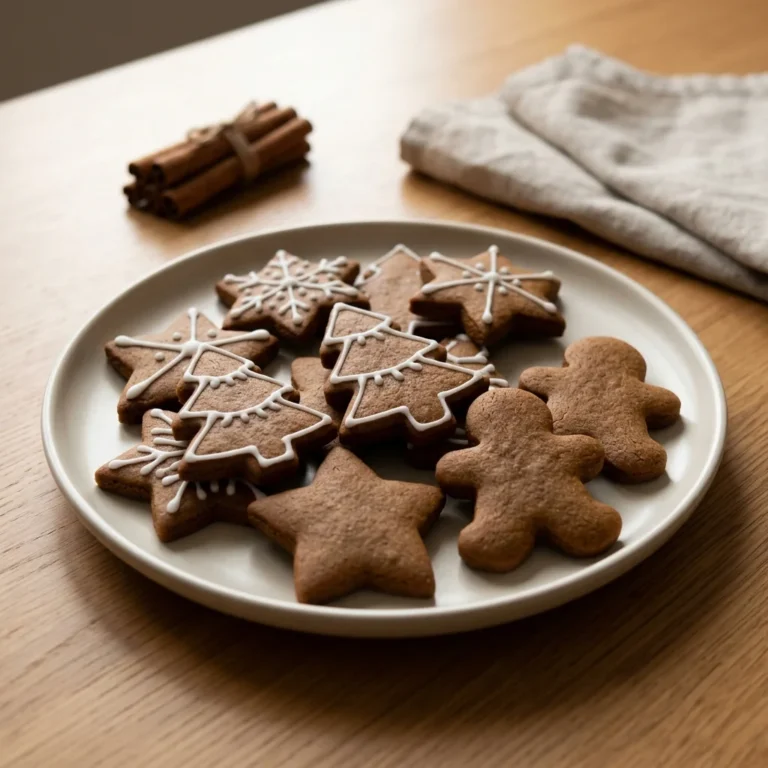
- soft gingerbread cookies: Their ginger and molasses stand up to dark chocolate, and they hold up when dunked.
- chocolate peanut butter no-bake cookies: The salty peanut butter balances the sweetness in the mug.
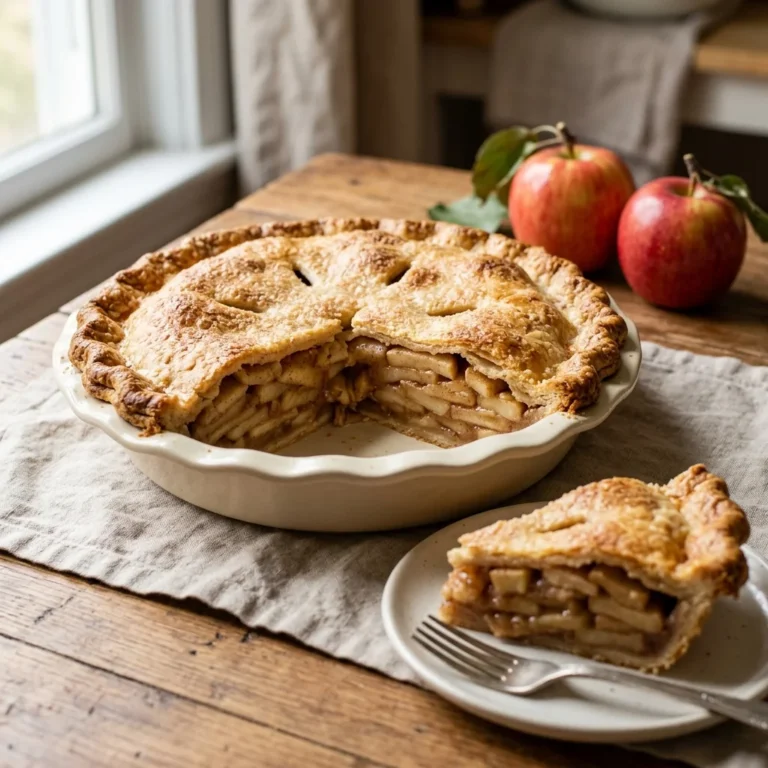
- warm apple crisp: Pour a small mug on the side instead of reaching for ice cream.
- Buttered toast and scrambled eggs: Together they turn the cup into a lazy weekend breakfast.
- Fresh orange slices: The citrus cuts through the richness between sips.
Frequently Asked Questions
can you make hot chocolate ahead of time
Yes, you can make it up to 4 days ahead. Cool it for 20 minutes, pour it into an airtight glass jar, and refrigerate. Shake the jar before reheating, because cocoa and chocolate settle as the drink chills. Warm it in a saucepan over medium-low heat for 3 to 5 minutes, whisking until it reaches 165°F. I do this on Sundays so weekday mornings take five minutes.
why is my hot chocolate grainy
A grainy cup usually comes from undissolved cocoa or chocolate that got too hot. Whisk the cocoa into a small splash of milk first, so it becomes a smooth paste before the rest of the milk goes in. Then pull the pan off the heat before adding the chopped chocolate. If a batch is already gritty, blend it for 15 seconds with an immersion blender.
can you make hot chocolate with oat milk
Yes, oat milk works well, and barista-style blends give the closest body to whole milk. Use the same 4 cups and the same steps, but keep the heat at medium, since oat milk can foam and thicken faster. Make the cocoa paste exactly as written. Expect a slightly sweeter, toastier cup that froths well. Check that your semisweet chocolate is dairy-free too, because some bars contain milk fat.
how long does it take to make hot chocolate on the stove
Making hot chocolate on the stove takes about 15 minutes from cold pan to finished mug. Prep is 5 minutes, and the milk needs 5 to 7 minutes on medium heat. You are done when steam rises steadily and small bubbles ring the edge of the pan, around 150°F. If you see large bubbles or a skin forming, the heat went too high.
what is the difference between hot chocolate and hot cocoa
Hot cocoa is made from cocoa powder, while hot chocolate is made from melted chocolate. Cocoa powder has most of its cocoa butter removed, so cocoa drinks run thinner and need more sugar. Melted chocolate brings its cocoa butter, which gives a thicker, silkier cup. This recipe uses both: cocoa for depth and chopped chocolate for body, so it lands right in the middle.
Final Thoughts on Hot Chocolate
When guests come over, double the recipe in a 4-quart pot. The larger volume takes longer to steam, so trust the visual cue of steady steam and small edge bubbles over the timer.
My daughter asked for this three days in a row last winter, and by the third day she was warming the mugs herself. Taste a spoonful at the end of step 5 every time. Your cocoa and your chocolate bar decide the final sweetness, and one small adjustment right then fixes the whole pot.
If you loved this recipe, save it to your winter drinks Pinterest board so you can find it easily later!
Easy Hot Chocolate Ready in 15 Minutes
Ingredients
Equipment
Method
- Chop the chocolate into pieces no bigger than 1/4 inch. Fill the mugs with hot tap water to warm them.
- Add the cocoa, sugar, and salt to the saucepan with 1/4 cup of the milk. Whisk over medium-low heat for 1 minute until a thick, glossy paste forms with no dry specks.
- Pour in the remaining 3 3/4 cups milk in a slow stream, whisking until the liquid is an even, light brown.
- Raise the heat to medium and warm for 5 to 7 minutes, whisking every minute, until steam rises steadily and tiny bubbles ring the pan edge, about 150°F. Do not let it boil.
- Remove the pan from the burner and add the chopped chocolate. Let it sit for 30 seconds, then whisk for 1 minute until no flecks remain and the surface looks glossy.
- Stir in the vanilla and taste. It should taste of dark chocolate first, sweetness second.
- Empty the water from the mugs and ladle in about 1 cup per mug, filling each about three quarters full.
- Top with marshmallows or whipped cream and serve right away, when the marshmallows begin to soften into the surface.
Notes
Use a chopped bar, not chips, for the smoothest melt.
Storage: refrigerate in an airtight glass jar for up to 4 days, or freeze for up to 2 months.