Homemade Apple Pie With a Flaky Butter Crust
A good apple pie should give you tender apple slices, warm cinnamon spice, and a bottom crust sturdy enough to support the filling. This version focuses on controlling apple juice so the filling sets without turning dry and the pastry has a better chance to brown underneath.
The key step is simple. The sliced fruit rests with sugar, then the released juice is drained and reduced before it goes back into the filling. That concentrates the apple flavor while keeping excess moisture away from the crust.
This apple pie needs patience because the dough and finished pie both rest before serving. Most of that time is hands-off, and the result is a slice that holds together instead of spilling across the plate.
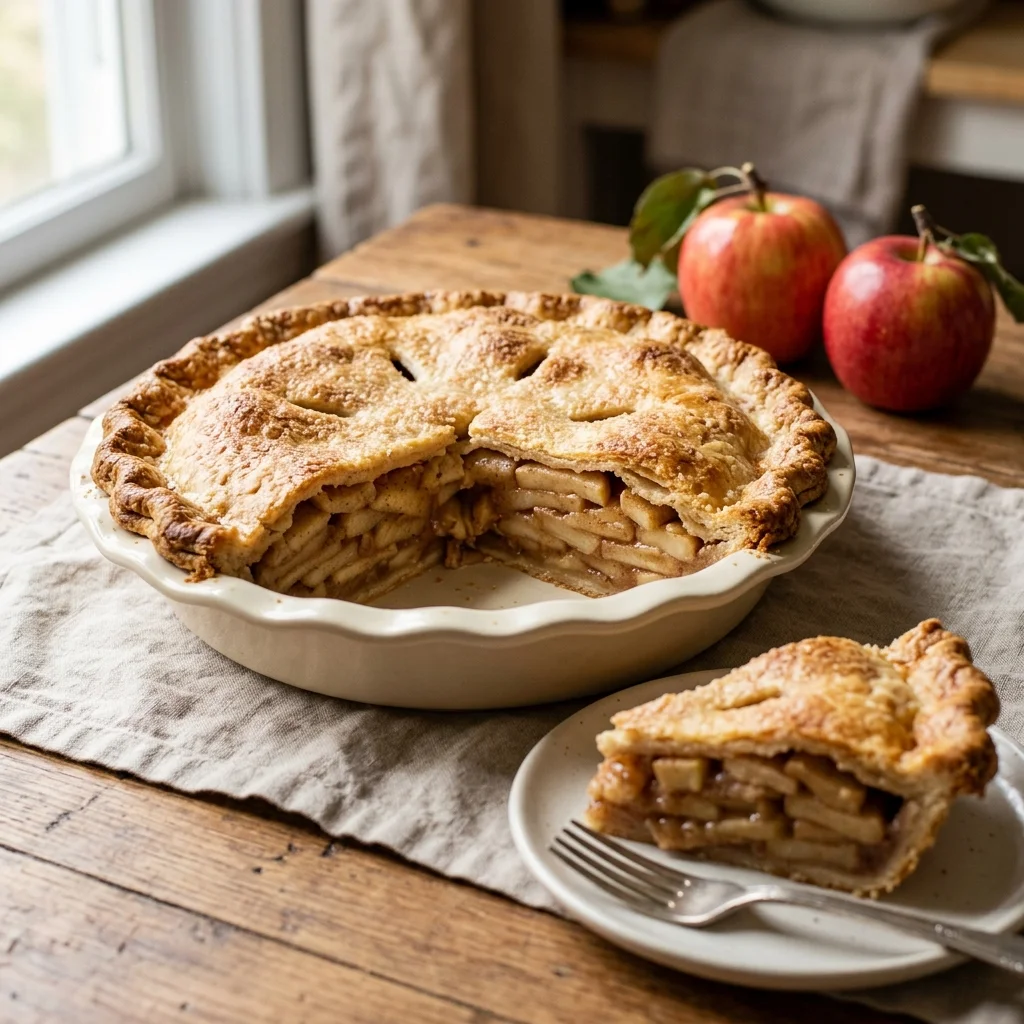
Table of Contents
Why You Will Love This Recipe
- The apple pie filling stays thick enough to slice cleanly after cooling.
- Granny Smith and Honeycrisp apples give a tart-sweet balance and mixed texture.
- Using cold butter helps form flaky layers with crisp edges.
- Reduced apple juice limits excess moisture around the bottom crust.
- The apple pie dough can be prepared up to 2 days ahead.
Quick Recipe Snapshot
Prep Time: 55 minutes
Dough Chill Time: 60 minutes
Cook Time: 65 to 75 minutes
Cooling Time: At least 3 hours
Total Time: About 6 hours 5 minutes
Servings: 8 slices
Difficulty: Medium
Calories: About 580 per serving
Key Ingredient: Firm baking apples
Best For: Fall baking and holiday dessert tables
Nutrition Information
Calories per Serving: About 580
Protein: About 6 g
Carbs: About 86 g
Fat: About 25 g
Fiber: About 5 g
Sugar: About 44 g
Sodium: About 430 mg
Serving Size: 1/8 of the pie
Servings per Recipe: 8
Most apple pie carbohydrates come from the fruit, flour, and sugars, while butter supplies most of the fat. Exact values change with apple size, butter brand, and slice size.
Nutrition values are approximate and calculated per serving using standard ingredient amounts. Values may vary based on brands used and portion sizes.
Ingredients You Will Need
For the Pie Dough
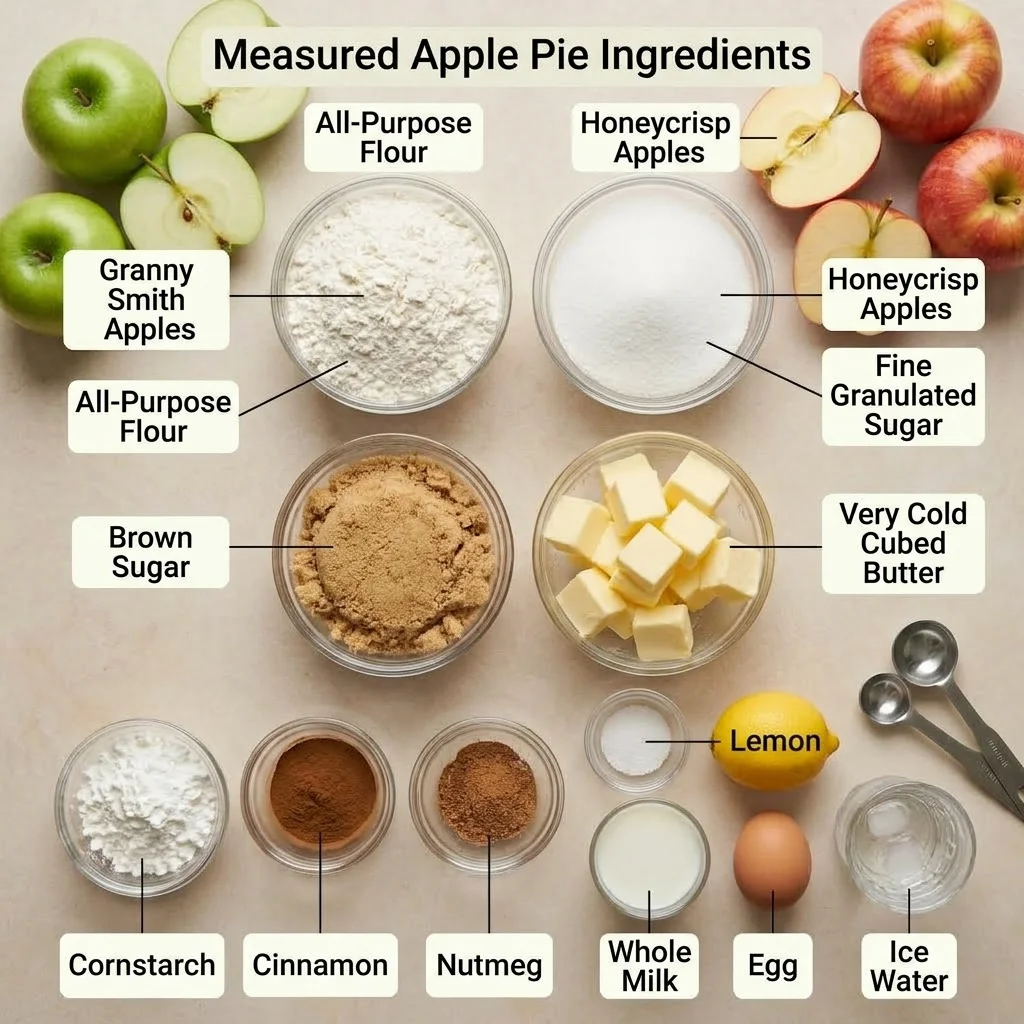
- 2 1/2 cups (300 g) all-purpose flour: Gives the crust structure. King Arthur Baking all-purpose flour is a useful choice because its consistent 11.7% protein level provides reliable strength for rolling while still working well for pie crust. Another all-purpose flour can replace it.
- 1 tablespoon granulated sugar: Adds light sweetness and browning. Reduce to 2 teaspoons for a less sweet crust.
- 1 teaspoon fine salt: Seasons the pastry. Reduce the amount slightly if your salt has very coarse crystals.
- 1 cup (226 g) unsalted butter, cold and cubed: Creates flaky layers. You can use salted butter, but cut back on the additional salt.
- 6 to 8 tablespoons ice water: Brings the dough together. Add only enough for a squeezed handful to hold.
For the Apple Filling
- 3 pounds (1.36 kg) apples, peeled, cored, and sliced 1/4 inch thick: Use half Granny Smith and half Honeycrisp. Braeburn or Pink Lady can replace either.
- 3/4 cup packed light brown sugar: Sweetens and adds a deeper caramel note. Dark brown sugar also works.
- 1/4 cup granulated sugar: Balances tart apples and draws out juice. Reduce by 1 tablespoon for very sweet apples.
- 3 tablespoons cornstarch: Thickens the juices.Use an equal amount of arrowroot as a substitute.
- 1 1/2 teaspoons cinnamon, 1/4 teaspoon nutmeg, and 1/4 teaspoon fine salt: Season the filling. Use 1 teaspoon cinnamon for a milder apple pie.
- 1 tablespoon fresh lemon juice: Adds brightness to the filling. Use fresh lime juice instead if needed.
- 2 tablespoons unsalted butter: Adds richness. A firm plant-based baking butter works for a dairy-free version.
For Finishing
- 1 large egg plus 1 tablespoon milk: Makes the browning wash. Substitute water for the milk if necessary.
- 1 tablespoon coarse sugar, optional: Adds crunch. Granulated sugar is a fine substitute.
Equipment Needed
- 9-inch glass or metal pie plate: Makes bottom browning easier to judge than a deep ceramic dish.
- Rolling pin: Roll from the center outward, rotating the dough often to limit sticking.
- Bench scraper: Lifts sticky dough without warming it much. A thin metal spatula can substitute.
- Rimmed baking sheet: Preheat it for stronger bottom heat and to catch drips.
- Small saucepan: Reduces the apple juices. A wider pan speeds evaporation.
Preparation
- Cube the butter and keep it refrigerated while measuring the dry ingredients.
- Peel, core, and slice the apples about 1/4 inch thick for even cooking.
- Place a rimmed baking sheet on the lower-middle rack and preheat the oven to 425°F.
- Keep the pie plate dry and ungreased so the pastry can grip the sides.
- Measure the filling ingredients before rolling so the cold dough does not sit out unnecessarily.
Keep the pastry cold through assembly. If it becomes shiny, soft, or hard to lift, refrigerate it for 10 to 15 minutes before continuing. Cold butter helps the apple pie crust form distinct flaky layers.
How to Make Apple Pie
- Make the dough. Whisk flour, sugar, and salt. Cut in cold butter until pea-size pieces remain, then toss in 6 tablespoons ice water; add more 1 tablespoon at a time only until the dough holds together. Divide into two disks and chill for 1 hour.
- Macerate the apples. Toss apples with both sugars, cinnamon, nutmeg, salt, and lemon juice. Rest 25 to 30 minutes, then drain the released liquid into a saucepan.
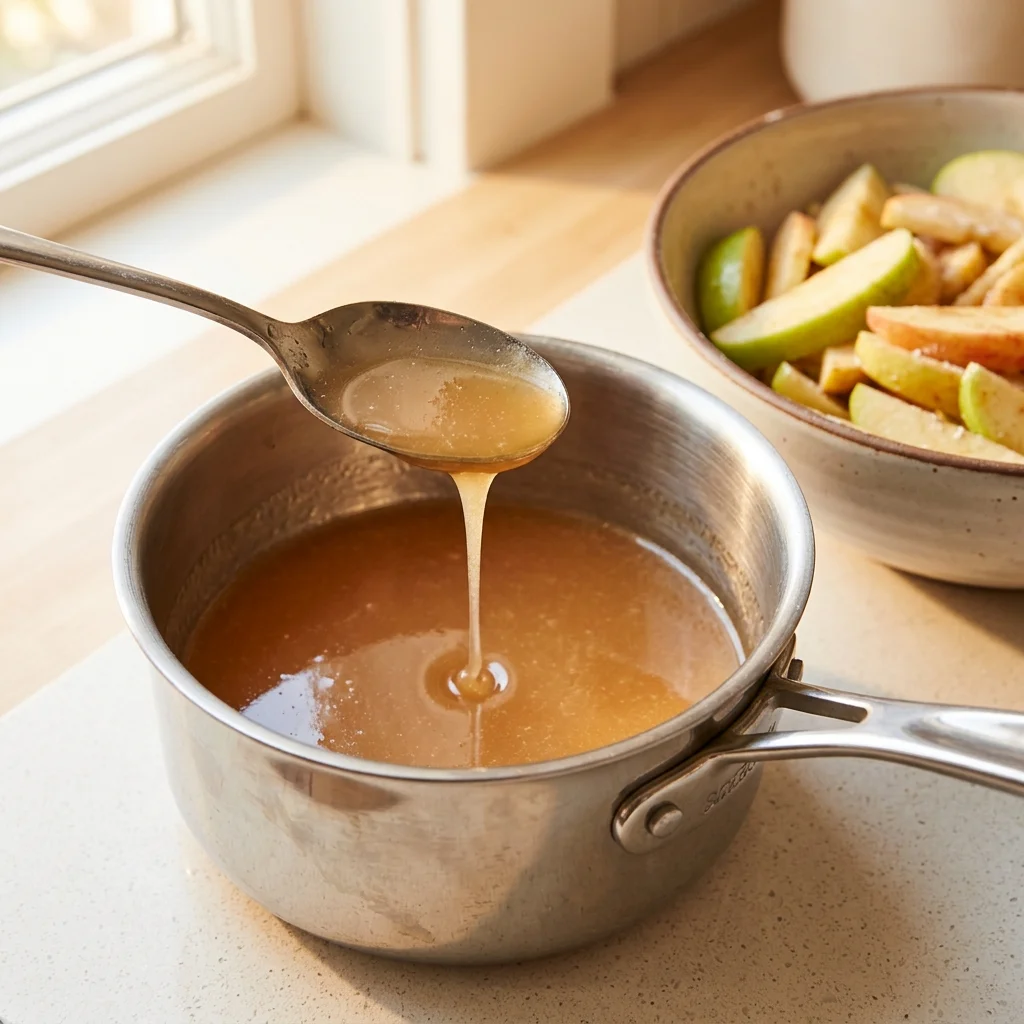
- Reduce the juices. Simmer the liquid over medium heat for 5 to 7 minutes until glossy and lightly syrupy. Cool 5 minutes, then toss it with the apples and cornstarch. Chef’s Note: The syrup should coat a spoon instead of running off like water.
- Line the plate. Roll one disk to about 12 inches wide and ease it into the 9-inch plate without stretching. Leave about 1 inch of overhang and chill for 10 minutes.
- Fill the crust. Spoon in the apple mixture, press gently to remove large gaps, and dot with 2 tablespoons butter. Chef’s Note: Mound the apples slightly higher in the center because they settle while baking.
- Add the top crust. Roll the second disk to about 12 inches, cover the filling, trim, and crimp the edges. Cut 5 vents, brush with egg wash, and add coarse sugar if using.
- Bake. Set the apple pie on the preheated sheet and bake at 425°F for 20 minutes. Lower to 375°F and bake 45 to 55 minutes, until the crust is deep golden and thick bubbles rise through the center vents. Chef’s Note: Cover the rim with foil if it browns too fast.
- Cool. Move the pie to a wire rack for at least 3 hours.
Expert Tips for the Best Results
- Mix apple varieties: Firm tart apples hold shape while sweeter apples soften more, giving the apple pie filling better contrast.
- Keep butter cold: Chill the dough whenever it becomes soft. Warm butter blends into the flour and reduces flaky pockets.
- Wait for thick bubbles: A brown crust can appear before the filling is ready. Slow bubbles near the center show the juices have thickened.
- Make dough ahead: Refrigerate both disks for up to 2 days. Let very firm dough sit 5 to 10 minutes before rolling.
- Save prep time: Mix the sugars, cornstarch, and spices the day before, then add them to freshly sliced apples.
- Cover leftovers: Wrapped slices lose less moisture and pick up fewer refrigerator odors.
Common Mistakes and Troubleshooting
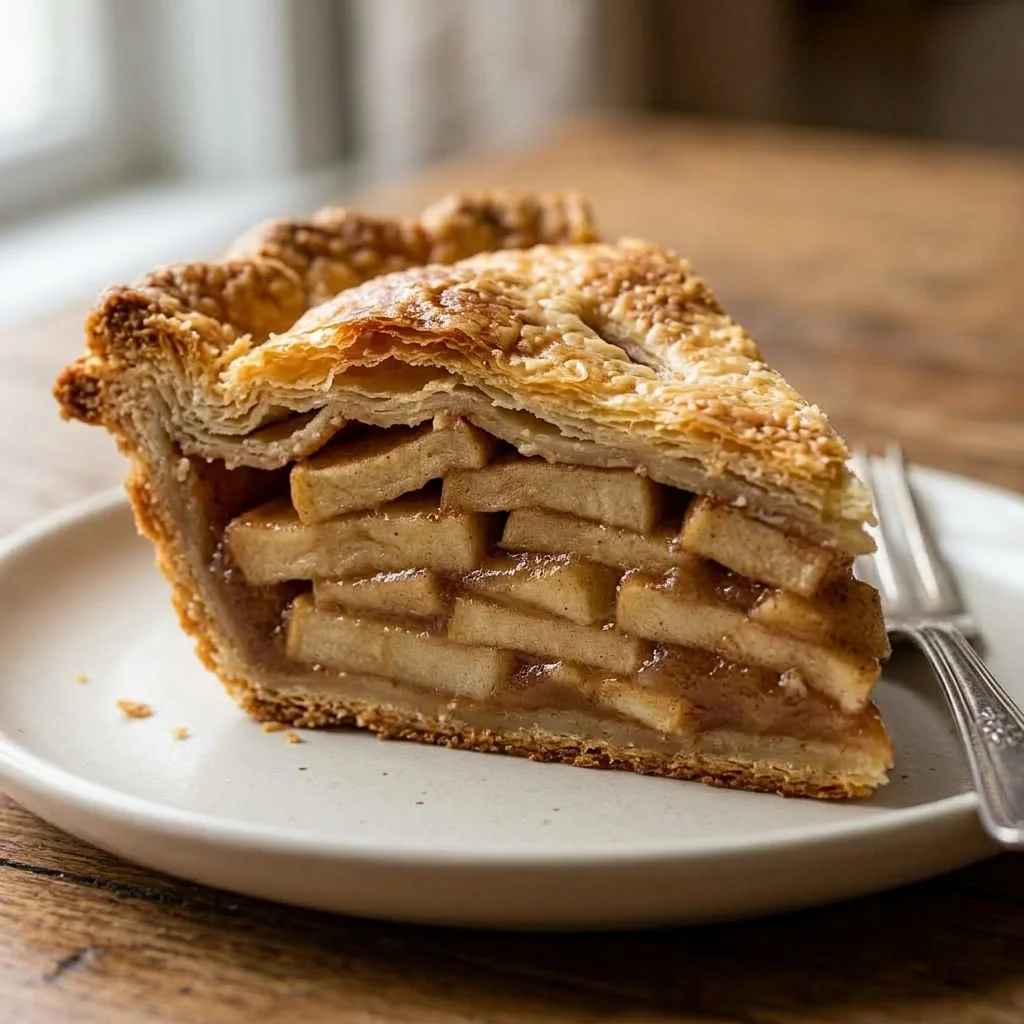
- Soggy bottom crust: This reflects the same testing mistake described above: excess liquid can soak the pastry before it sets. Reduce the apple juices, use a preheated sheet, and keep the dough cold. Reheat baked slices on a hot sheet at 325°F to firm the base.
- Runny filling: Underbaking or early slicing can leave the center loose. Bake until thick bubbles reach the center, then cool at least 3 hours.
- Crunchy apples: Thick or uneven slices cook slowly. Keep them near 1/4 inch and tent the crust with foil if it browns before the apples soften.
- Gap under the top crust: Apples shrink in the oven. Pack the filling firmly and mound it slightly before covering.
- Tough crust: Too much water or mixing develops extra gluten. Add water gradually and stop working the dough once it holds together.
Storage Instructions
Room Temperature: Keep a plain fruit pie covered at cool room temperature for 1 to 2 days.
Refrigerator: Cover and refrigerate for up to 7 days, though the crust is best within 3 to 4 days.
Freezer: Freeze a completely cooled apple pie or individual slices, tightly wrapped in a freezer-safe container, for up to 3 months for best quality.
Reheating: Warm slices at 325°F for 10 to 15 minutes. Warm a whole refrigerated pie for about 20 to 25 minutes.
Make-Ahead Notes: Chill the dough up to 2 days ahead, or freeze the assembled unbaked pie and bake it from frozen with added time.
Do not judge sliceability while apple pie is hot. Cooling for at least 3 hours gives the thickened juices time to settle around the fruit, so the filling stays in the slice.
Variations and Substitutions
Spiced Version: Add 1/4 teaspoon ground ginger and a pinch of cloves. Keep both modest so the apple flavor stays clear.
Milder Version: Reduce cinnamon to 1 teaspoon and skip the nutmeg. The filling will taste more fruit-forward.
Dairy-Free Version: Use firm plant-based baking butter and whisk the egg wash with water instead of milk.
Gluten-Free Version: Use a 1-to-1 gluten-free baking flour made for pastry. Roll between parchment sheets if the dough cracks easily.
Crumb-Top Version: Keep only the bottom pastry and cover the filling with an oat, flour, brown sugar, cinnamon, and butter crumble.
What to Serve With Apple Pie
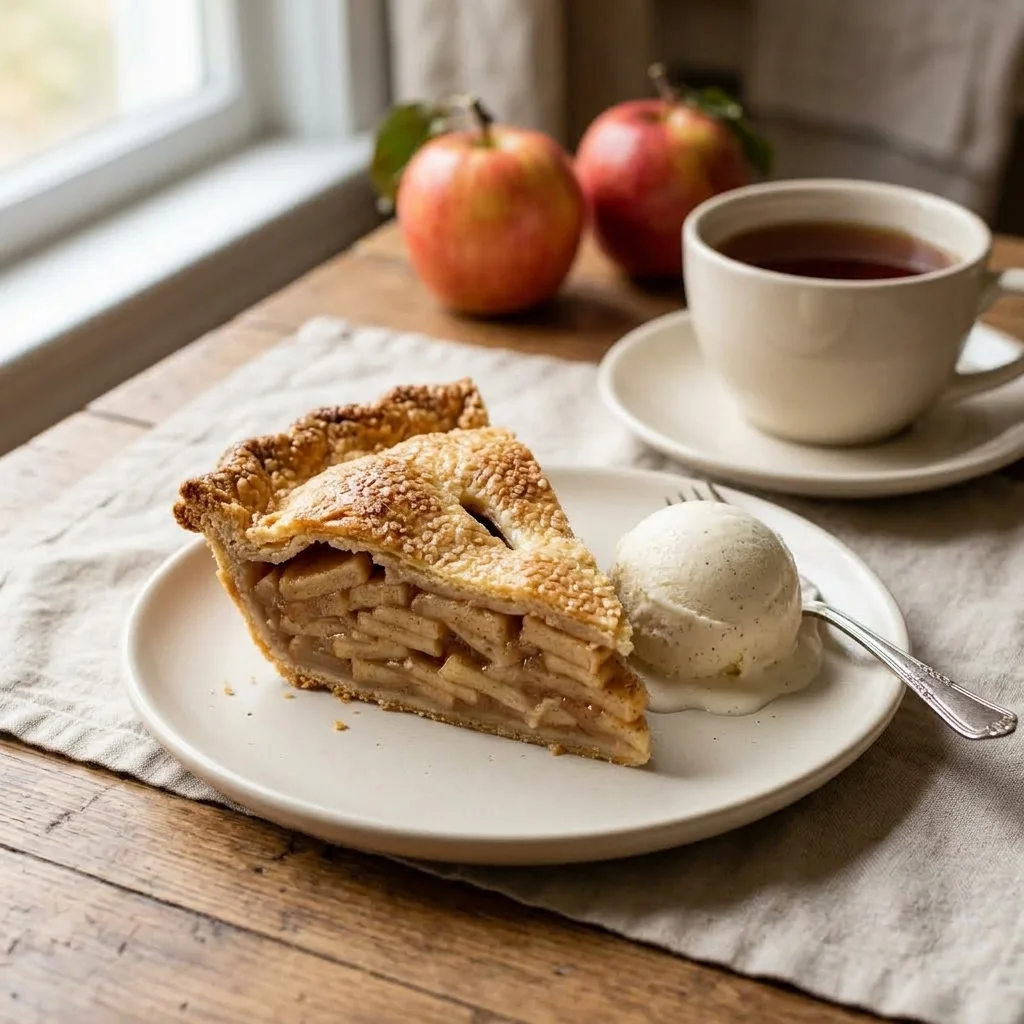
Vanilla ice cream: A small scoop adds a cold, creamy contrast to the warm apple filling.
Lightly whipped cream: Keep it mildly sweet so it balances the pie instead of competing with it.
Hot black tea: Plain breakfast tea cuts through the buttery pastry after a large meal.
Fresh berries: Raspberries or blackberries add tartness and color without making dessert heavier.
Fall dessert spread: Serve smaller apple pie slices beside baked fruit or another lighter seasonal dessert.
Frequently Asked Questions
Can I make apple pie ahead or freeze it?
Yes. Make the dough up to 2 days ahead, or assemble the unbaked apple pie and freeze it tightly wrapped. Bake it from frozen rather than thawing, adding extra time and watching the crust color. A baked pie can also be frozen after it is completely cool. For the best texture, cool any freshly baked pie fully before covering, chilling, or freezing it.
Why is my apple pie filling runny?
A runny filling usually comes from excess apple juice, too little thickener, underbaking, or slicing too early. This recipe drains the apples and reduces their released liquid before baking. Keep the apple pie in the oven until thick bubbles appear near the center vents, then cool it for at least 3 hours. That cooling time lets the cornstarch-thickened juices settle around the fruit.
Can I use only Granny Smith apples?
Yes, but the filling will be more tart and slightly firmer. Granny Smith apples hold their shape well, which suits a structured apple pie. Mixing them with Honeycrisp, Braeburn, or Pink Lady adds more sweetness and a softer texture between the firmer slices. If you use only Granny Smith, taste the fruit first and keep the full sugar amount when the apples are sharply tart.
How do I know when apple pie is fully baked?
Look for a deep golden crust and thick, slow bubbles rising through vents near the center, not only around the edge. Those bubbles show the apple juices and cornstarch have cooked enough to thicken. If the crust is brown before the center bubbles, cover the rim or top loosely with foil and continue baking. Oven timing varies, so visual cues matter more than the clock alone.
Do I need to blind bake the bottom crust?
Not for this double-crust apple pie. A cold bottom crust, reduced apple juices, and a preheated baking sheet give the base strong heat while keeping assembly simple. Blind baking can also make the baked edge harder to seal neatly to a raw top crust. If sogginess is a repeated problem, first control the filling moisture and improve bottom heat before adding another baking step.
Conclusion
For dependable apple pie, pay as much attention to moisture as you do to pastry. Draining the sugared apples, reducing their juice, and waiting for thick bubbling in the oven solve many common fruit-pie problems. The cooling time matters too, especially when neat slices are important for a holiday table or make-ahead dessert.
If you loved this recipe, save it to your fall baking Pinterest board so you can find it easily later!
Homemade Apple Pie With a Flaky Butter Crust
Ingredients
Equipment
Method
- Mix flour, sugar, and salt. Cut in cold butter until pea-size crumbs form, then add ice water 1 tablespoon at a time until the dough just holds together. Divide into two disks, wrap, and chill for at least 1 hour.
- Toss apple slices with both sugars, cinnamon, nutmeg, salt, and lemon juice. Rest 25 to 30 minutes, then drain the released liquid into a small saucepan.
- Simmer the drained liquid over medium heat for 5 to 7 minutes until glossy and syrupy. Cool 5 minutes, then toss with the apples and cornstarch.
- Place a rimmed baking sheet on the lower-middle rack and preheat the oven to 425°F. Roll one dough disk to about 12 inches and ease it into a 9-inch pie plate. Chill 10 minutes. Spoon in the filling, mounding it slightly in the center, and dot with butter. Roll the second disk, lay it over the filling, trim, and crimp the edges. Cut 5 vents and brush with egg wash. Add coarse sugar if using.
- Bake on the preheated sheet at 425°F for 20 minutes, then reduce to 375°F and bake 45 to 55 minutes more, until the crust is deep golden and thick bubbles rise through the center vents. Cover the rim with foil if it browns too fast.
- Transfer to a wire rack and cool for at least 3 hours before slicing.
Notes
- Store covered at room temperature for 1 to 2 days, refrigerate for up to 4 days, or freeze tightly wrapped for up to 3 months. Reheat slices at 325°F for 10 to 15 minutes.
- The pie dough can be made up to 2 days ahead and refrigerated, or the assembled unbaked pie can be frozen and baked directly from frozen.
- Do not slice while hot the filling needs the full 3-hour cool to set and hold its shape.