The Best Chocolate Ice Cream You Will Ever Make
Most store-bought chocolate ice cream tastes sweet first and chocolatey second. I wanted the reverse. This chocolate ice cream layers three kinds of chocolate flavor: cocoa powder for depth, melted semisweet chocolate for body, and an egg yolk custard that keeps every scoop silky.
I tested this recipe nine times over five weeks, because my family kept finishing the store tub in two days and calling it chocolate milk on ice. Batch four turned icy since I skipped the overnight chill. Batch seven scooped like a dream, and that is the version below.
You only need a saucepan, an instant-read thermometer, and a basic ice cream maker. The custard cooks to 160°F, the temperature the USDA and FDA give for egg mixtures, so it is safe for the whole table. Plan on 9 hours from start to finish, but only about 35 minutes of that needs you at the stove or counter.
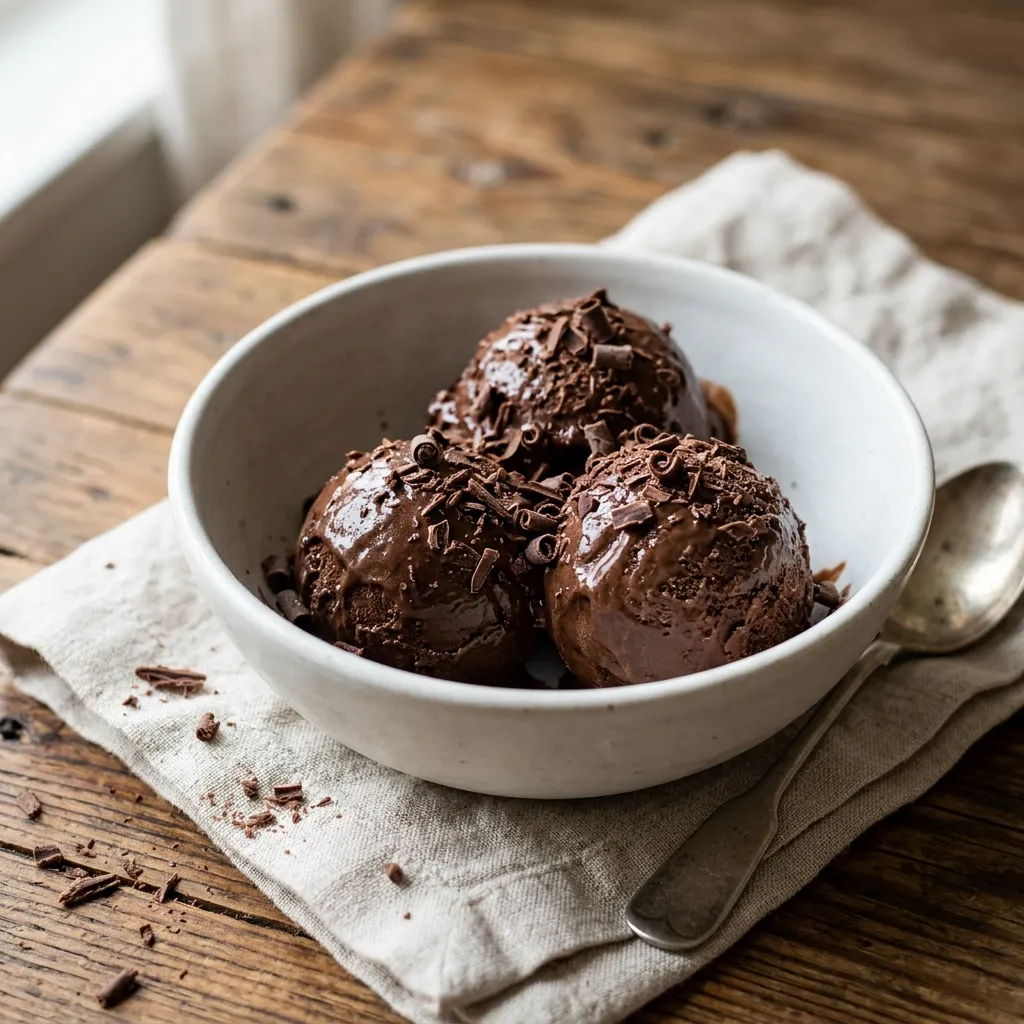
Table of Contents
Why You Will Love This Chocolate Ice Cream
- The flavor is deep and dark, because cocoa and real melted chocolate share the work.
- A cooked yolk custard gives you a smooth, scoopable texture instead of icy chunks.
- You spend just 15 minutes at the stove, then the fridge and freezer do the rest.
- Make the base up to 2 days ahead and churn it the day you need it.
- Everything except the chocolate bar is a pantry or fridge staple.
Recipe Snapshot
- Prep Time: 20 minutes
- Cook Time: 15 minutes
- Total Time: 9 hours, including chilling, churning, and freezing
- Servings: 10
- Difficulty: Medium
- Calories per Serving: About 325
- Key Tool: Ice cream maker
- Best For: Summer cookouts, birthdays, and weekend desserts
Chocolate Ice Cream Nutrition Information
- Calories per Serving: About 325
- Protein: 5 g
- Carbs: 28 g
- Fat: 24 g
- Fiber: 2 g
- Sugar: 24 g
- Sodium: 88 mg
- Serving Size: About 1/2 cup
- Servings per Recipe: 10
Cocoa and chocolate bring about 2 grams of fiber to each scoop, which dairy alone never provides. Each scoop also has 5 grams of protein, mostly from the cream, milk, and yolks. Most of the 24 grams of fat comes from the cream, so a 1/2 cup scoop is the right size.
Nutrition values are approximate and calculated per serving using standard ingredient amounts. Values may vary based on brands used and portion sizes.
Ingredients for Chocolate Ice Cream
- 2 cups heavy cream, divided (1 cup for heating, 1 cup kept cold for the ice bath)
- 1 cup whole milk
- 3/4 cup granulated sugar, divided (1/2 cup and 1/4 cup)
- 1/2 cup Dutch-process unsweetened cocoa powder, about 43 grams (Ghirardelli works well)
- 4 ounces semisweet chocolate bar, finely chopped, about 113 grams
- 5 large egg yolks
- 1/4 teaspoon fine salt
- 2 teaspoons alcohol-free vanilla extract
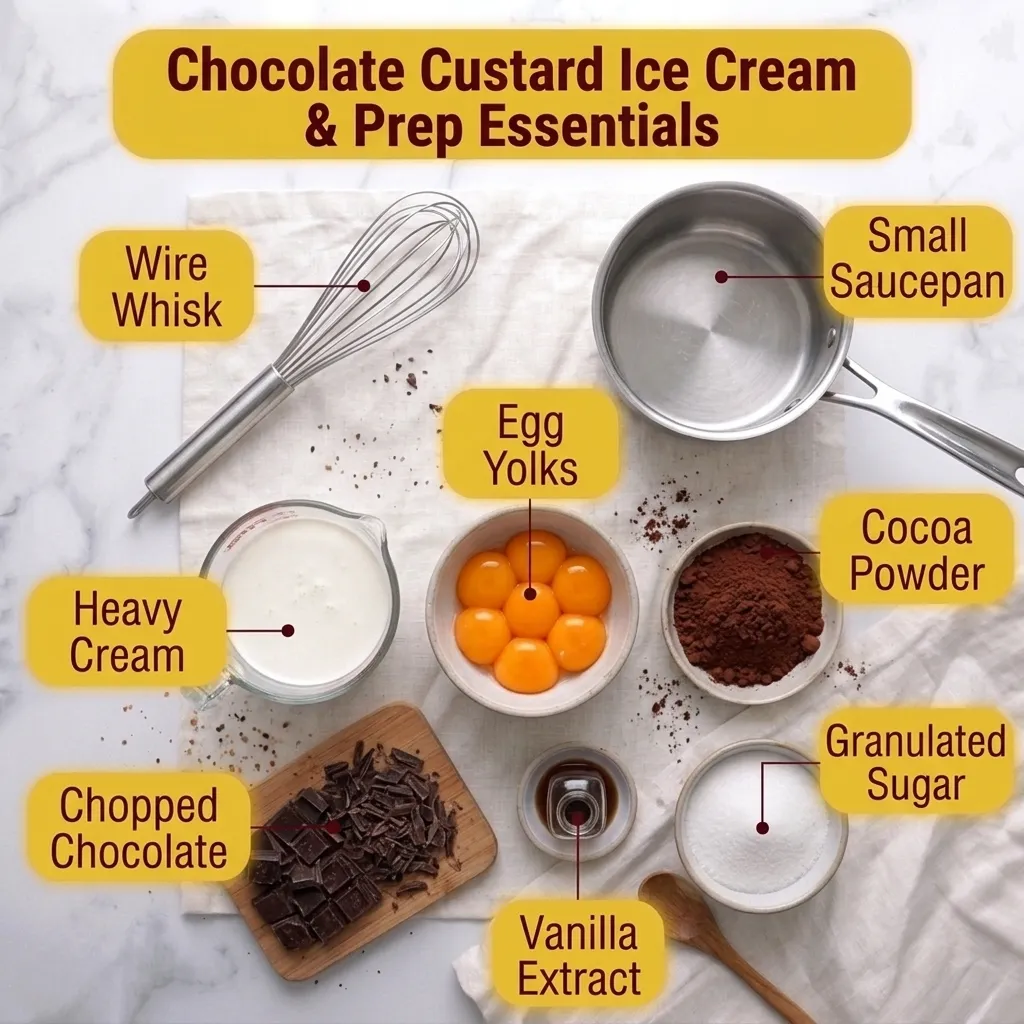
Pro Tip: Weigh the cocoa instead of scooping it. A scooped cup often packs in more than 43 grams, and extra cocoa makes the finished texture chalky.
Three ingredients decide how this turns out. Egg yolks thicken the base and keep ice crystals tiny. Heavy cream carries the fat, so swapping in half-and-half makes the ice cream icier. The melted chocolate adds cocoa butter, which gives the clean melt that cocoa powder alone cannot.
Substitutions: natural cocoa powder works, though the flavor turns tangier and lighter. Bittersweet chocolate makes it less sweet. Chocolate chips melt less smoothly. Use 2 percent milk if needed, and expect a slightly icier scoop. The seeds from half a vanilla bean replace the extract.
Equipment Needed
- Ice cream maker with a 1.5 to 2 quart bowl: freeze the bowl for 24 hours, and if you hear liquid sloshing when you shake it, it is not ready.
- 3-quart heavy-bottomed saucepan: a thin pan scorches cocoa fast.
- Instant-read thermometer: it is the only reliable way to hit 160°F.
- Fine-mesh strainer: it catches any bit of cooked yolk.
- 9×5-inch loaf pan: a wide, shallow pan freezes faster than a deep tub.
Preparation
- Freeze the ice cream maker bowl for at least 24 hours before churning.
- Chop the chocolate smaller than a pea so it melts without extra heat.
- Separate the 5 egg yolks into a large bowl. Cold eggs separate more cleanly.
- Build an ice bath: set a medium metal bowl holding the cold cup of cream inside a larger bowl of ice water, with the strainer on top.
- Slide the loaf pan into the freezer 30 minutes before churning.
- Measure everything first. No oven preheating is needed, because the stove only runs on medium and medium-low.
Step-by-Step Instructions
- Whisk the cocoa, 1/2 cup of the sugar, the salt, the milk, and 1 cup of the cream in the saucepan, then heat over medium heat for 4 to 5 minutes. Chef’s Note: Whisk while the liquid is cold, because cocoa clumps the moment it hits hot liquid. Stop when steam rises and tiny bubbles ring the edge, about 170°F.
- Pull the pan off the heat, add the chopped chocolate, and whisk for 1 minute. The mixture should look glossy and dark with no chocolate flecks left.
- Whisk the egg yolks with the remaining 1/4 cup sugar for 1 minute. Chef’s Note: Start whisking the second the sugar lands, since sugar left sitting makes tiny hard specks. Stop when the yolks look pale and fall from the whisk in a thick ribbon.
- Ladle 1 cup of the hot chocolate mixture into the yolks in a thin stream while whisking nonstop. Chef’s Note: A fast pour scrambles the yolks into cooked bits. Scrape the warmed yolks back into the pan and look for a smooth, evenly dark base.
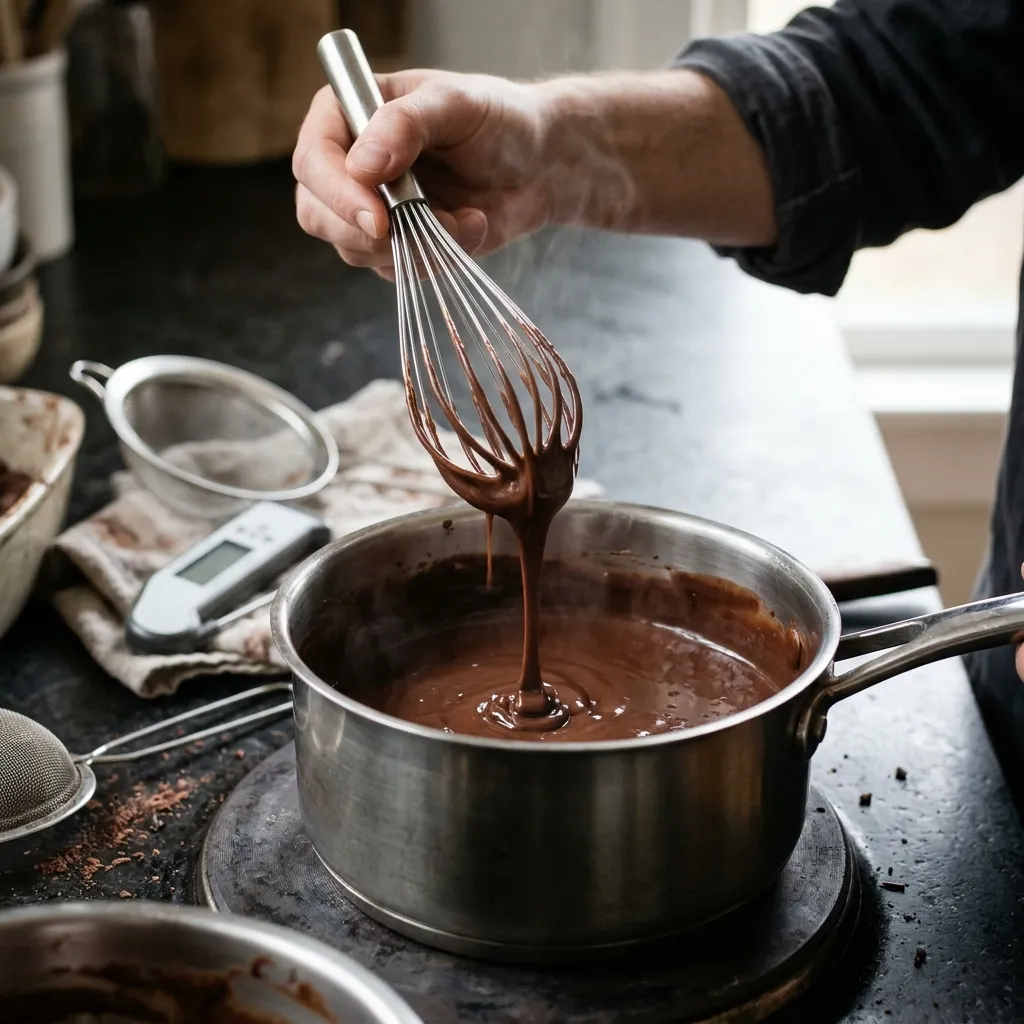
- Cook over medium-low heat for 4 to 6 minutes, stirring constantly and scraping the bottom with a spatula. Chef’s Note: Never let it boil, because boiling curdles the yolks. Remove it at 160°F to 165°F, when the custard coats the spatula and a finger drawn through it leaves a clean line.
- Pour the custard through the strainer into the cold cream over the ice bath, and stir for 5 minutes. Stir in the vanilla once no steam rises and the thermometer reads 70°F or lower.
- Press plastic wrap on the surface and refrigerate for 4 hours or overnight, until the base reaches 40°F. It should coat a spoon like chocolate pudding.
- Pour the cold base into the frozen bowl with the machine running, and churn for 20 to 25 minutes. Stop when it looks like thick soft-serve and mounds on the paddle.
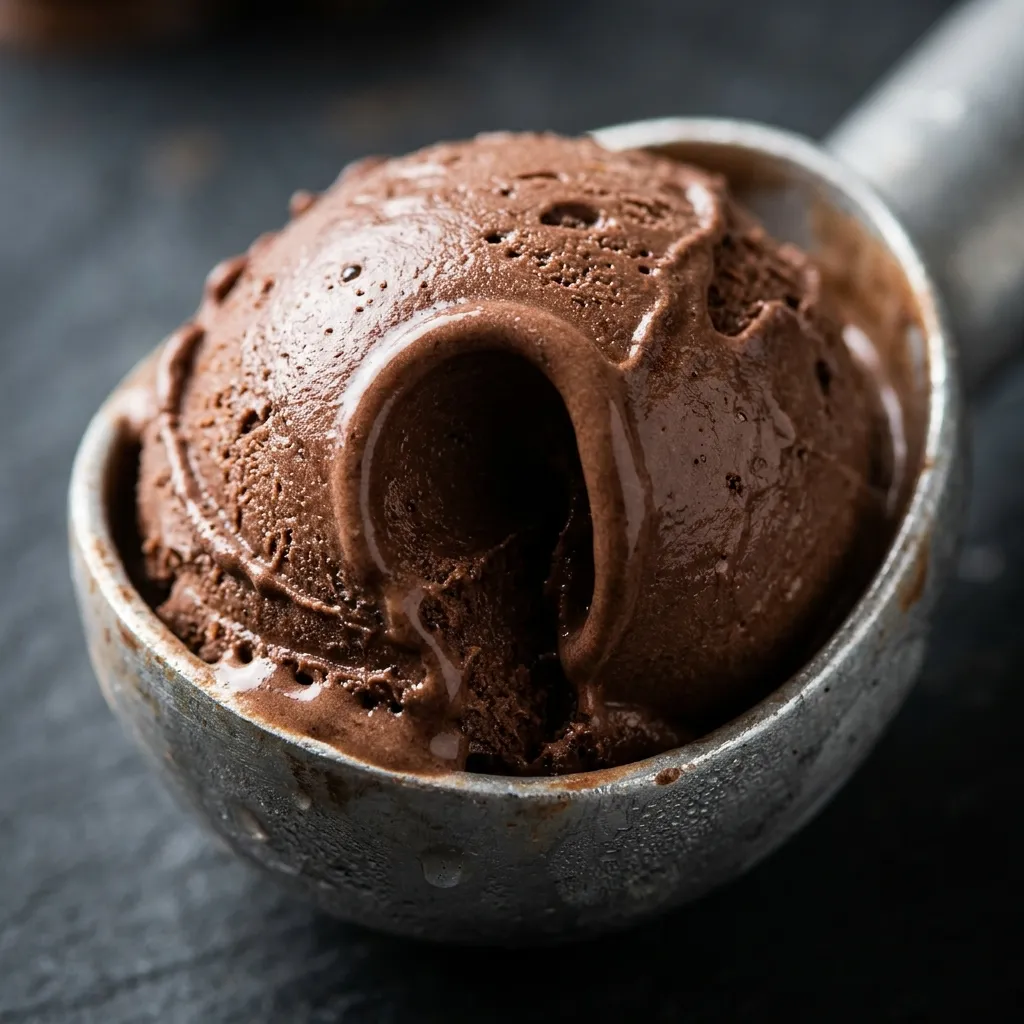
- Spoon the chocolate ice cream into the chilled loaf pan, press parchment on the surface, and freeze for 4 hours at 0°F. Chef’s Note: Fast freezing keeps crystals small. The surface should feel firm, and a scoop should hold a clean curl.
Expert Tips and Tricks
- I once let the custard drift to 180°F while answering a text, and the whole batch turned grainy. Now the thermometer stays in the pan.
- Cold dulls sweetness and chocolate flavor. The base should taste a little too sweet and too chocolatey before it freezes.
- Make the base the night before. It improves overnight, and it keeps in a sealed jar for up to 2 days.
- Start the base in the morning and churn after dinner, since most of the 9 hours is hands-off.
- Press parchment onto the surface and eat the chocolate ice cream within 2 weeks. The texture slides after that.
Common Mistakes and Troubleshooting
- Icy, crunchy texture: the base was not cold enough or the bowl was not fully frozen. Chill the base to 40°F and freeze the bowl 24 hours. To fix it, soften the pan for 20 minutes, blend smooth, chill, and churn again.
- Scrambled bits in the custard: the heat was too high or the yolks hit hot liquid too fast. Pour in a thin stream and keep the burner on medium-low. To fix it, blend with an immersion blender for 30 seconds, then strain.
- Chocolate ice cream that will not thicken in the machine: the base started warm, or the bowl was only partly frozen. To fix it, chill the base 1 more hour and refreeze the bowl.
- Rubbery skin on the base: the plastic wrap sat above the surface. Press it directly on the custard. To fix it, strain the base again before churning.
- Weak chocolate flavor: the scoop was too cold, and cold numbs taste. Skipping the salt does it too. Let scoops sit for 5 minutes, and always add the salt.
Storage Instructions for Chocolate Ice Cream
- Room Temperature: Not recommended. Leave it out only while you scoop, and never longer than 2 hours (1 hour above 90°F).
- Refrigerator: Keep the unchurned base in a sealed glass jar for up to 2 days at 40°F or lower. Finished ice cream melts, so skip the fridge.
- Freezer: Press parchment on the surface, add an airtight freezer-safe lid, and hold it at 0°F. It tastes best within 2 weeks and should be eaten within 1 month.
- Reheating: Not needed. To soften a rock-hard pan, rest it on the counter for 5 minutes or in the fridge for 15 minutes.
- Make-Ahead Notes: Chill the base up to 2 days ahead, churn on serving day, and freeze 4 hours before guests arrive.
Storage Trick: Scoop leftovers into a paper-lined muffin tin, freeze for 1 hour, then bag the pucks. One puck is one serving, so the rest stays sealed.
I write the freezing date on masking tape and stick it to the lid. It ended the “is this still good” guessing at our house.
Variations and Substitutions
- Spicy Mexican Style: Whisk 1/2 teaspoon cinnamon and a pinch of cayenne into the cocoa in step 1. The heat creeps in after the chocolate fades.
- Mild and Kid-Friendly: Swap the semisweet chocolate for milk chocolate and fold in 1/2 cup mini chocolate chips after churning. It tastes sweeter and softer.
- Vegetarian and Gluten-Free: This base is already both. For dairy-free, replace the cream and milk with 3 cups full-fat canned coconut milk, which gives a softer scoop with light coconut flavor.
- Mocha: Whisk 1 tablespoon instant espresso powder into the cocoa for a darker chocolate taste without a coffee flavor.
- Chocolate Chunk: Fold 1/2 cup chopped semisweet chocolate into the churned ice cream just before it goes into the pan.
What to Serve With Chocolate Ice Cream
- Warm chocolate chip cookies: Press a scoop between two cookies for a quick ice cream sandwich.
- Apple crisp with a golden oat topping: Cold chocolate ice cream melts into the warm cinnamon oats.
- Chocolate covered strawberries: The tart fruit cuts through the richness.
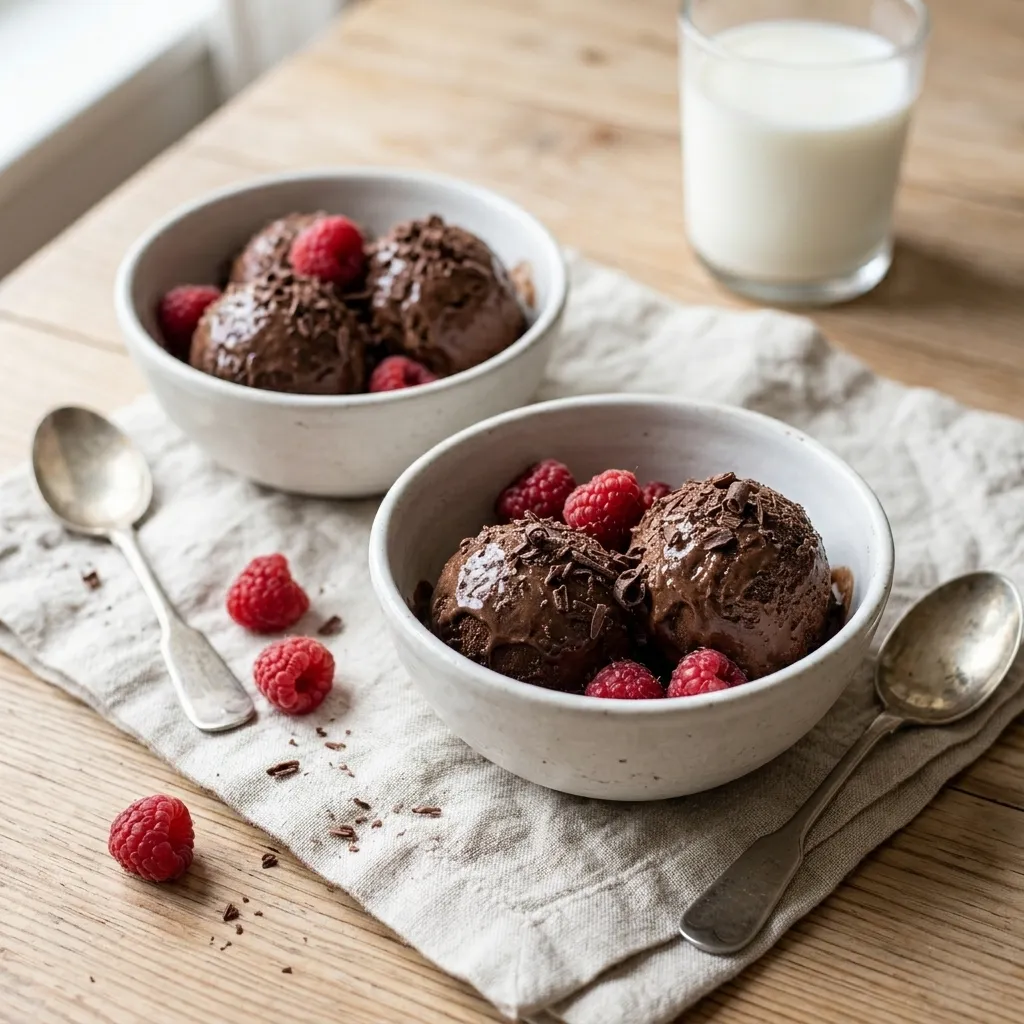
- Fresh raspberries: Their sharp juice wakes up the cocoa, and they make a quick garnish.
- A cold glass of whole milk: Classic, and even better with a scoop dropped in.
Frequently Asked Questions
how long does homemade chocolate ice cream last in the freezer
Homemade chocolate ice cream tastes best within 2 weeks and should be eaten within 1 month at 0°F. It has no commercial stabilizers, so ice crystals creep in over time. Press parchment on the surface, seal the lid tight, and keep the tub at the back of the freezer, away from the door. If frosty crystals form on top, scrape them off and serve the rest.
why is my homemade chocolate ice cream so icy
Icy ice cream almost always freezes too slowly. A base warmer than 40°F, a bowl that was not frozen for 24 hours, or low-fat dairy lets large crystals form. Chill the base overnight, use heavy cream and yolks, and pour it straight into a rock-solid bowl. I fixed my icy batch four by chilling the base overnight instead of for 2 hours.
can I make chocolate ice cream without egg yolks
Yes. Stir 1 tablespoon of cornstarch into 2 tablespoons of the cold milk, add it to the pan in step 1, and simmer for 1 minute until thickened. Skip the yolks and the tempering, then cool and chill as written. The cornstarch adds body, much like yolks do. Expect a lighter, less rich result that freezes a little harder, so let scoops soften for 5 minutes before serving.
how do I know when chocolate ice cream custard is done
The custard is done at 160°F to 165°F on an instant-read thermometer. It should coat the back of a spatula, and a finger drawn through it should leave a clean line that does not run. This usually takes 4 to 6 minutes over medium-low heat. If you see scrambled bits, pull the pan off the heat and blend the custard right away.
why is homemade chocolate ice cream harder to scoop than store bought
Store-bought tubs hold more air and often contain stabilizers, so they stay softer at freezer temperature. Homemade chocolate ice cream is denser and freezes firmer. Let the tub sit on the counter for 5 minutes, or dip your scoop in warm water and wipe it dry. My neighbor’s 9 year old asked if I bought it after seeing a perfect curl.
Final Thoughts Before You Scoop
The first spoonful of homemade chocolate ice cream should taste like cold, dark chocolate, not sweetened milk. If it does, you nailed the chill and the churn. If it falls short, adjust one thing at a time: colder base, longer freeze, a pinch more salt. Write down your churn time and freezer temperature after the first batch, because machines and freezers differ.
Last week my daughter asked for a bowl on a school night, then asked again the next afternoon. That is how I know the batch worked.
If you loved this recipe, save it to your ice cream recipes Pinterest board so you can find it easily later!
The Best Chocolate Ice Cream You Will Ever Make
Ingredients
Equipment
Method
- Whisk the cocoa, 1/2 cup sugar, salt, milk, and 1 cup of the cream in the saucepan until no dry streaks remain. Heat over medium heat for 4 to 5 minutes, until steam rises and tiny bubbles ring the edge (about 170°F).
- Remove the pan from the heat, add the chopped chocolate, and whisk for 1 minute, until glossy with no chocolate flecks left.
- Whisk the egg yolks with the remaining 1/4 cup sugar for 1 minute, until pale and falling from the whisk in a thick ribbon.
- Ladle 1 cup of the hot chocolate mixture into the yolks in a thin stream, whisking nonstop. Scrape the warmed yolks back into the pan, and the base should look smooth and evenly dark.
- Cook over medium-low heat for 4 to 6 minutes, stirring constantly and never boiling. Remove at 160°F to 165°F, when the custard coats a spatula and a finger drawn through it leaves a clean line.
- Strain the custard into the cold cream set over an ice bath and stir for 5 minutes. Stir in the vanilla once no steam rises and the thermometer reads 70°F or lower.
- Press plastic wrap on the surface and refrigerate for 4 hours or overnight, until the base reaches 40°F and coats a spoon like chocolate pudding.
- Churn in the frozen ice cream maker bowl for 20 to 25 minutes, until it looks like thick soft-serve and mounds on the paddle.
- Spoon into the chilled loaf pan, press parchment on the surface, and freeze for 4 hours at 0°F, until firm and a scoop holds a clean curl.
Notes
- Weigh the cocoa (43 grams) instead of scooping it for the best texture.
- Cook the custard to 160°F to 165°F for food safety, and never let it boil.
- Storage: the unchurned base keeps 2 days in the fridge, and the frozen ice cream tastes best within 2 weeks and keeps up to 1 month at 0°F.