Crispy Homemade Waffles With a Fluffy Buttermilk Center
A good waffle should crackle when your fork goes in, then give way to a soft, steamy middle. Most homemade versions lose that crackle within two minutes. They leave the iron crisp, sit on a plate, and slump before anyone sits down.
These waffles fix that with three small changes: a little cornstarch in the dry mix, a 10-minute rest for the batter, and a wire rack instead of a plate. Buttermilk keeps the center tender and adds a mild tang.
I worked on this batter because my old recipe tasted fine but went floppy every single time. I made nine batches over three Saturday mornings, changing one thing each time. Batch six was the one where the edges stayed crisp through second helpings, and that is the recipe below.
Below are the exact ratios, the cues for opening the lid, and how to freeze buttermilk waffles for school mornings.
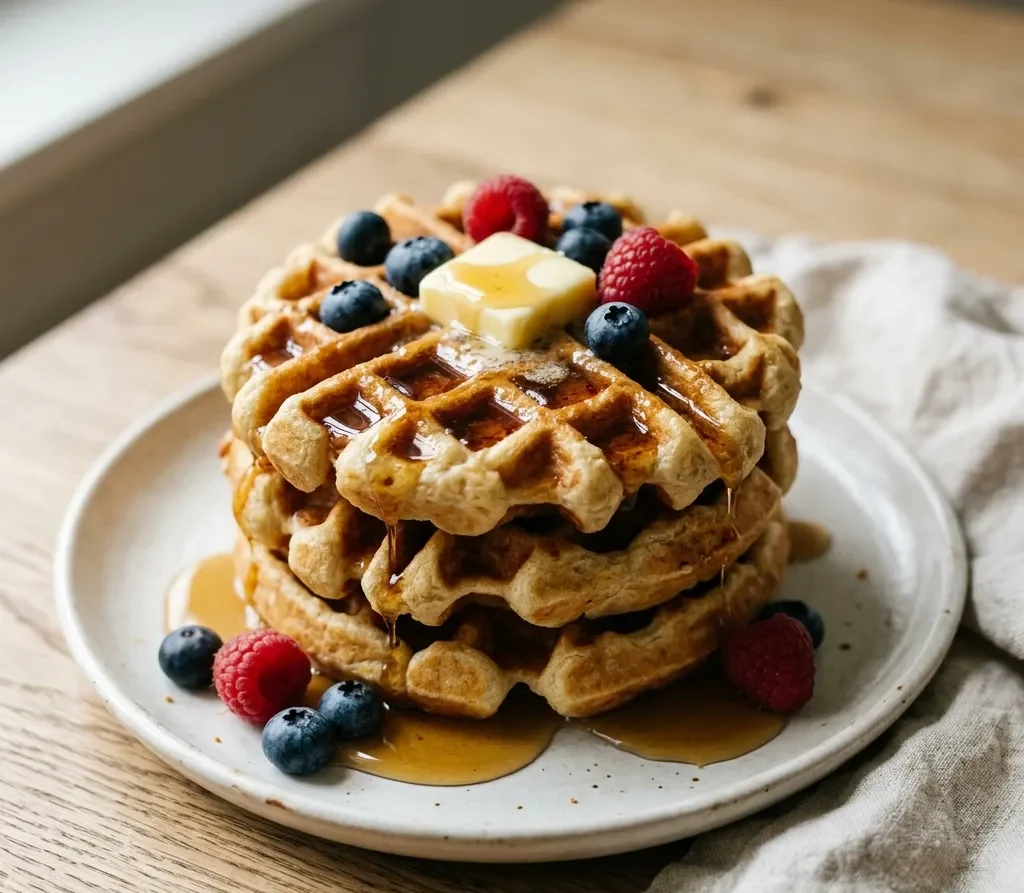
Table of Contents
Why You Will Love These Homemade Waffles
- The crust stays crisp for a good 15 minutes on the table, long enough for slow eaters.
- Everything comes from a normal pantry, with no stand mixer and no egg whites to whip.
- The batter comes together in 10 minutes, and it rests while your iron heats up.
- Leftovers freeze and reheat in the toaster, so one Saturday batch covers several weekday breakfasts.
- Buttermilk gives a gentle tang, so even plain squares taste like something.
Recipe Snapshot
- Prep Time: 10 minutes, plus 10 minutes resting
- Cook Time: 30 minutes
- Total Time: 50 minutes
- Servings: 4 (8 standard round waffles)
- Difficulty: Easy
- Calories per Serving: About 557
- Key Ingredient: Buttermilk
- Best For: Weekend breakfast, brunch, and freezer stock
Nutrition Information
- Calories per Serving: About 557
- Protein: 12 g
- Carbs: 60 g
- Fat: 30 g
- Fiber: 2 g
- Sugar: 12 g
- Sodium: 758 mg
- Serving Size: About 2 standard waffles
- Servings per Recipe: 4
This is a butter-rich weekend breakfast, and the numbers show it. Eggs and buttermilk bring 12 grams of protein per serving, while the batter holds only 2 tablespoons of sugar. For a lighter plate, serve one waffle with eggs and fruit.
Nutrition values are approximate and calculated per serving using standard ingredient amounts. Values may vary based on brands used and portion sizes.
Ingredients for Crispy Buttermilk Waffles
Dry Ingredients
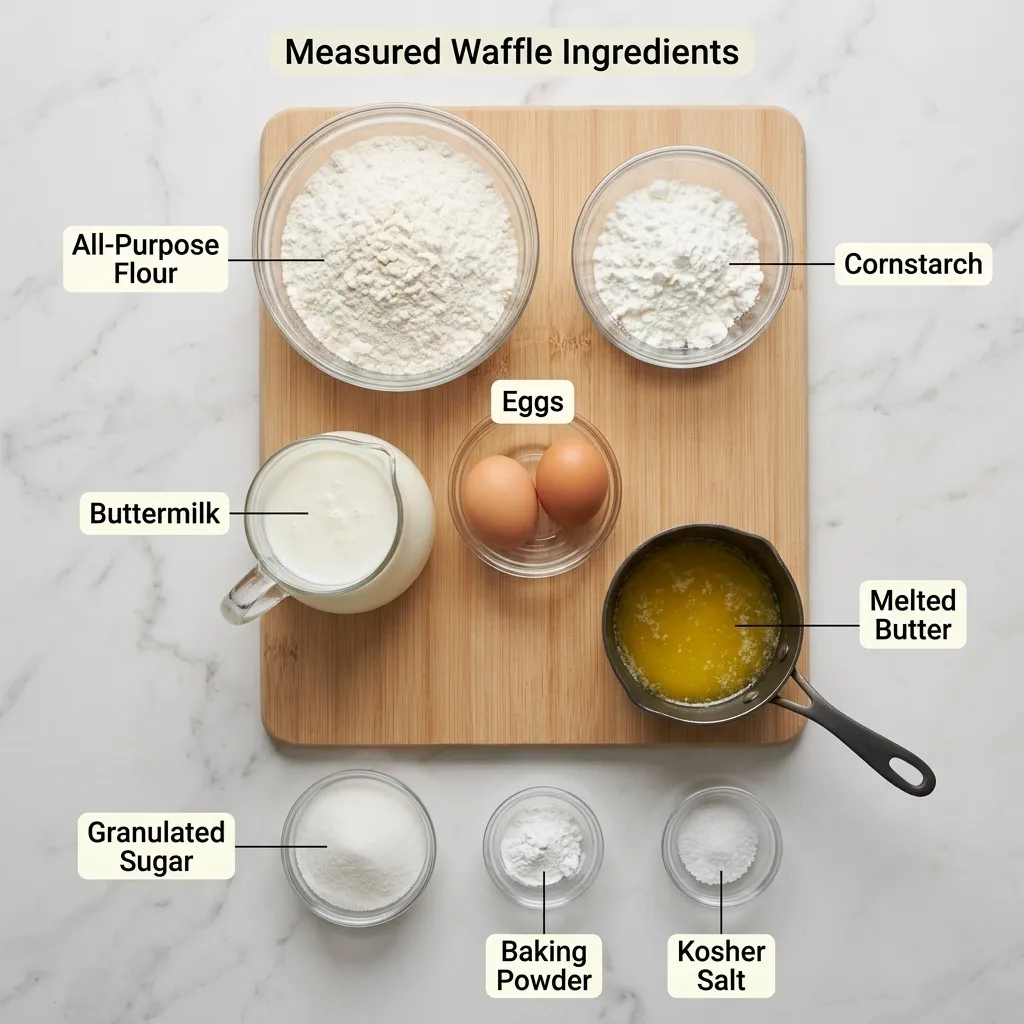
- 1 3/4 cups (210 g) all-purpose flour, spooned and leveled
- 1/4 cup (32 g) cornstarch (arrowroot powder works the same)
- 2 tablespoons granulated sugar (light brown sugar for a deeper flavor)
- 2 teaspoons baking powder
- 1/2 teaspoon baking soda
- 3/4 teaspoon Diamond Crystal kosher salt (or 1/4 teaspoon plus a pinch of fine table salt)
Wet Ingredients
- 2 large eggs, at room temperature
- 1 3/4 cups buttermilk, at room temperature
- 1/2 cup (1 stick) unsalted butter, melted and cooled for 5 minutes (salted butter works if you cut the salt to 1/2 teaspoon)
- 1 teaspoon alcohol-free vanilla extract (or 1/2 teaspoon vanilla powder)
- 1 tablespoon melted unsalted butter, for brushing the iron
Three ingredients do most of the work. Cornstarch has no gluten, so it gives you a thinner, crunchier shell. Buttermilk is acidic, which wakes up the baking soda and keeps the crumb soft. Diamond Crystal is about half as salty by volume as table salt, so an even swap oversalts the batter.
Equipment Needed
- Waffle iron (7-inch round or Belgian): Check your manual for how its ready light works.
- Wire rack set over a rimmed baking sheet: The open grid lets steam escape from the bottom of each waffle.
- Silicone pastry brush: It reaches grid corners better than a paper towel.
- 1/2-cup measuring cup or small ladle: The same scoop every time means every waffle cooks in the same time.
- Silicone tongs or a wooden chopstick: Lift each one out without scratching the plates.
Preparation Before You Start
- Set the eggs and buttermilk out 30 minutes ahead so the butter stays smooth when mixed.
- Melt the butter, including the extra tablespoon for brushing, and let it cool for 5 minutes. It should feel warm, not hot.
- Heat your oven to 200°F with the wire rack on its baking sheet on the middle shelf.
- Plug in the waffle iron on medium high so it has 10 minutes to heat fully. Most irons run about 375°F to 400°F at that setting.
- Measure every ingredient into small bowls before you mix anything.
Step-by-Step Instructions
- Whisk the flour, cornstarch, sugar, baking powder, baking soda, and salt in a large bowl for 30 seconds. Stop when you see no white streaks of cornstarch.
- In a second bowl, whisk the eggs, buttermilk, and vanilla, then pour in the 1/2 cup melted butter in a slow stream while whisking. The mixture should look smooth and pale yellow with no floating butter.
- Pour the wet mixture into the dry and fold with a spatula about 15 times, just until no dry flour shows. Chef’s Note: Lumps the size of peas are fine and will cook out.
- Let the batter rest for 10 minutes. It will thicken and small bubbles will rise to the surface.
- Brush the hot plates lightly with melted butter, pour a scant 1/2 cup of batter into the center, and spread it to about 1/2 inch from the edge. Close the lid and you should hear a strong sizzle right away..
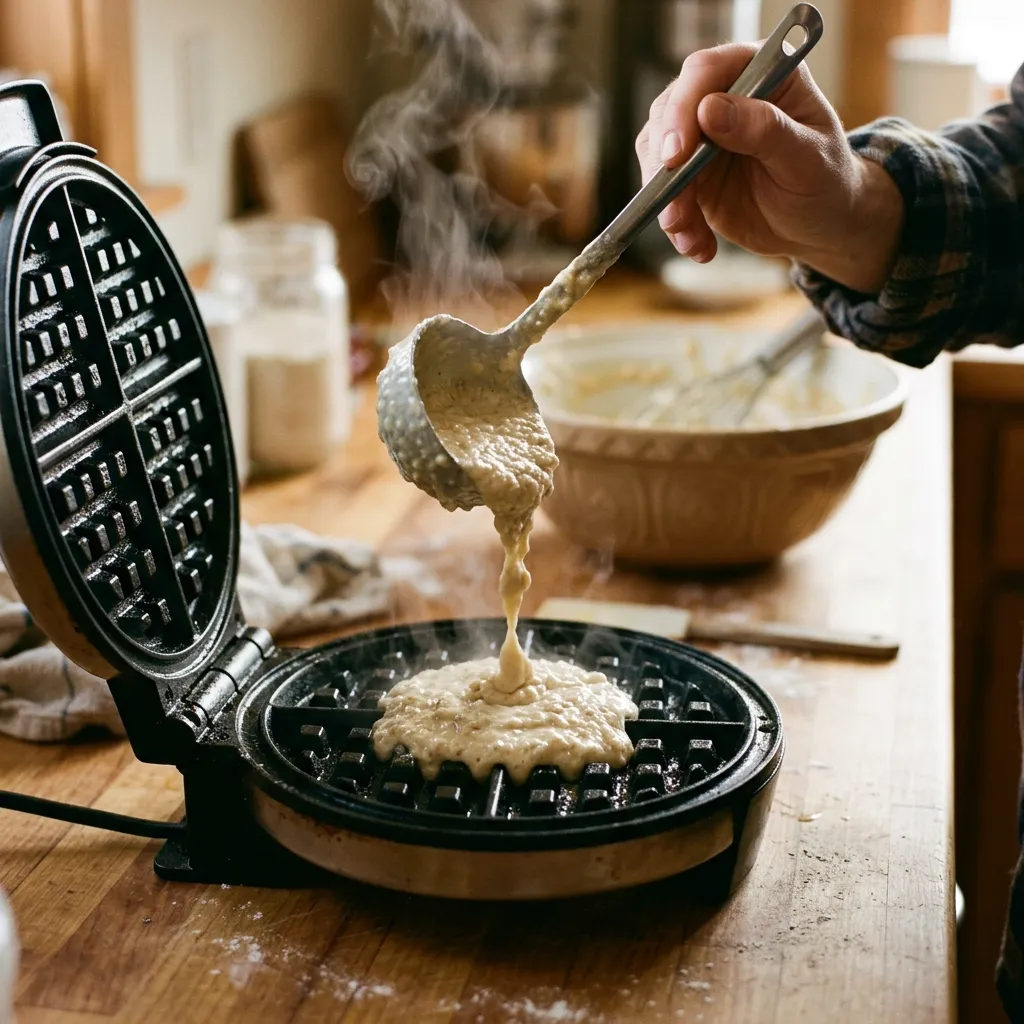
- Cook for 4 to 5 minutes, until the steam from the sides slows to a thin wisp and the lid lifts without resistance. Chef’s Note: Opening early tears the waffle in half, so trust the steam before the clock.
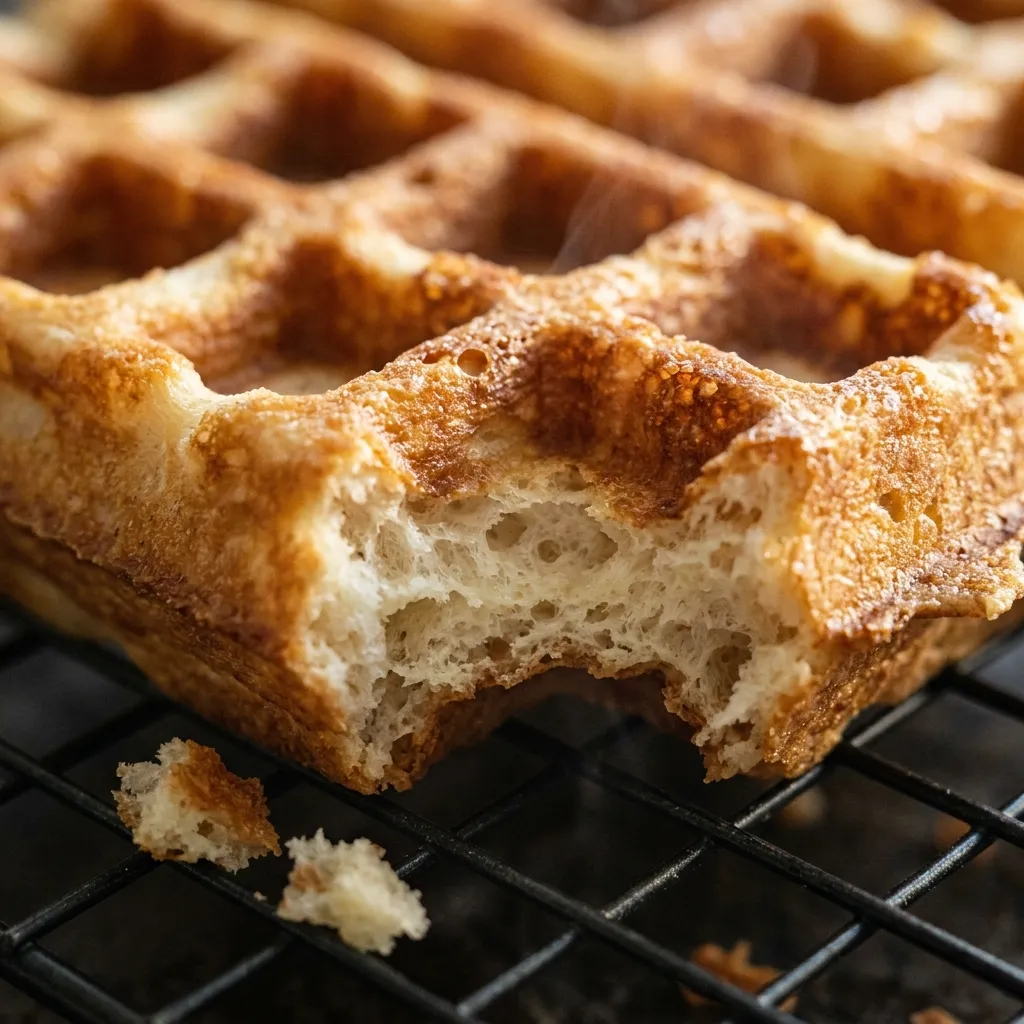
- Lift the waffle onto the wire rack in the oven in a single layer. The surface should be deep golden brown and sound hollow when you tap it.
- Repeat with the remaining batter, brushing the plates after every second waffle. Chef’s Note: Serve within 30 minutes of the first one so the earliest batch does not dry out.
Pro Tip: Treat the first waffle as a test. If it is still pale at 5 minutes, turn the dial up one notch. If the edges darken before the steam slows, turn it down one. One test waffle saves the other seven.
Expert Tips and Tricks
- My own mistake: in batch two I poured in buttermilk straight from the fridge. The butter seized into specks, and the finished waffles had greasy spots and a gummy center.
- Mix a double batch of the dry ingredients and keep it in a labeled jar for up to 1 month. A busy morning then needs only eggs, buttermilk, and butter.
- Leftovers keep in the fridge for up to 2 days, though they reheat with a better texture from the freezer.
- Rotate a flip-style Belgian iron as soon as you close it. Batter spreads evenly into both plates and the squares come out deeper.
- For extra-crunchy edges, sprinkle a pinch of sugar over the batter before closing. It caramelizes into a thin, glassy layer.
Common Mistakes and Troubleshooting
Pale, soft squares. It looks blond and bends. The iron was not fully heated, or the lid opened early. Wait for the ready light plus 2 minutes. Already happened? Put it back in the iron for 1 more minute.
Dense, flat texture. The inside feels heavy, like a pancake. Usually the baking powder is old. Stir 1/2 teaspoon into hot water, and it should fizz hard. For a dense batch, slice and toast the pieces as dipping sticks.
Tough, chewy bite. This is the most common error. Heavy whisking builds gluten, which makes the crumb rubbery. Fold only until the flour disappears. Once cooked, a toaster helps by crisping the outside.
Burnt outside, raw center. The heat is too high for a thick Belgian iron. Drop one notch and add 1 minute. Scrape burnt spots with a serrated knife and finish in the 200°F oven for 5 minutes.
Batter spilling out the sides. Too much batter, or it was poured near the edge. Use a scant 1/2 cup in the center. Trim overflow with scissors and wipe the cooled iron.
How to Store and Reheat Waffles
- Room Temperature: No more than 2 hours. Cool on the rack, uncovered, before packing.
- Refrigerator: Up to 2 days in an airtight container with parchment between layers.
- Freezer: Up to 2 months in a freezer-safe zip bag with the air pressed out. Put parchment between each pair.
- Reheating: Toast straight from frozen on a medium setting for 2 to 3 minutes, or bake at 350°F on a sheet pan for 6 to 8 minutes, until the surface is crisp again. Skip the microwave, which turns them chewy.
- Make-Ahead Notes: The dry mix keeps for 1 month in a sealed jar. Freezing a full cooked batch is the easiest make-ahead move.
Storage Trick: Freeze cooled waffles flat on a baking sheet for 1 hour before bagging. They stay separate, so you can pull out one at a time.
I keep 7-inch parchment squares in the drawer next to the zip bags. On Sunday nights I pack two per bag, one bag per kid, and school mornings become toaster, syrup, done.
Variations and Substitutions
Spicy Jalapeño Cheddar: Cut the sugar to 1 teaspoon and fold in 3/4 cup shredded sharp cheddar and 1 seeded, minced jalapeño. These are great under certified fried chicken.
Mild Chocolate Chip: Scatter 1 tablespoon of mini chocolate chips over the batter once it is in the iron. Stirred in, they sink and burn on the plates.
Vegetarian and Dairy-Free: The base recipe is already vegetarian. For dairy-free, stir 1 1/2 tablespoons lemon juice into 1 3/4 cups oat milk, wait 5 minutes, and use melted coconut oil in place of butter.
Gluten-Free: Swap the flour for King Arthur Measure for Measure flour, which includes xanthan gum to hold the batter together. Check that your baking powder is labeled gluten-free.
Whole Wheat: Replace half the flour with white whole wheat flour and add 2 tablespoons more buttermilk.
What to Serve With Waffles
Fried chicken: Salty crunch against sweet syrup is a classic for good reason.
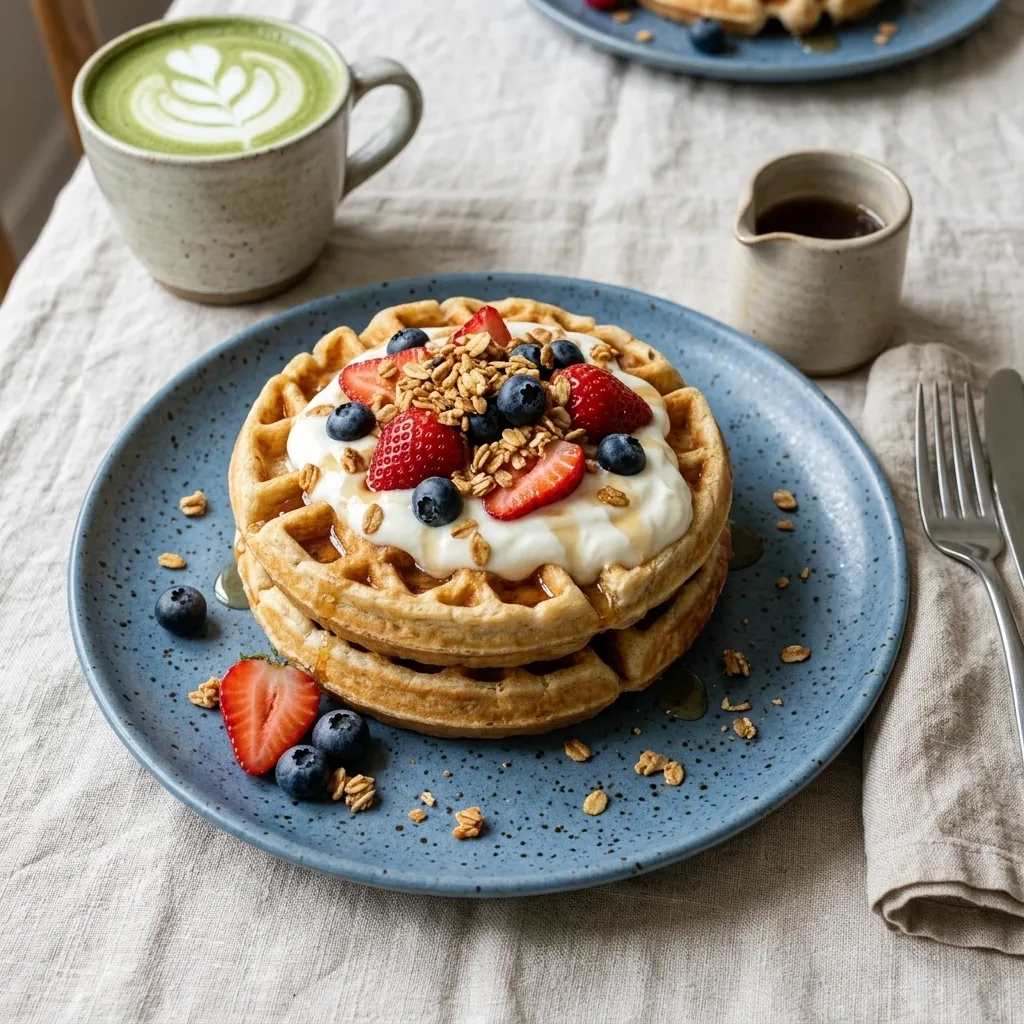
Greek yogurt and berries: Spoon them on top with a handful of crunchy homemade granola for texture and some extra protein.
A brunch spread: Feeding a crowd? Bake a make-ahead breakfast casserole the night before so the waffle iron is your only job in the morning.
Something warm to drink: A creamy homemade matcha latte cuts through the butter and maple.
Maple butter: Beat 4 tablespoons soft butter with 2 tablespoons pure maple syrup. It melts right into the squares.
Frequently Asked Questions
can you make waffle batter the night before
You can, but the waffles come out flatter. Baking soda starts working the moment it touches buttermilk, so most of the lift is gone by morning. If you want to prep the night before, keep the dry and wet mixes in separate covered containers, with the wet one in the fridge. Combine them in the morning and rest for 10 minutes. I tested an overnight batter once, and it rose about half as high.
why do my waffles keep sticking to the iron
Sticking usually means the iron was not hot enough or the plates were greased with aerosol spray. Spray leaves a gummy film that builds up over time and grabs the batter. Brush on melted butter instead, and wait for the ready light before pouring. If waffles still stick, unplug the iron, let it cool, and scrub the plates with a soft brush and a paste of baking soda and water. Do not open the lid early, since steam releases the waffle on its own.
can i use regular milk instead of buttermilk in waffles
Yes. Stir 1 1/2 tablespoons lemon juice or white vinegar into 1 3/4 cups whole milk and let it sit for 5 minutes until it looks slightly curdled. That acid keeps the baking soda working. Plain milk with no acid will leave the batter a little bitter and less fluffy, so if you skip the acid, drop the baking soda and use 1 tablespoon baking powder total. Thinned plain yogurt also works well.
how do you know when a waffle is done without opening it
Watch the steam. When you first close the lid, steam pours out the sides. As the batter dries out, it slows to a faint wisp, and that is your cue, usually at 4 to 5 minutes. Many irons also beep or flip their light, but steam is more reliable. Give the lid a gentle lift, and if it resists, wait 30 seconds more. A finished waffle releases cleanly.
is waffle batter just pancake batter with more butter
Pretty much, with a few tweaks. Waffle batter has more fat, often double what pancakes use, so it can fry against the hot plates and form a crisp shell. It also tends to have a little more sugar for browning. You can cook pancake batter in a waffle iron, but expect soft, pale results. For crisp waffles, add 2 tablespoons melted butter and 1 tablespoon cornstarch per cup of pancake mix.
Final Thoughts on Homemade Waffles
What happens after the iron opens matters as much as the batter. A crisp waffle on a plate turns soft fast. On a rack in a warm oven, it holds its crunch until everyone is seated.
My son asked for these four Saturdays in a row, and by the third one he was calling out “steam’s slowing” from his chair before I could check. Homemade waffles turn into a small kitchen ritual that way. Make a full batch, freeze the extras, and weekday mornings get easier.
If you loved this recipe, save it to your Breakfast Recipes Pinterest board so you can find it easily later!
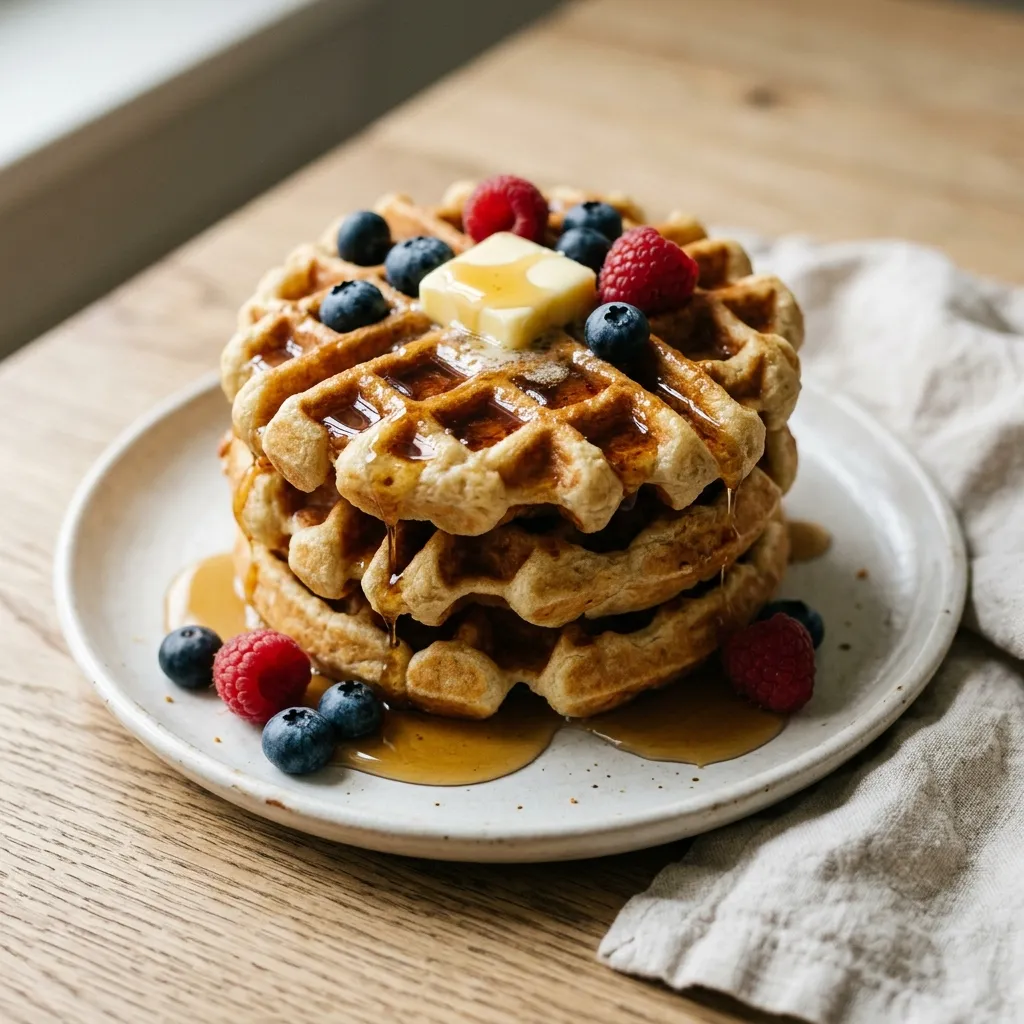
Crispy Homemade Waffles With a Fluffy Buttermilk Center
Ingredients
Equipment
Method
- Heat the oven to 200°F with a wire rack on a baking sheet. Heat the waffle iron on medium high for 10 minutes.
- Whisk the flour, cornstarch, sugar, baking powder, baking soda, and salt for 30 seconds, until no cornstarch streaks remain.
- Whisk the eggs, buttermilk, and vanilla, then stream in the 1/2 cup melted butter while whisking until smooth and pale yellow.
- Fold the wet mixture into the dry about 15 times, just until no dry flour shows. Pea-size lumps are fine.
- Rest the batter 10 minutes, until thickened with small bubbles on top.
- Brush the plates with melted butter, add a scant 1/2 cup batter to the center, spread to 1/2 inch from the edge, and close. It should sizzle right away.
- Cook 4 to 5 minutes, until the steam slows to a thin wisp and the lid lifts freely.
- Move the deep golden waffle to the rack in the oven in a single layer. Repeat, brushing the plates after every second waffle. Serve within 30 minutes of the first.
Notes
If the first waffle is pale at 5 minutes, raise the heat one notch; if the edges darken early, lower it one.
Storage: refrigerate up to 2 days, freeze up to 2 months, and reheat from frozen in a toaster for 2 to 3 minutes.