Easy Peanut Butter Cookies with Soft Centers and Crisp Edges
A good peanut butter cookie has crisp edges and a center that stays soft instead of crumbling. These peanut butter cookies use pantry basics and a fork-pressed top, with no special filling or frosting to get in the way of the peanut flavor.
The balance matters more than any fancy trick. Brown sugar helps with softness, regular creamy peanut butter gives the dough a steady texture, and measured flour keeps the cookies from turning thick and dusty. The sturdy dough needs no planned chill.
I put this recipe draft together from established baking ratios and ingredient research because an untested shortcut would be misleading. It has not yet been baked or taste-tested by My Recipe Nook, so use the color and texture cues along with the clock and review the verification note before publishing it as a tested favorite. Start with the ingredient details, especially the peanut butter choice. Record the first tray’s appearance and baking time.
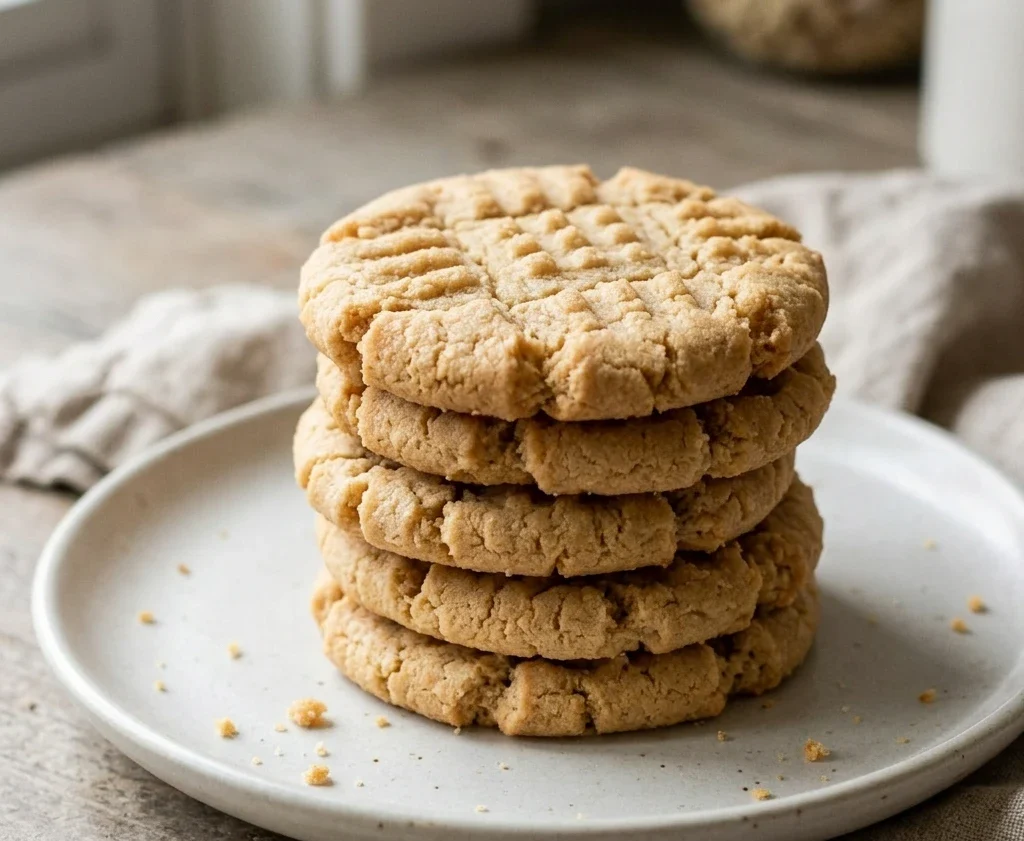
Table of Contents
Why You Will Love These Peanut Butter Cookies
- Familiar pantry ingredients: Every ingredient is a common baking staple.
- Soft centers with firmer rims: A short oven window leaves a tender middle while the edges gain a little color.
- No required chilling: You can scoop and flatten the dough as soon as it is mixed if your kitchen is cool.
- Easy to share: Twenty-four portions fit gift tins and snack plates.
- Recognizable fork marks: Two simple presses flatten each mound so the centers bake more evenly.
Recipe Snapshot at a Glance
- Prep Time: 15 minutes
- Cook Time: 14 minutes
- Cooling Time: 10 minutes
- Total Time: 39 minutes
- Servings: 24 cookies
- Difficulty: Easy
- Calories per Serving: About 146
- Key Ingredient: Regular creamy peanut butter
- Best For: Cookie trays and lunchbox treats
Nutrition for One Cookie
- Calories per Serving: About 146
- Protein: 3 g
- Carbs: 16 g
- Fat: 8 g
- Fiber: 1 g
- Sugar: 9 g
- Sodium: 141 mg
- Serving Size: About 1 cookie
- Servings per Recipe: 24
Peanut butter provides some protein and much of the fat. These cookies also contain added sugar. Estimates assume 24 equal portions.
Nutrition values are approximate and calculated per serving using standard ingredient amounts. Values may vary based on brands used and portion sizes.
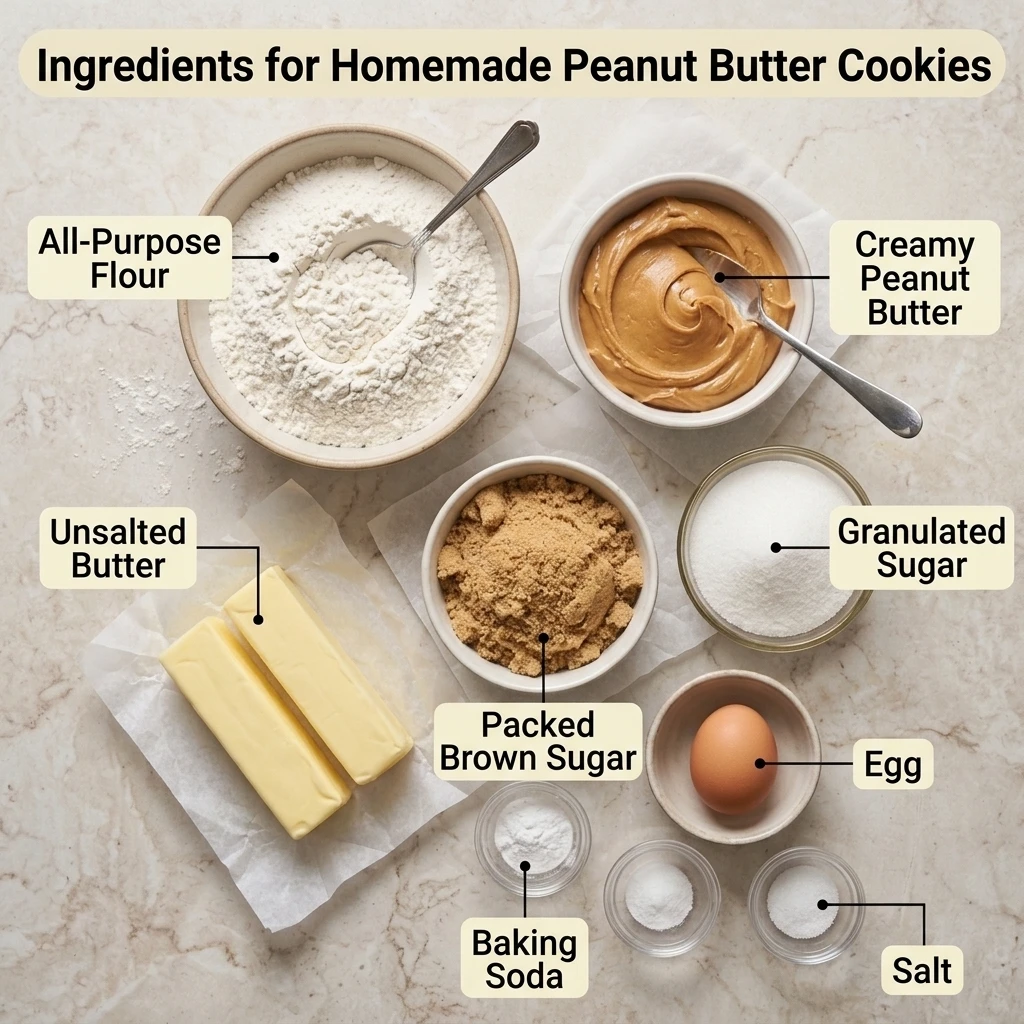
Ingredients for Classic Peanut Butter Cookies
- 1/2 cup (113 g) unsalted butter, softened: Margarine would change the spread.
- 1/2 cup (99 g) granulated sugar: Supports crisp rims; all brown sugar changes the result.
- 1/2 cup (106 g) packed light brown sugar: Keeps centers softer; dark brown adds stronger flavor.
- 3/4 cup (198 g) regular creamy peanut butter: Use a stabilized style; natural needs separate testing.
- 1 large egg (about 50 g without shell): Binds dough; substitutes need a trial.
- 1 1/2 cups (180 g) all-purpose flour: Weigh it if possible. King Arthur Unbleached All-Purpose Flour is a useful reference.
- 1 teaspoon (4.6 g) baking soda: Baking powder is not an equal swap.
- 1/2 teaspoon (3 g) table salt: Saltiness varies by peanut butter brand.
Creamy peanut butter gives body, brown sugar lends softness, and flour controls dryness. Check labels for peanut allergies. This base has no vanilla extract.
When measuring by volume, gently spoon flour into the cup and level it with a straight edge. The target is 180 g.
Equipment Needed for Evenly Baked Cookies
- Two rimmed baking sheets: Lighter pans brown bottoms more gently.
- Parchment paper: Keep corners inside the rims.
- Electric hand mixer: Start low to avoid splashes.
- 1 tablespoon cookie scoop: Level for even portions.
- Wire cooling rack: Prevents soggy bottoms.
- Measuring scale: Prevents flour overload.
If your pans are very dark, set the timer toward the early end of the baking range and watch the bottoms.
Preparation Before Mixing the Dough
Soften the butter until a finger leaves a dent without melting it. Measure everything, and reserve the flour, soda, and salt in a separate bowl. Weigh the flour to avoid overpacking.
Preheat the oven to 350°F and line two rimmed baking sheets with parchment. Place racks in the upper and lower thirds. Set out a fork, scoop, and cooling rack. Wash up after touching raw egg or flour; never taste raw dough.
Check that the baking soda is fresh and breaks apart easily. If the peanut butter is especially cold, stir it until spreadable before measuring 198 g. Cold peanut butter can leave dense pockets.
Step-by-Step Peanut Butter Cookie Instructions
- Beat the softened butter with both sugars for 2 minutes on medium speed. Chef’s Note: Scrape the bowl once; the mixture should look creamy with fine grains.
- Mix in the creamy peanut butter and egg for 1 minute on low to medium speed. Stop when combined; the batter should look smooth and light brown, not oily.
- Whisk the flour, baking soda, and table salt together for 30 seconds. Chef’s Note: Break up soda clumps; the dry mixture should look even in color.
- Fold the dry ingredients into the wet mixture for 30 to 45 seconds on low speed. When flour disappears, stop; the dough should form a thick, slightly tacky mass.
- Portion the dough into 24 level tablespoon scoops, leaving about 2 inches between them on the lined pans.
- Press each mound twice with a fork at right angles until it is about 1/2 inch thick. Chef’s Note: Use a barely damp fork if it sticks; the tops should show shallow crossing ridges.
- Bake both pans at 350°F for 12 to 14 minutes, swapping rack positions after 7 minutes. Remove when edges turn faintly golden and centers look softly set.
- Rest the cookies on their pans for 10 minutes, then move them to the wire cooling rack. Lift gently when firm enough; the edges should feel firm and the centers tender.
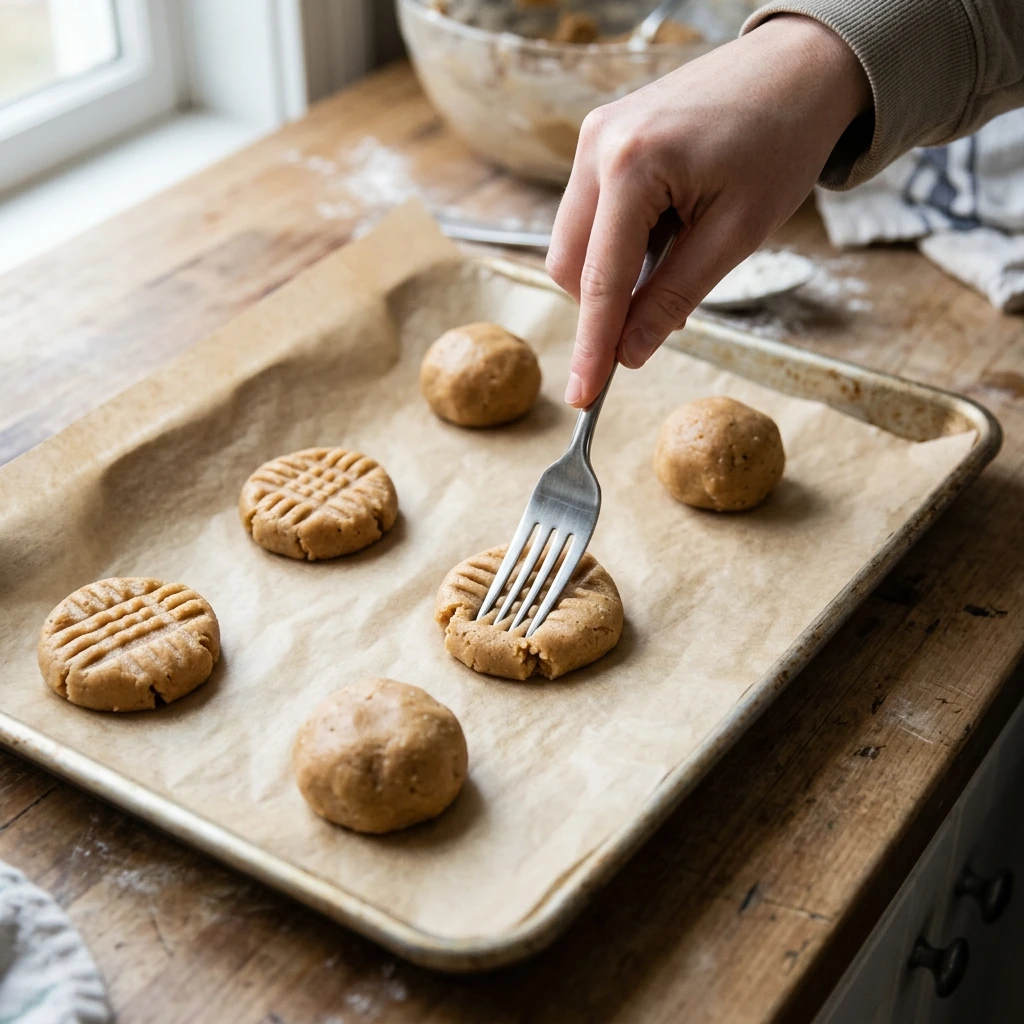
Pro Tip: If your first tray looks pale at 12 minutes, check the outer edge rather than waiting for the top to brown. A browned top can mean a dry center.
Expert Tips for Better Texture
- Check the oven early: Use an oven thermometer; hot ovens dry cookies quickly.
- Do not pack the flour: Packed cups can exceed 180 g and create dry dough.
- Keep the peanut butter consistent: Skippy or another regular creamy style is more predictable than separated oil.
- Watch the mixer: Mixing too long after flour makes cookies tougher.
- For future make-ahead baking: Cover shaped dough and refrigerate up to 2 days.
- Store by texture: Seal cooled cookies for up to 5 days at room temperature.
- Run a trial tray: I would bake two cookies first when using an unfamiliar peanut butter; their shape would guide timing.
One useful comparison for the trial bake is to cut a cooled cookie in half. Record when the center stays soft. If chalky, check flour weight and oven heat.
Common Cookie Mistakes and Fixes
Dry, crumbly bites: Cookies become sandy from excess flour or baking. Weigh flour and watch the edges. Crumble dry ones over yogurt.
Greasy, flat cookies: Puddles suggest melted butter or separated oil. Use softened butter and a well-stirred, regular peanut butter. If the dough is already loose, chill the portions for 20 minutes before baking.
Rounded centers: Thick mounds remain domed when the fork marks are too shallow. Press to an even 1/2 inch before baking. Never press fragile cookies after baking.
Dark bottoms: Dark pans or a lower oven rack can brown the base before the middle sets. Try light-colored sheets and swap racks midway. Trim scorched bottoms once cool.
Broken cookies on the spatula: Freshly baked peanut butter cookies are delicate while hot. Give them the full 10-minute pan rest. Use broken pieces as topping.
Another issue is a bitter patch in an otherwise good cookie. That may mean the baking soda was left in one lump. Whisk the soda thoroughly into the flour on the next batch to distribute it evenly.
How to Store and Make Ahead
- Room Temperature: Keep cooled cookies in an airtight container for 5 days in a cool pantry.
- Refrigerator: Seal for 7 days; chilling dries the texture.
- Freezer: Freeze between parchment sheets in a freezer-safe bag for 3 months.
- Reheating: Warm a thawed cookie at 300°F for 3 to 4 minutes; cool briefly.
- Make-Ahead Notes: Cover dough for 2 days refrigerated, or freeze scoops in a freezer-safe bag for 2 months; frozen bake timing needs testing.
I would freeze cookies flat before bagging so they separate easily. Seal the bag to block freezer odors.
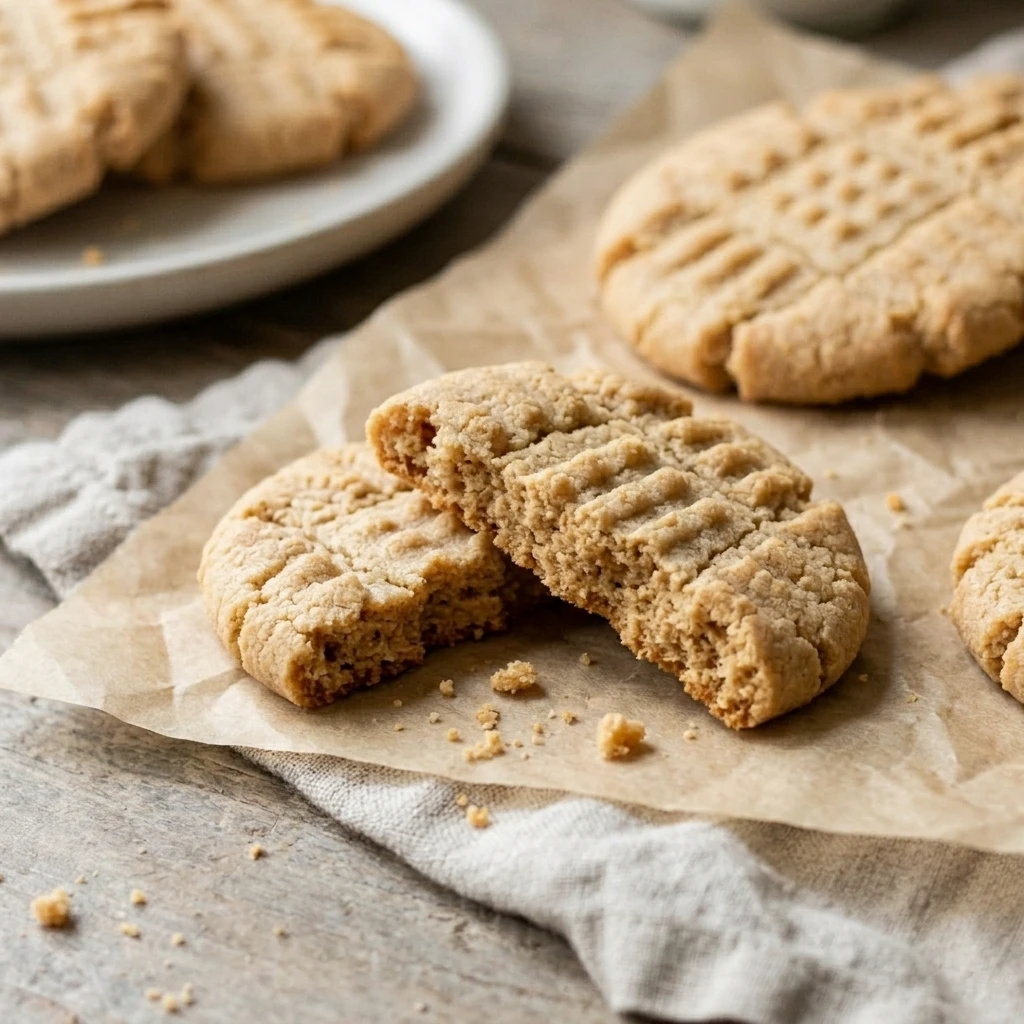
Storage Trick: Before sealing the container, touch the underside of one cookie. Warm cookies trap steam and stick together.
Thaw cookies inside their closed container to limit condensation. For lunches, separate them from juicy fruit.
Variations and Ingredient Swaps
Warm and Spicy: Add 1/8 teaspoon cayenne and 1/4 teaspoon cinnamon. Test this spicy version before publishing.
Kid-Friendly and Mild: Use smooth peanut butter and press cookies 1/2 inch thick for an even bite.
Vegetarian or Vegan: The base is vegetarian. Vegan butter and egg swaps need testing for shape.
Gluten-Free: Try an equal weight of gluten-free measure-for-measure flour. Test the texture and check cross-contact labels.
Chocolate Bits: Fold in 1/3 cup suitable alcohol-free chocolate chips. Nutrition excludes this untested addition.
Change only one ingredient at a time when trying a variation. Multiple swaps make troubleshooting difficult. Changed dough needs new timing and nutrition.
What to Serve With Peanut Butter Cookies
Chocolate Cookie Plate: Add chocolate peanut butter no-bake cookies for a contrasting cookie texture.
Spiced Cookie Mix: Pair a few with soft gingerbread cookies for a spiced cookie tin.
Fruit Dessert: Serve one beside apple crisp with a golden oat topping for a warm fruit pairing.
Cold Milk: Dairy or unsweetened plant milk balances the rich bites.
Fresh Apple Slices: Cut tart wedges just before serving for freshness.
When sharing any mixed dessert tray, keep in mind that these cookies contain peanuts, wheat, dairy, and egg. Separate them to avoid allergen cross-contact.
Frequently Asked Questions About Peanut Butter Cookies
Can you freeze peanut butter cookie dough?
Yes, you can freeze portioned peanut butter cookie dough in an airtight freezer-safe bag for up to 2 months as a planning target. Freeze scoops separately and label the bag. Bake two trial portions first because frozen timing is unverified. Check the edges, not just the clock. I would label the bag with the dough portion size too, since smaller portions can finish sooner after freezing.
Why are my peanut butter cookies dry and crumbly?
Too much flour and too much baking time are two common reasons peanut butter cookies lose their soft middle. Weigh 180 g of flour and check edges at 12 minutes. Natural peanut butter with separated oil may also change the crumb. Crumble dry cookies over yogurt; added water will not repair them. If the dough itself is crumbly before baking, first check whether the egg was fully mixed in.
Can I use natural peanut butter in peanut butter cookies?
You can try natural peanut butter, but it is not a verified one-for-one swap for this dough. Separated oil can change the crumb. The base recipe uses 3/4 cup of regular creamy peanut butter because that style gives a more steady starting point. Stir it well and test two cookies first. A grainy texture or wide spreading means the substitution needs a separate formula, not a promise of identical results.
How do I know when peanut butter cookies are done?
Look for barely golden edges and a center that appears set but still soft. At 350°F, this draft calls for 12 to 14 minutes for tablespoon-sized portions pressed to about 1/2 inch thick. Do not wait for deeply browned tops. Swap pans at 7 minutes for even color. Wait through the full pan rest before judging the center, as hot peanut butter cookies are more fragile than cooled ones.
Why the criss cross pattern on peanut butter cookies?
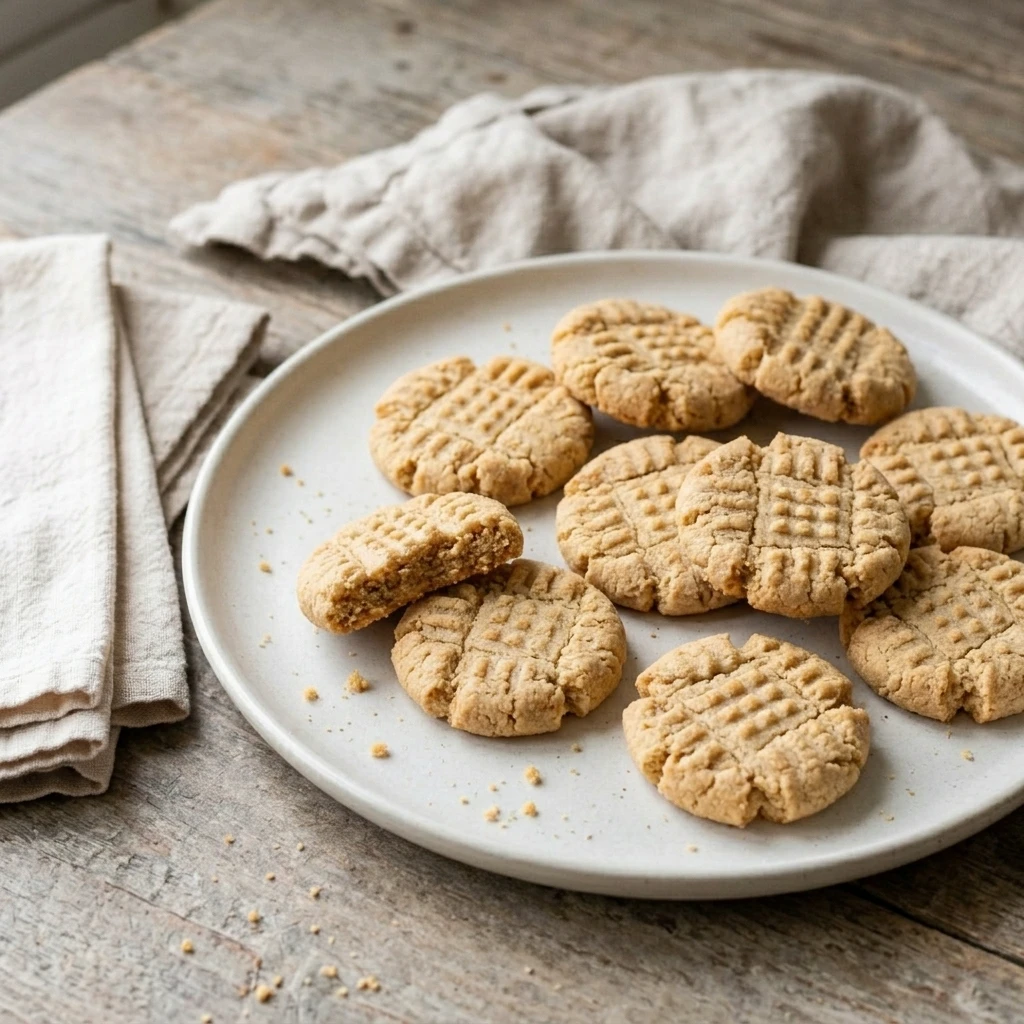
The fork presses help flatten the thick dough so the center can bake more evenly. Press one way, turn the fork, and press again to make the familiar grid. Perfect squares are unnecessary. Aim for about 1/2 inch of thickness, not a particular design. A barely damp fork helps prevent sticking. Press only enough to level the dough; flattening it into a paper-thin disk is likely to dry the cookies too quickly.
Larger scoops need a different baking time. Keep the portions close to one level tablespoon for the first batch. Test one before changing sizes.
Final Thoughts on Homemade Peanut Butter Cookies
The most useful part of a repeatable cookie recipe is knowing what to watch, not memorizing a timer. Weigh your flour, use one peanut butter brand, and watch the first tray for timing.
I would keep a note of the exact peanut butter brand and the minute the first pan came out. That will make the next test easier to compare. These peanut butter cookies still require that first documented bake before being described as personally tested. A quick photo of the cooled center can help track whether later adjustments truly improve the result.
If you loved this recipe, save it to your cookie recipes Pinterest board so you can find it easily later!
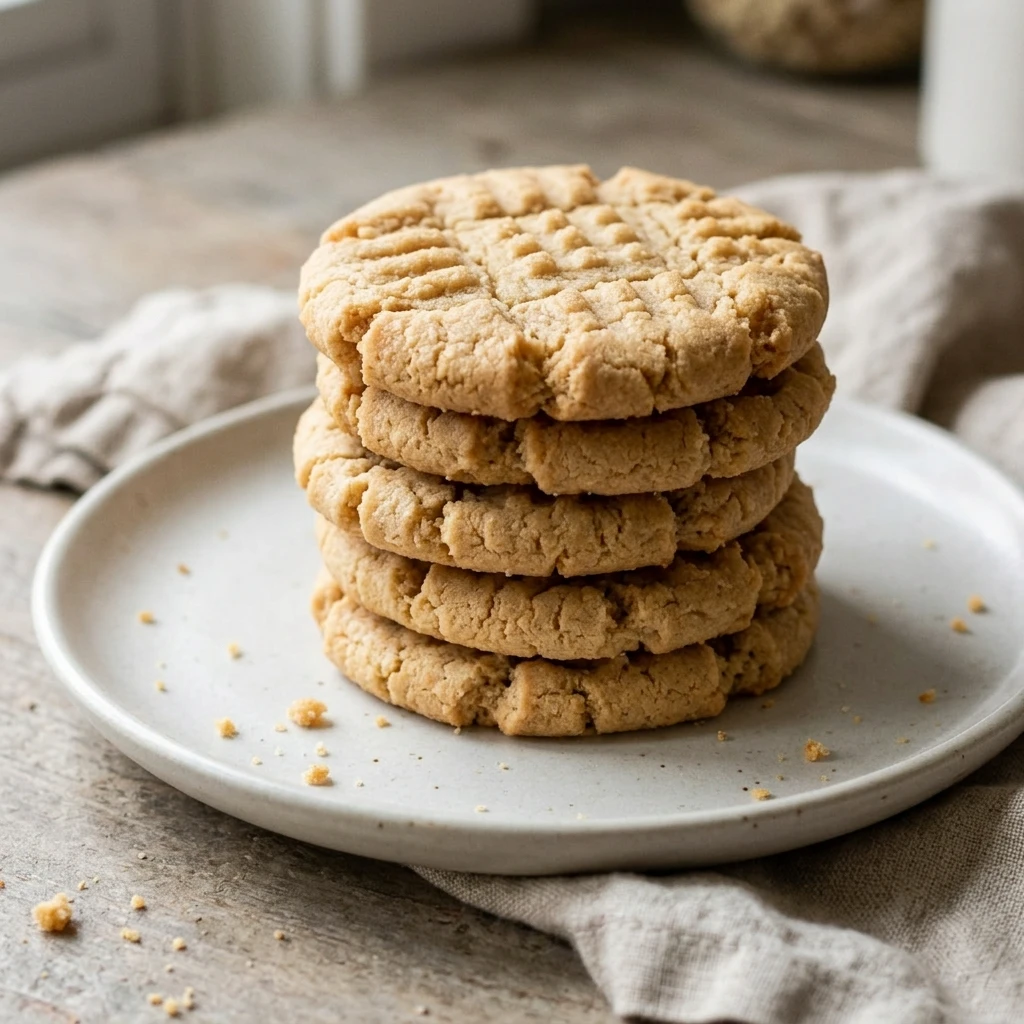
Easy Peanut Butter Cookies with Soft Centers and Crisp Edges
Ingredients
Equipment
Method
- Prepare: Preheat the oven to 350°F. Line two rimmed baking sheets with parchment, place racks in the upper and lower thirds, soften butter, and measure ingredients. Do not eat raw dough.
- Beat softened butter and both sugars for 2 minutes on medium speed, scraping once, until creamy and slightly grainy.
- Mix in peanut butter and egg for 1 minute on low to medium until smooth and light brown.
- Whisk flour, baking soda, and salt for 30 seconds until uniform.
- Add dry ingredients to wet mixture; mix on low for 30 to 45 seconds, just until no flour remains and dough looks thick and slightly tacky.
- Scoop 24 level tablespoon portions onto pans, spaced about 2 inches apart; keep portions uniform.
- Press each with a fork in two directions to roughly 1/2 inch thick; visible shallow crosshatch remains.
- Bake both pans at 350°F for 12 to 14 minutes, exchanging rack positions after 7 minutes; remove at faintly golden edges and softly set centers.
- Cool on pans for 10 minutes, then transfer carefully to wire rack when edges feel firm and centers tender.
Notes
Storage: Refrigerate baked cookies tightly sealed up to 7 days, or freeze baked cookies up to 3 months; raw dough can be refrigerated up to 2 days or frozen up to 2 months.